Dynamic SSO with KeyCloak
Keycloak is an open source software product to allow single sign-on with Identity and Access Management aimed at modern applications and services.
Objective
Objective of this document is to guide user step by step how to configure KeyCloak with aiv and how users and roles can be created dynamically.

Figure: Dynamic User & Role creation Flow diagram
Prerequisites
-
Download sample project and dependency files from here..
-
insertuser_enabled should be added in config.json file inside sso property. If you do not find this property in you cofig.json file, please copy property from below;
{
	"name" : "insertuser_enabled",
	"displayName" : "Insert User",
	"defaultValue" : true,
	"type" : "checkbox"
}
Task 1. Setup and configure keycloak
-
Download docker and start docker in you machine. Go through this link to know more about docker installation.
-
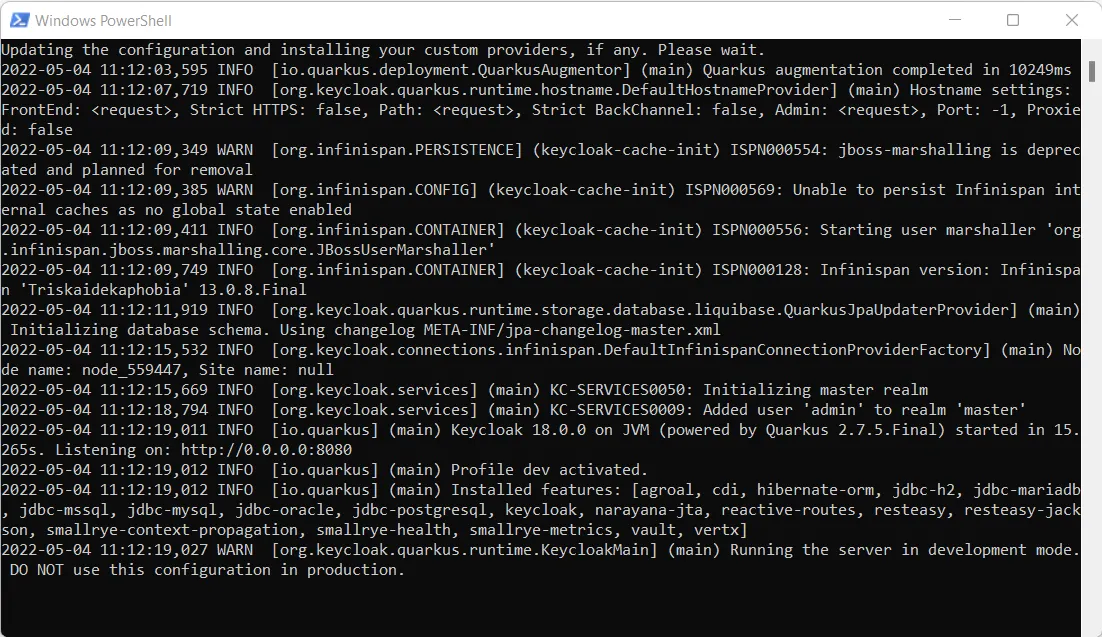
Open PowerShell and run below command once docker is up and running
docker run -p 8888:8090 -e KEYCLOAK_ADMIN=admin -e KEYCLOAK_ADMIN_PASSWORD=admin quay.io/keycloak/keycloak:18.0.0 start-dev where,

- This command will download and run KeyCloak in docker
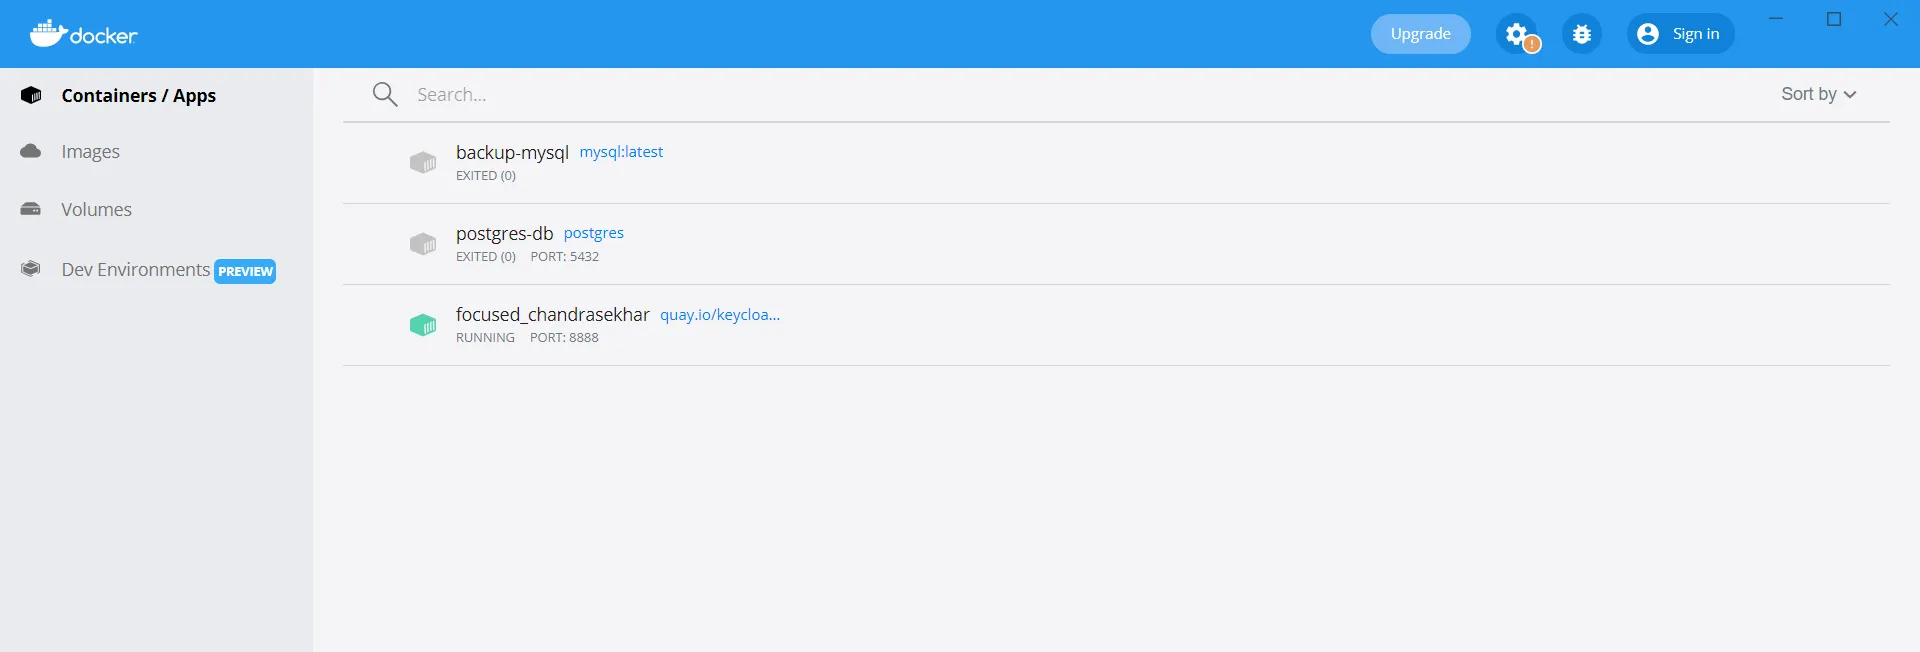
- Go to docker application and you will find KeyCloak server is running as shown in below image,
- You can access KeyCloak application by running URL in browser,
localhost:8888/admin-
Here use port number which you have applied while running command of step 3.

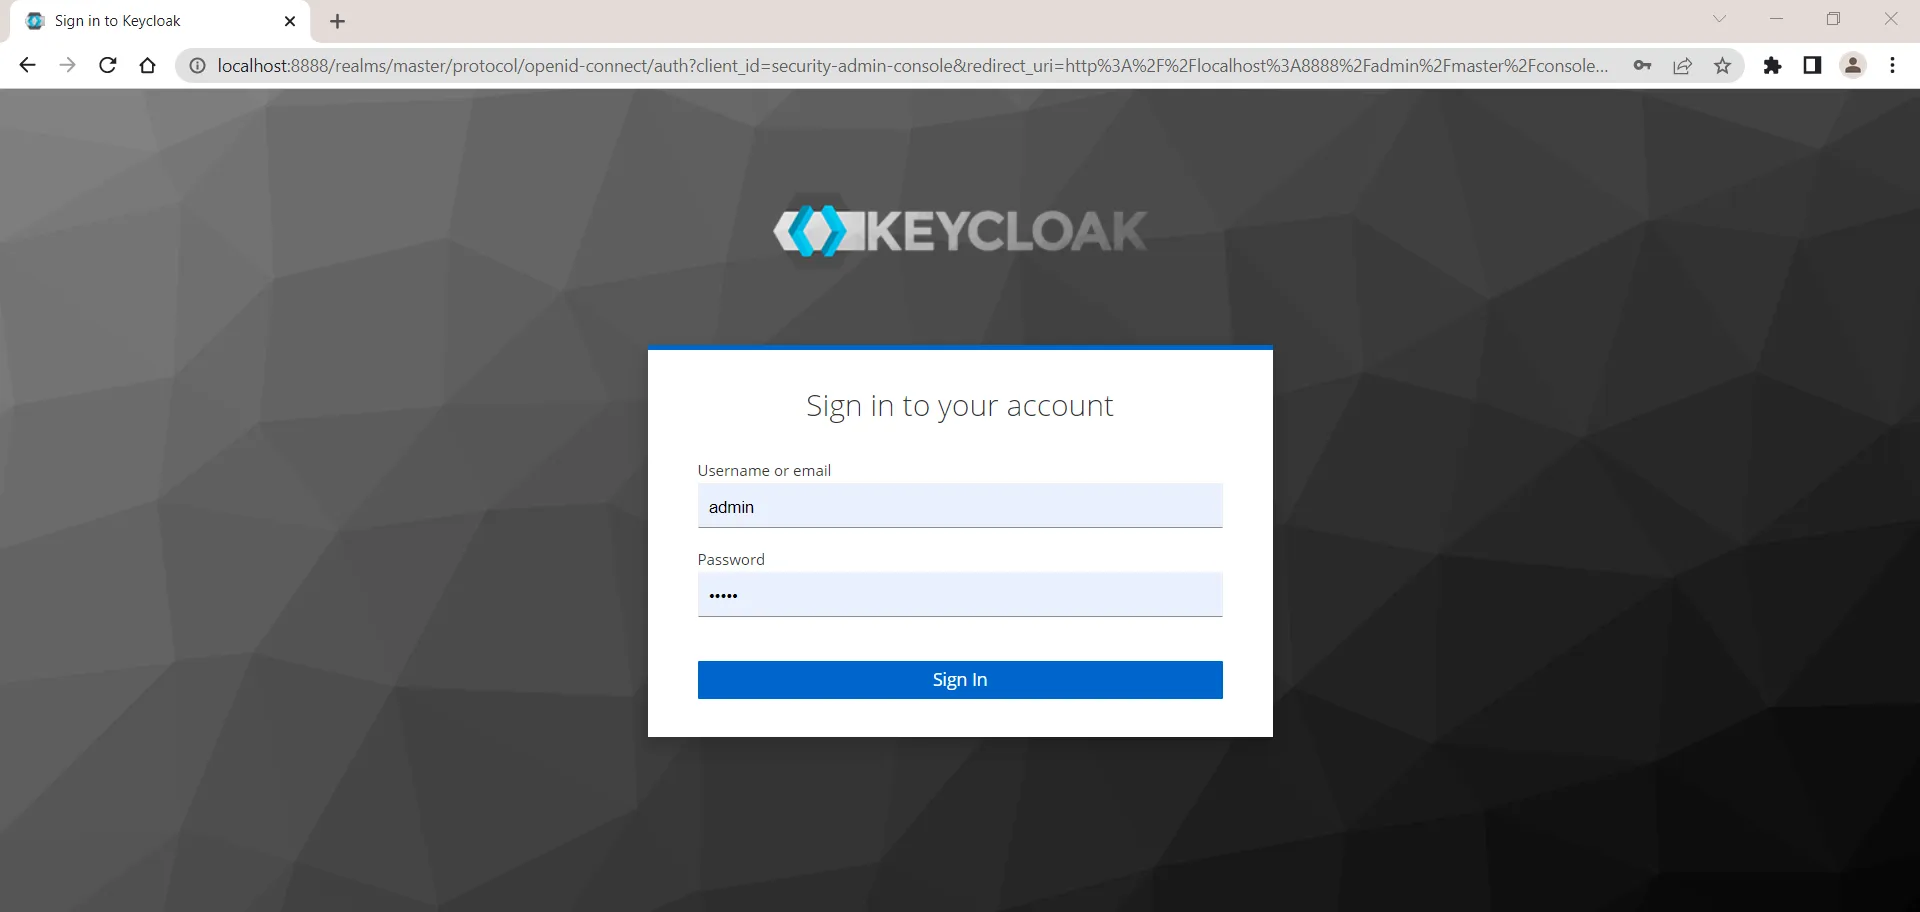
- You will see KeyCloak console as shown in below image asking for user name and password
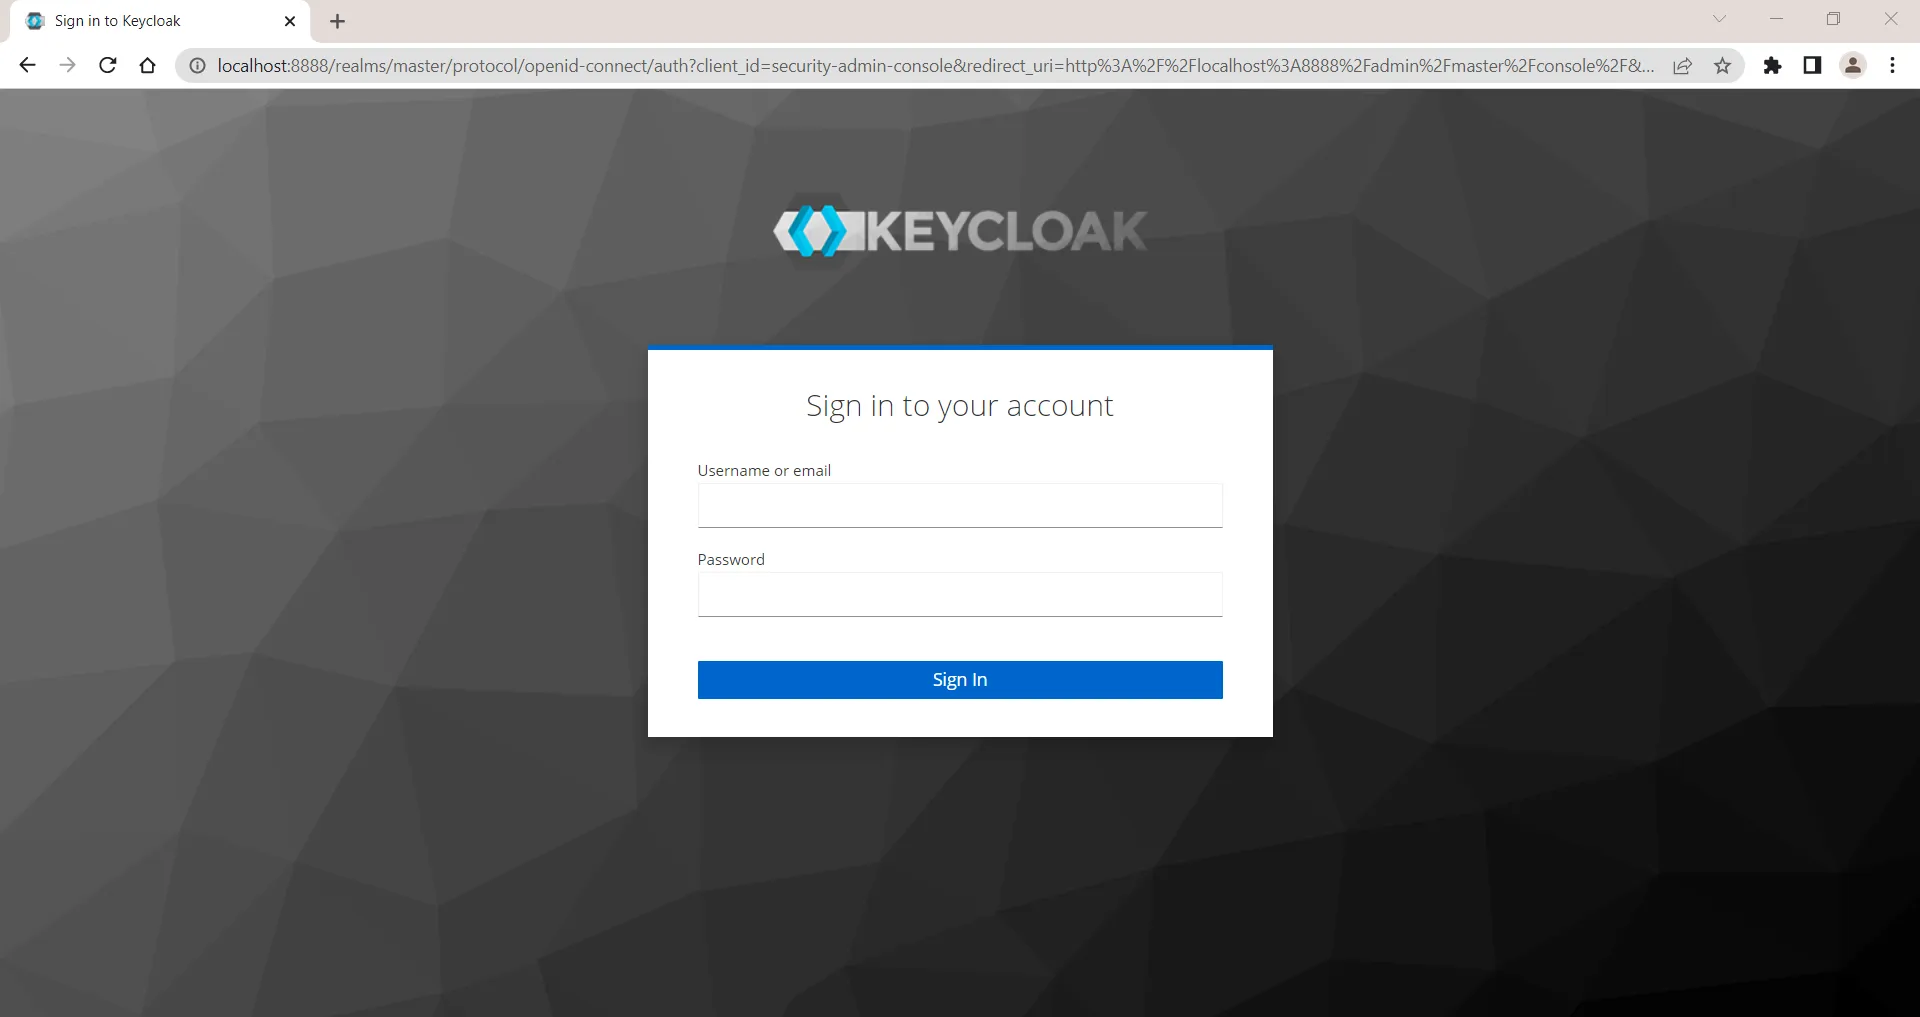
- Login with user name and password you have provided in step no 3. in this case, User Name and password both are admin.
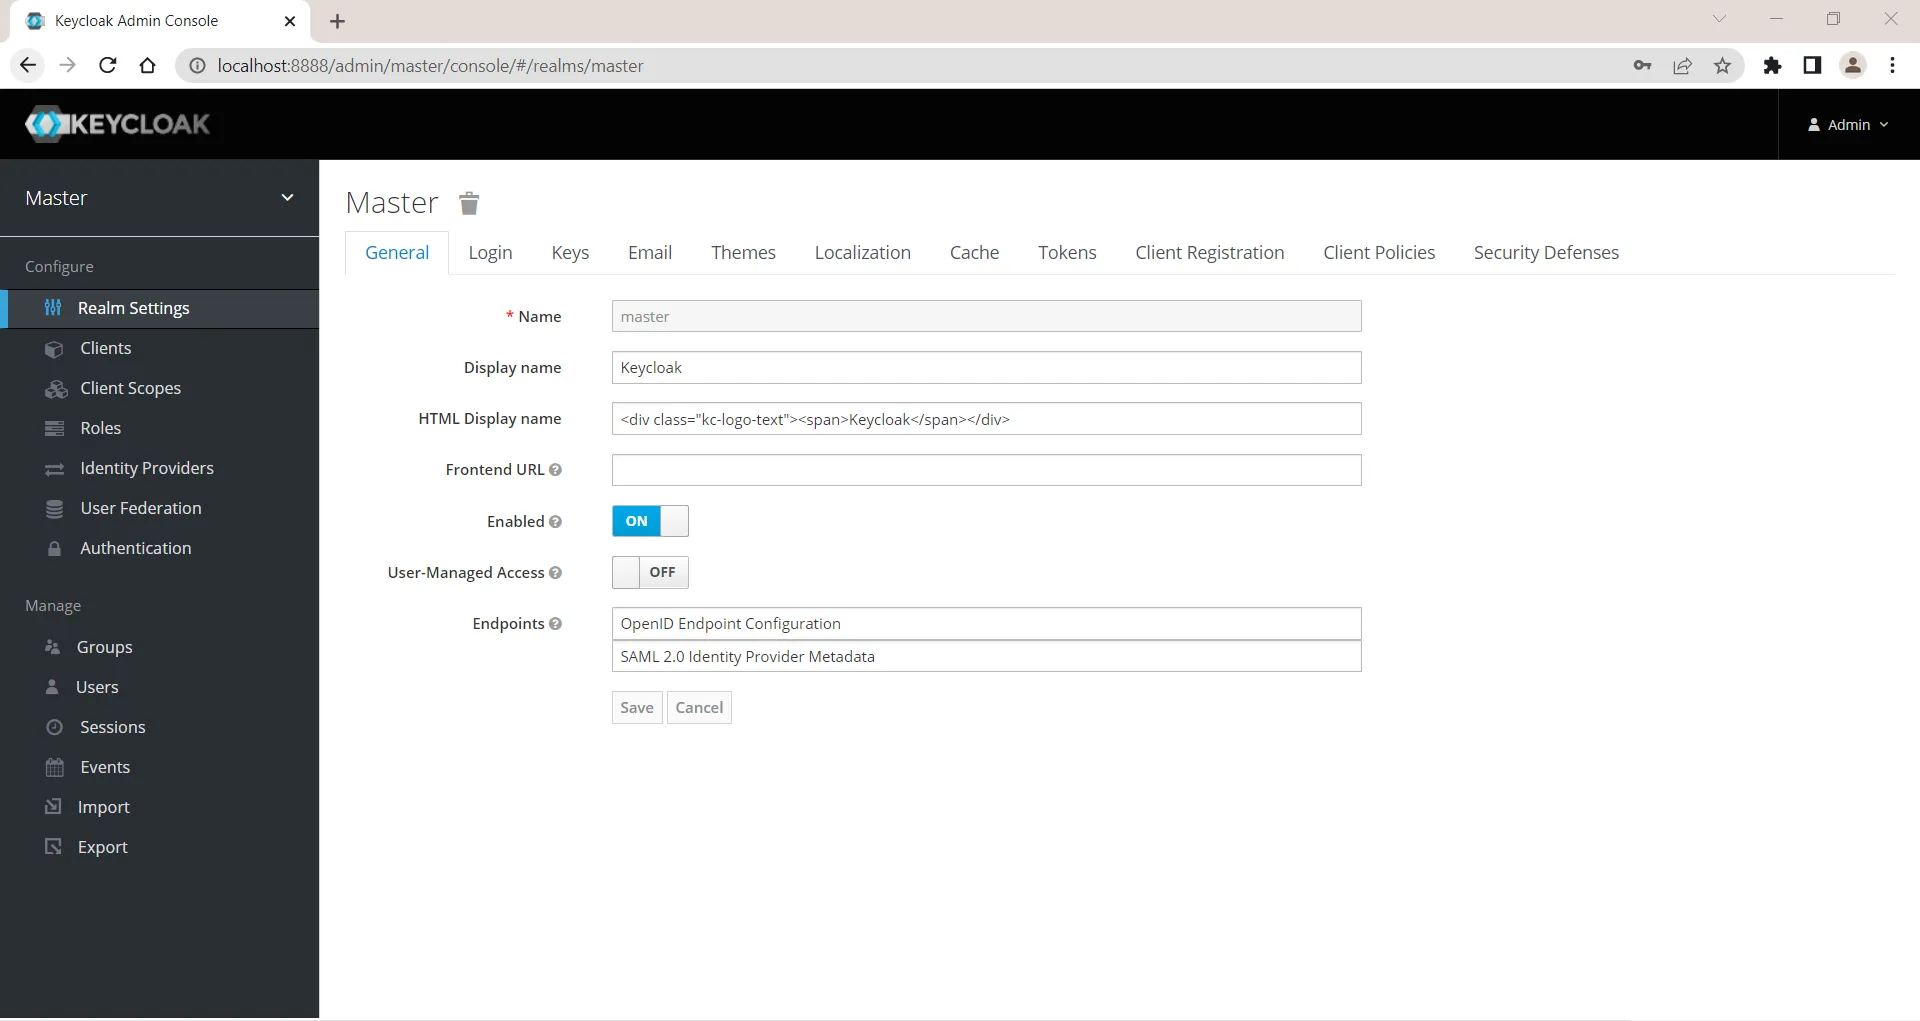
- You will see landing page like below image,
Create new realm
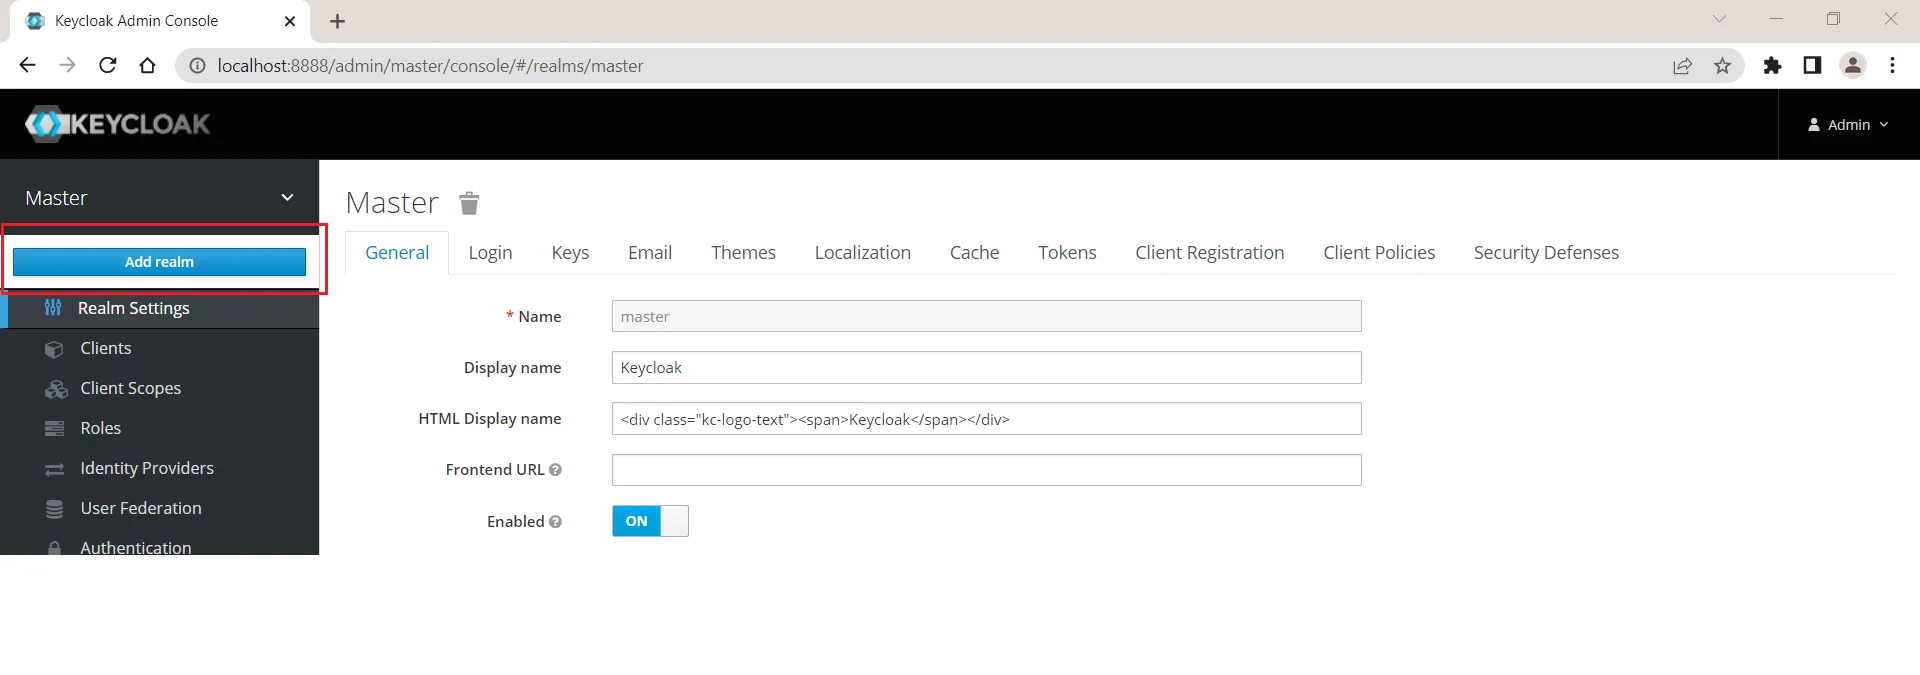
- Add a new realm in KeyCloak. hover on Master dropdown and you can see Add realm button. Click on that button.
- When you click on add realm button you will see Add realm screen as shown in below image,
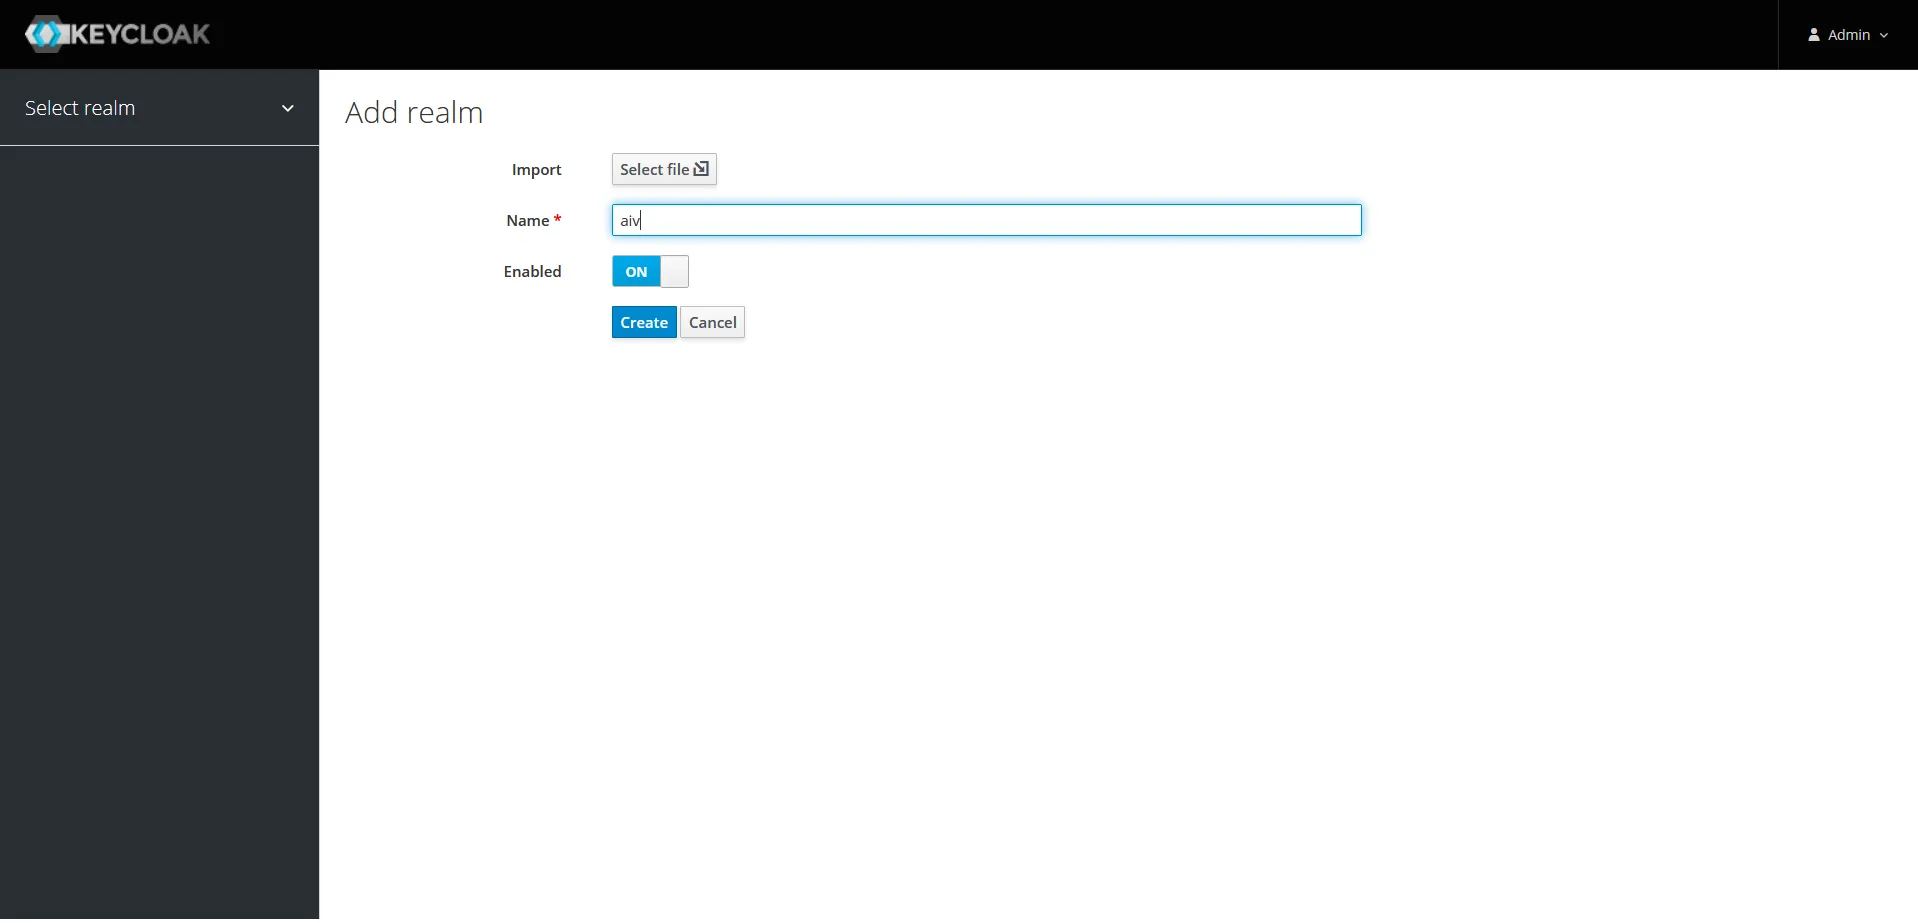
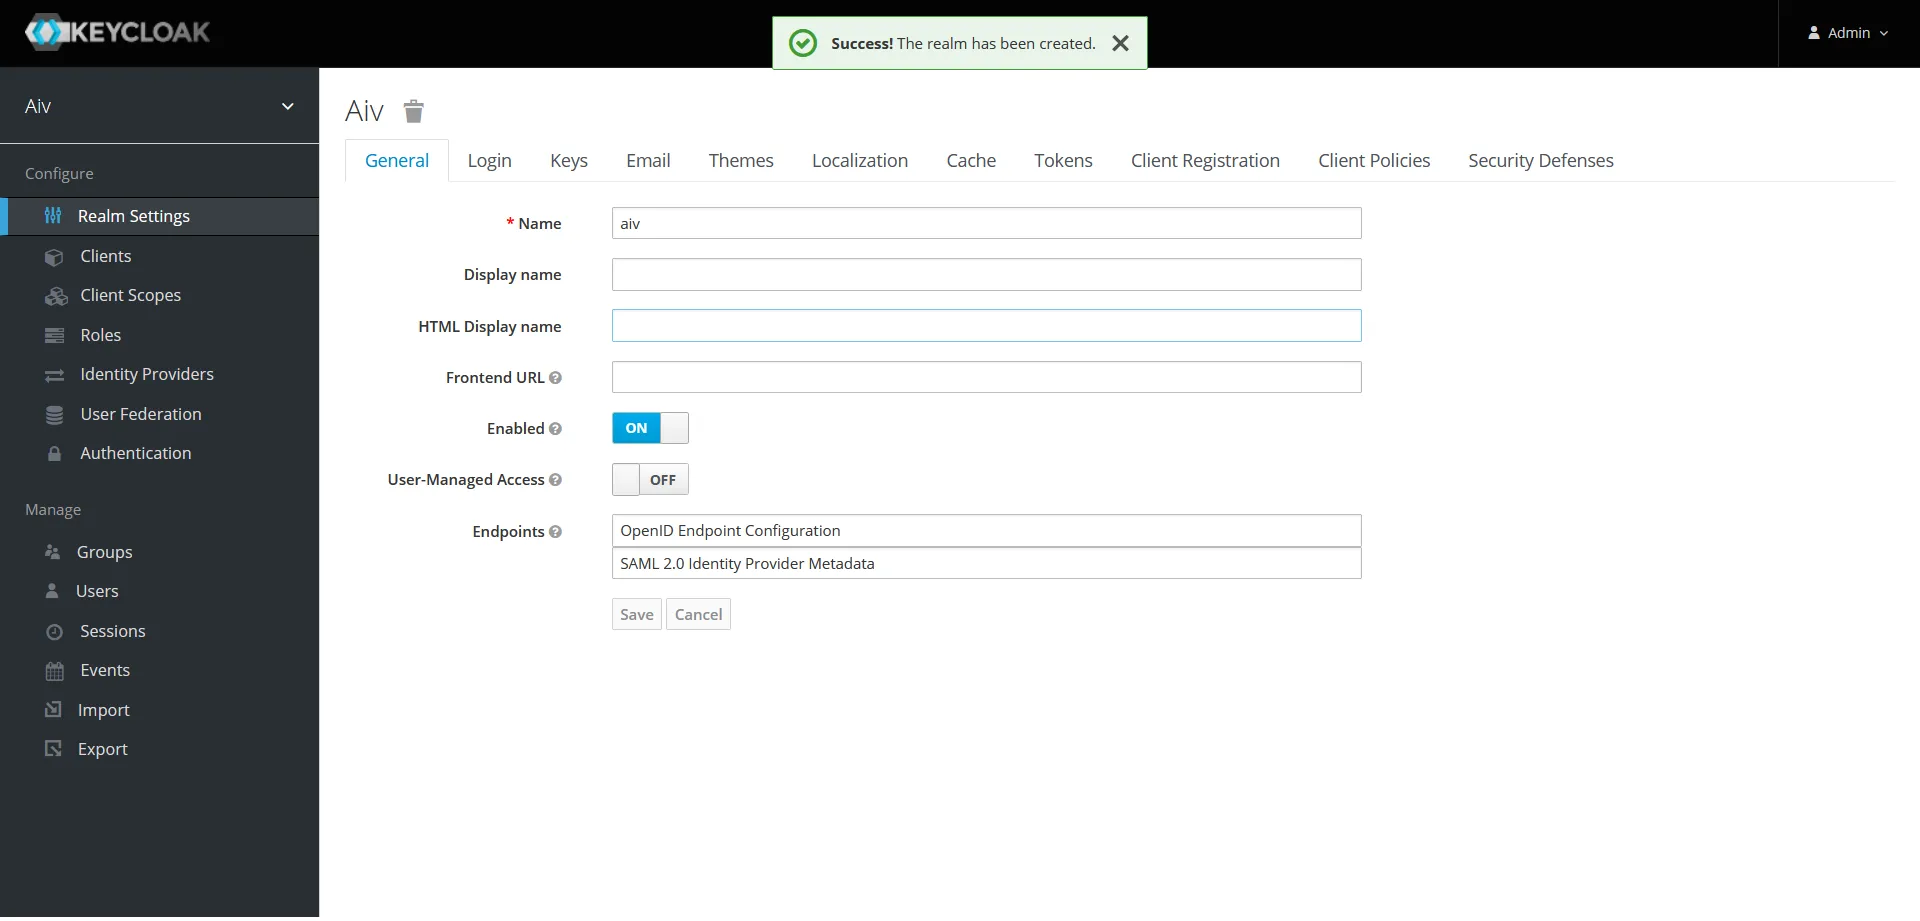
- Click on create button to create a new realm. Once realm is created you will see success message and user will landed on screen shown below,
Create new user
- You need to create a new user in KyeCloak. Click on User section and click on Add user button.
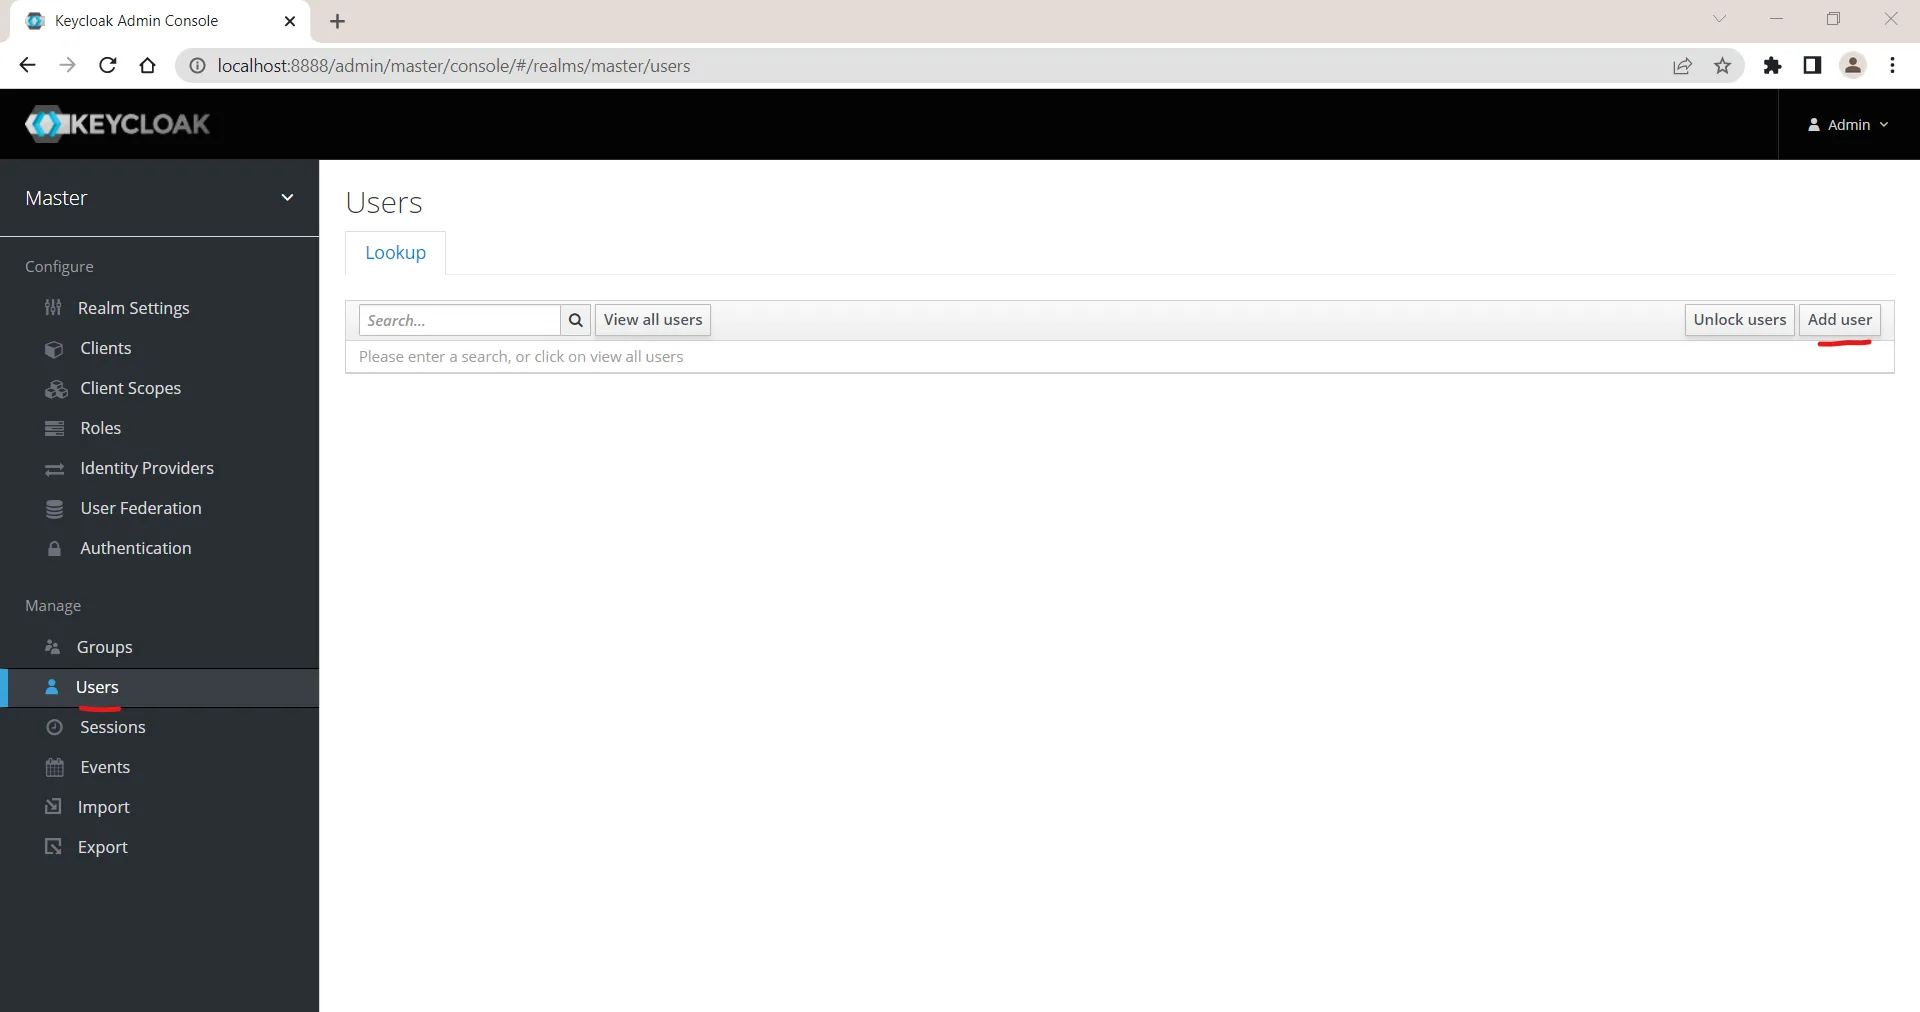
- In create user window, write Admin in Username field and make sure User Enabled Option is ON
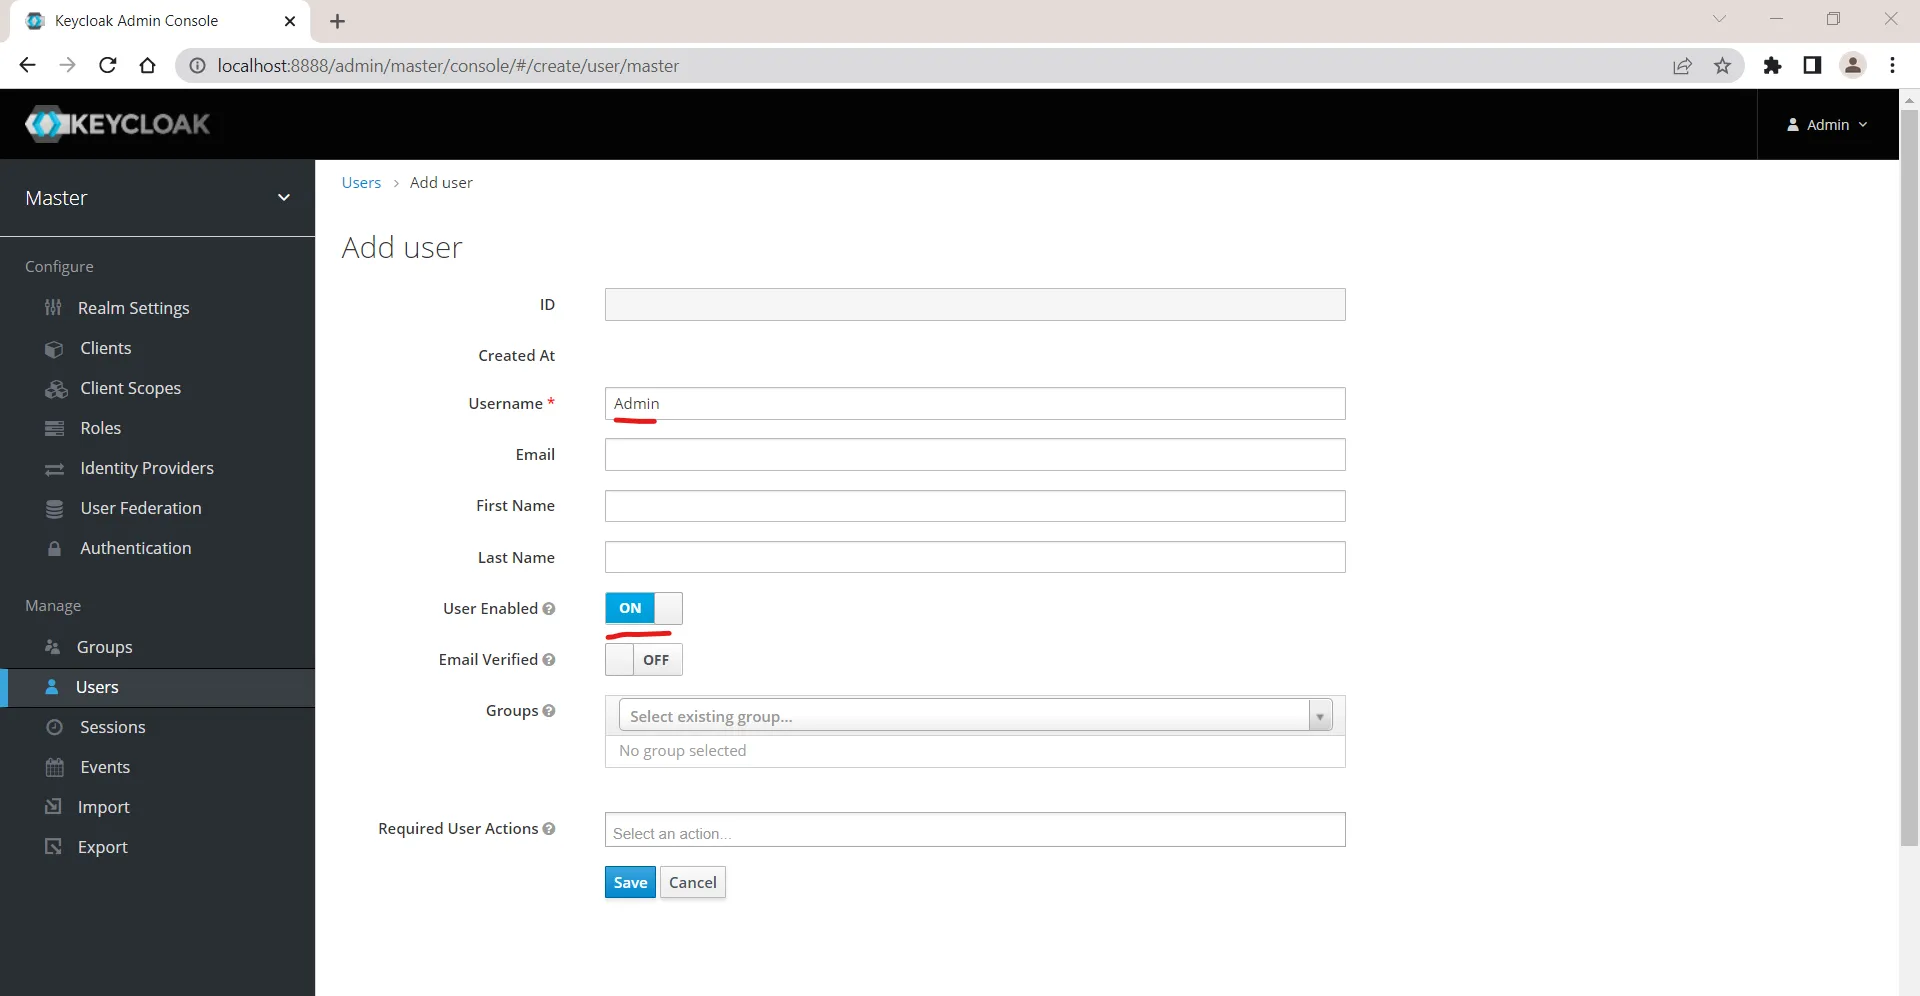
-
Click on save button to save the changes and create a user named Admin
-
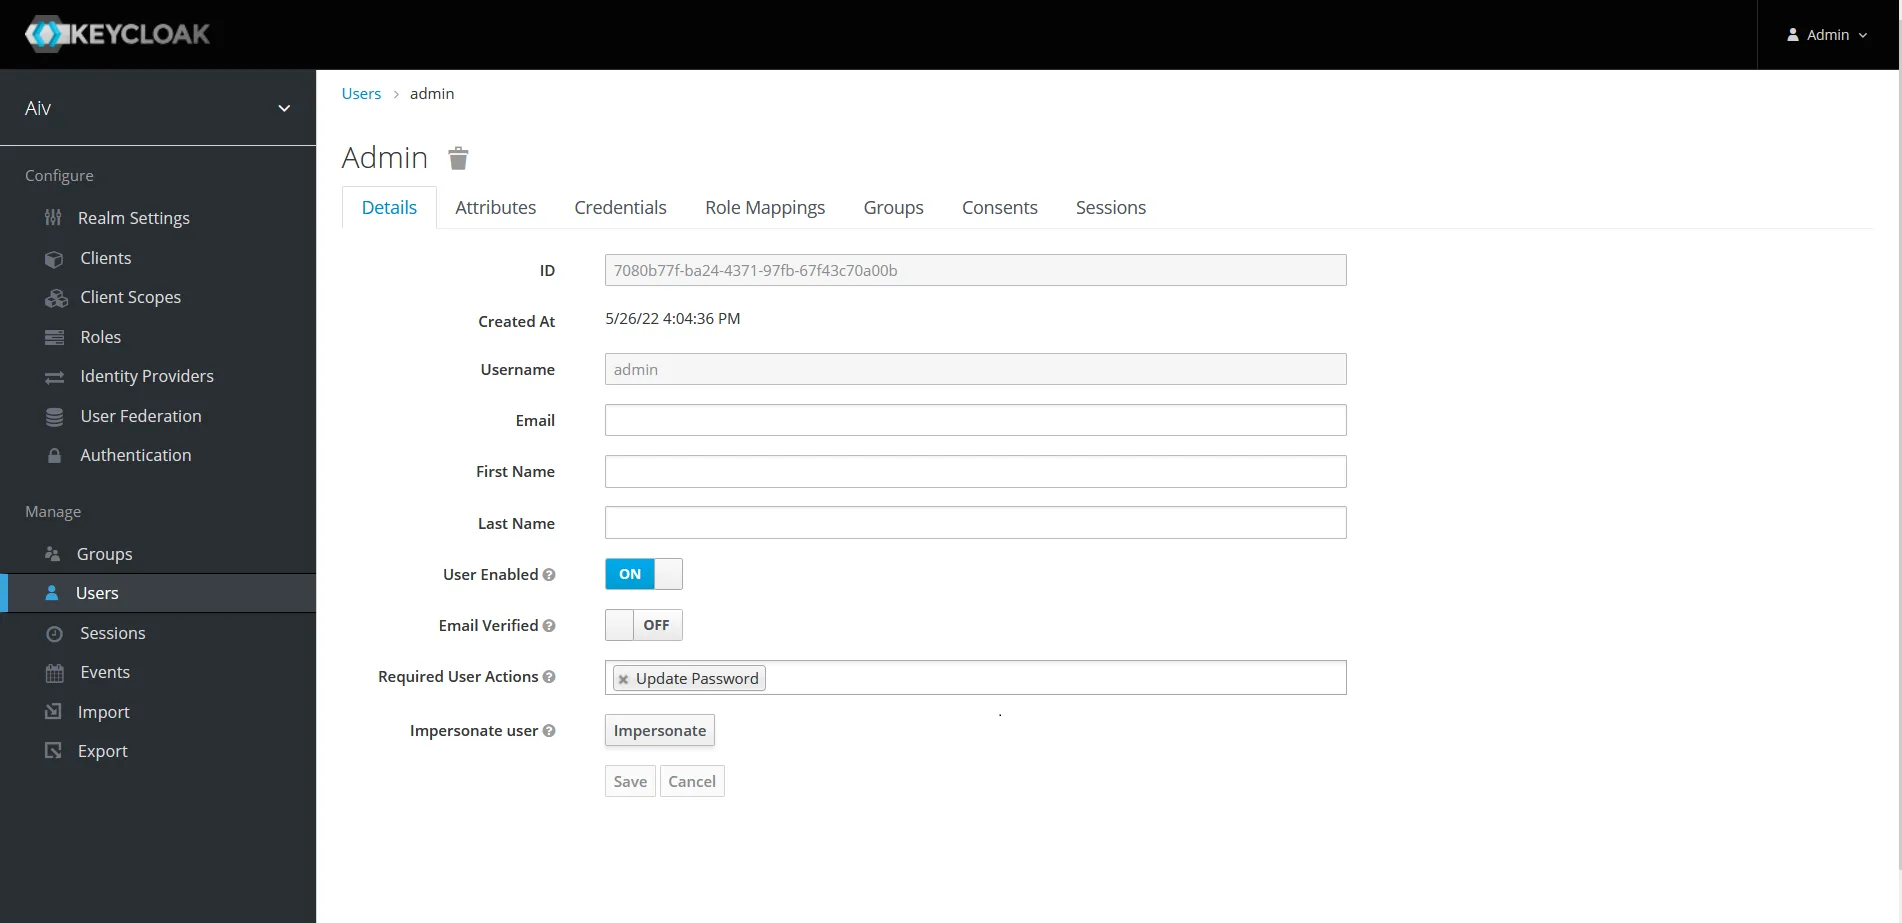
Once user is created, you will be navigated on User detail page as shown in below image,
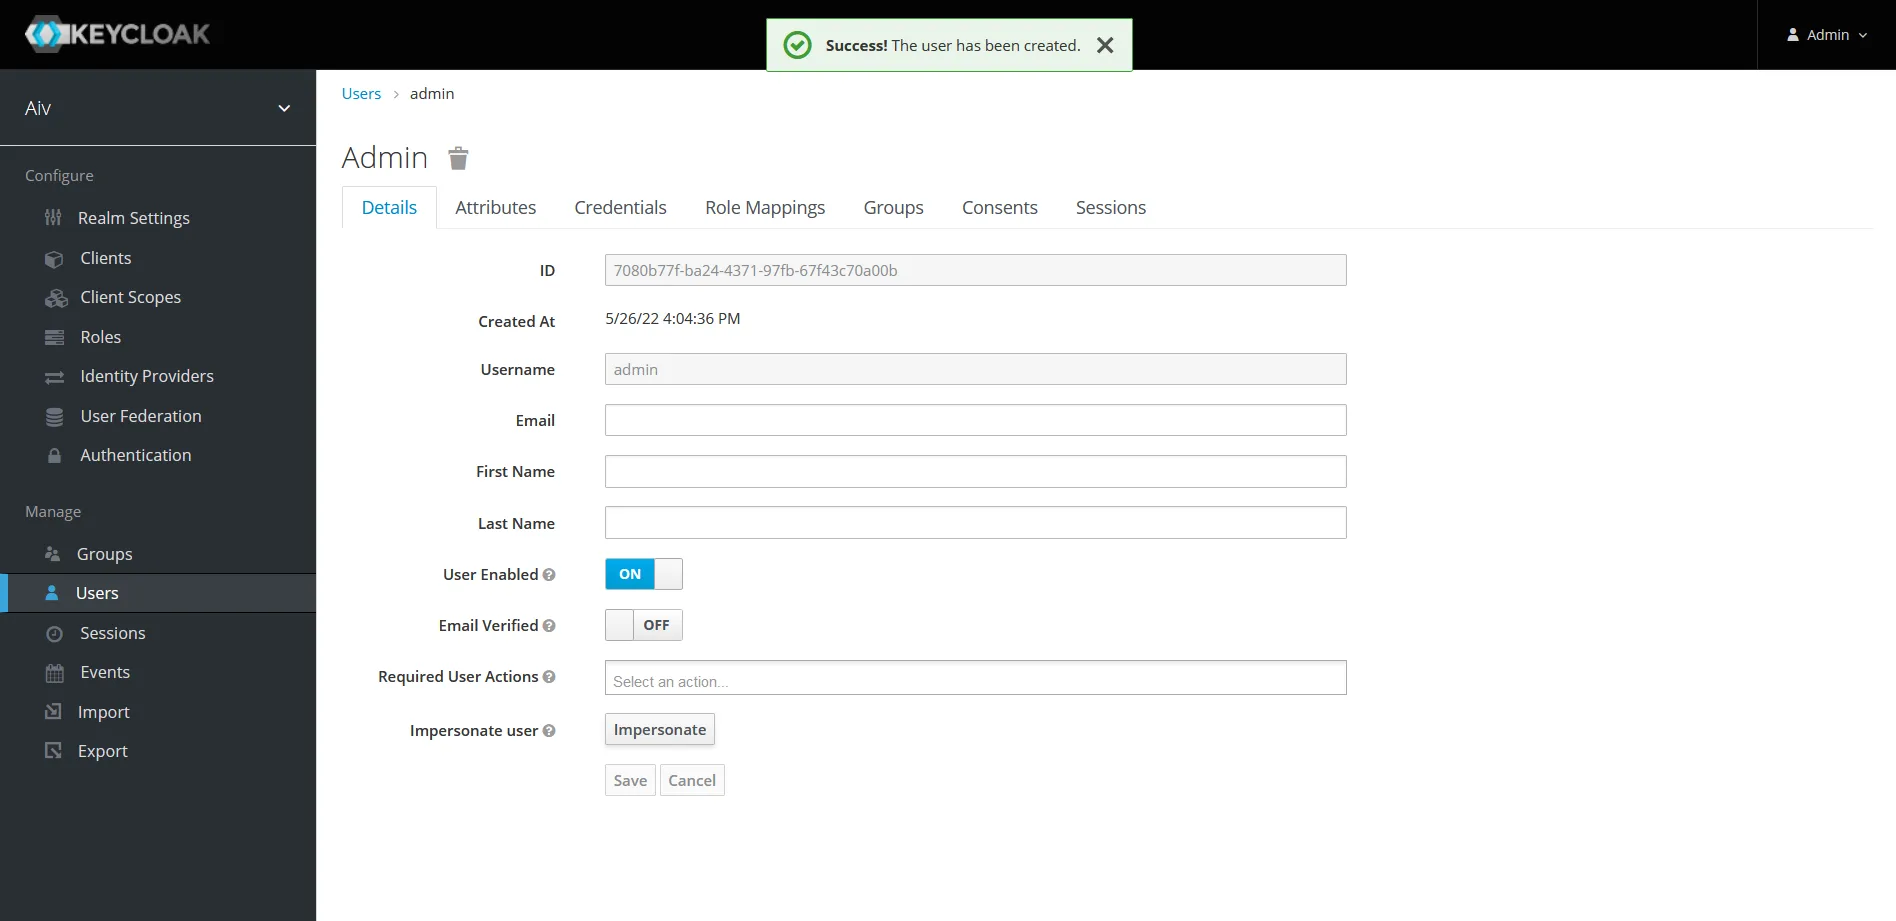
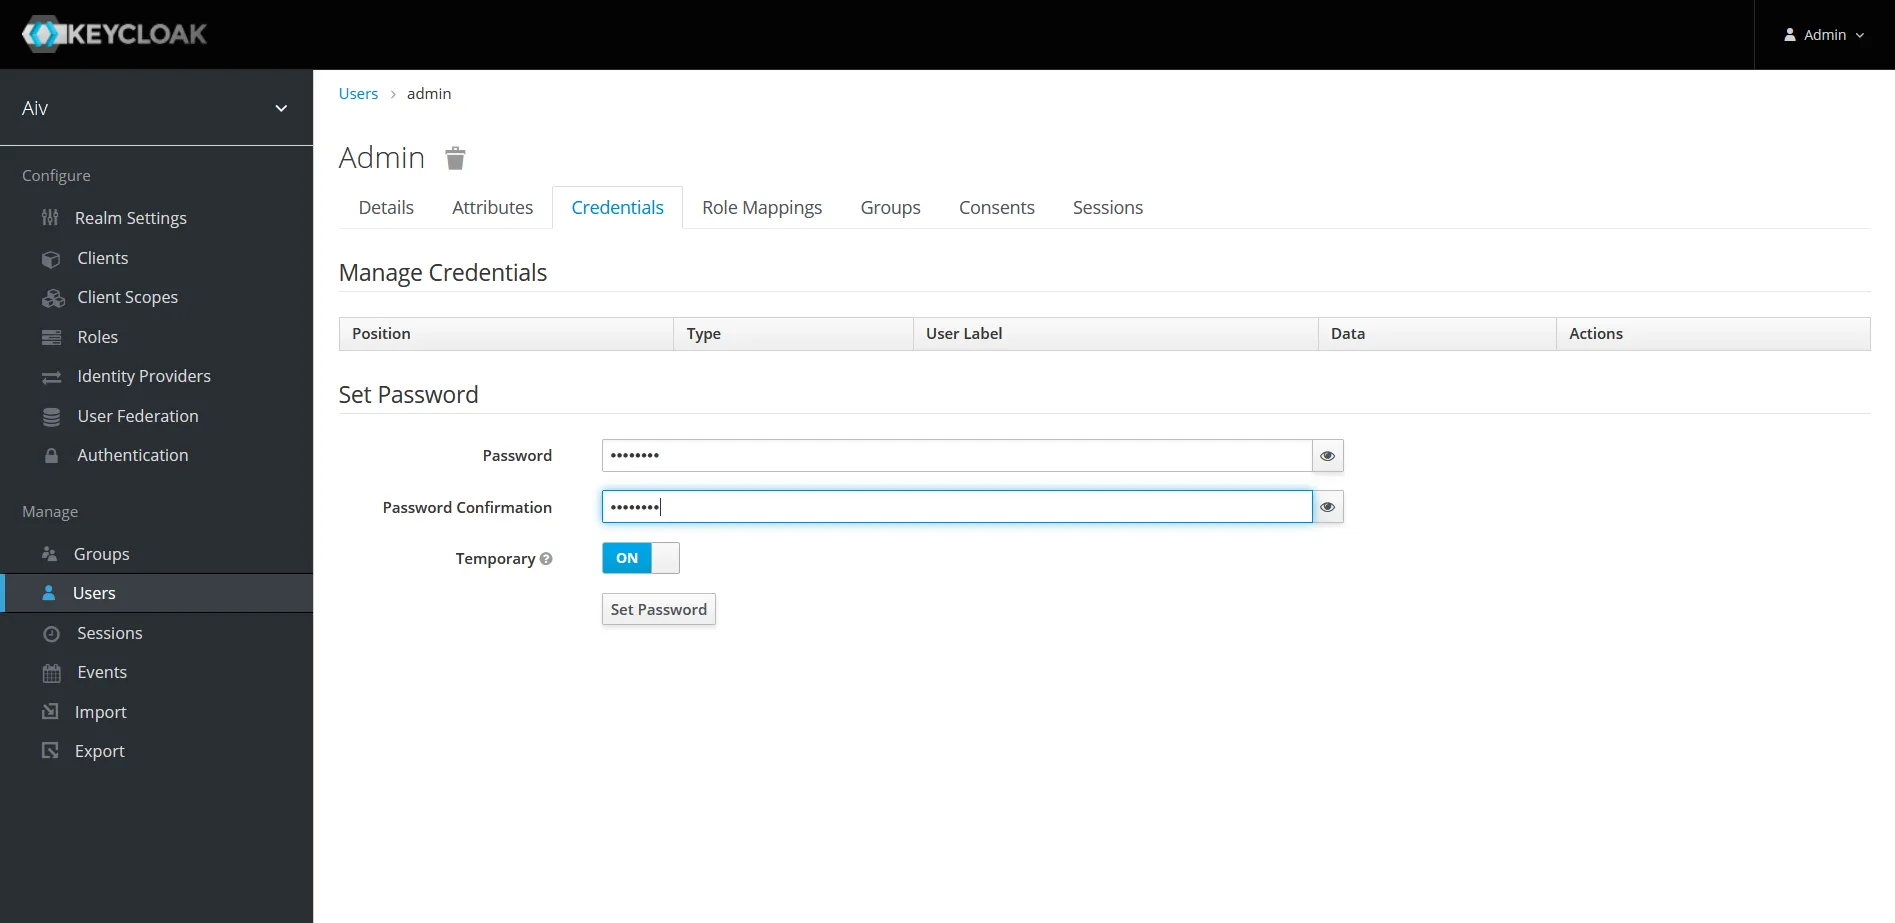
- Now, user is created we have to provide a valid password for this user. click on Credentials tab and provide password in password field. Also confirm password by writing password in password confirmation field. click on set password button to save this password. You will see password confirmation once password is applied.
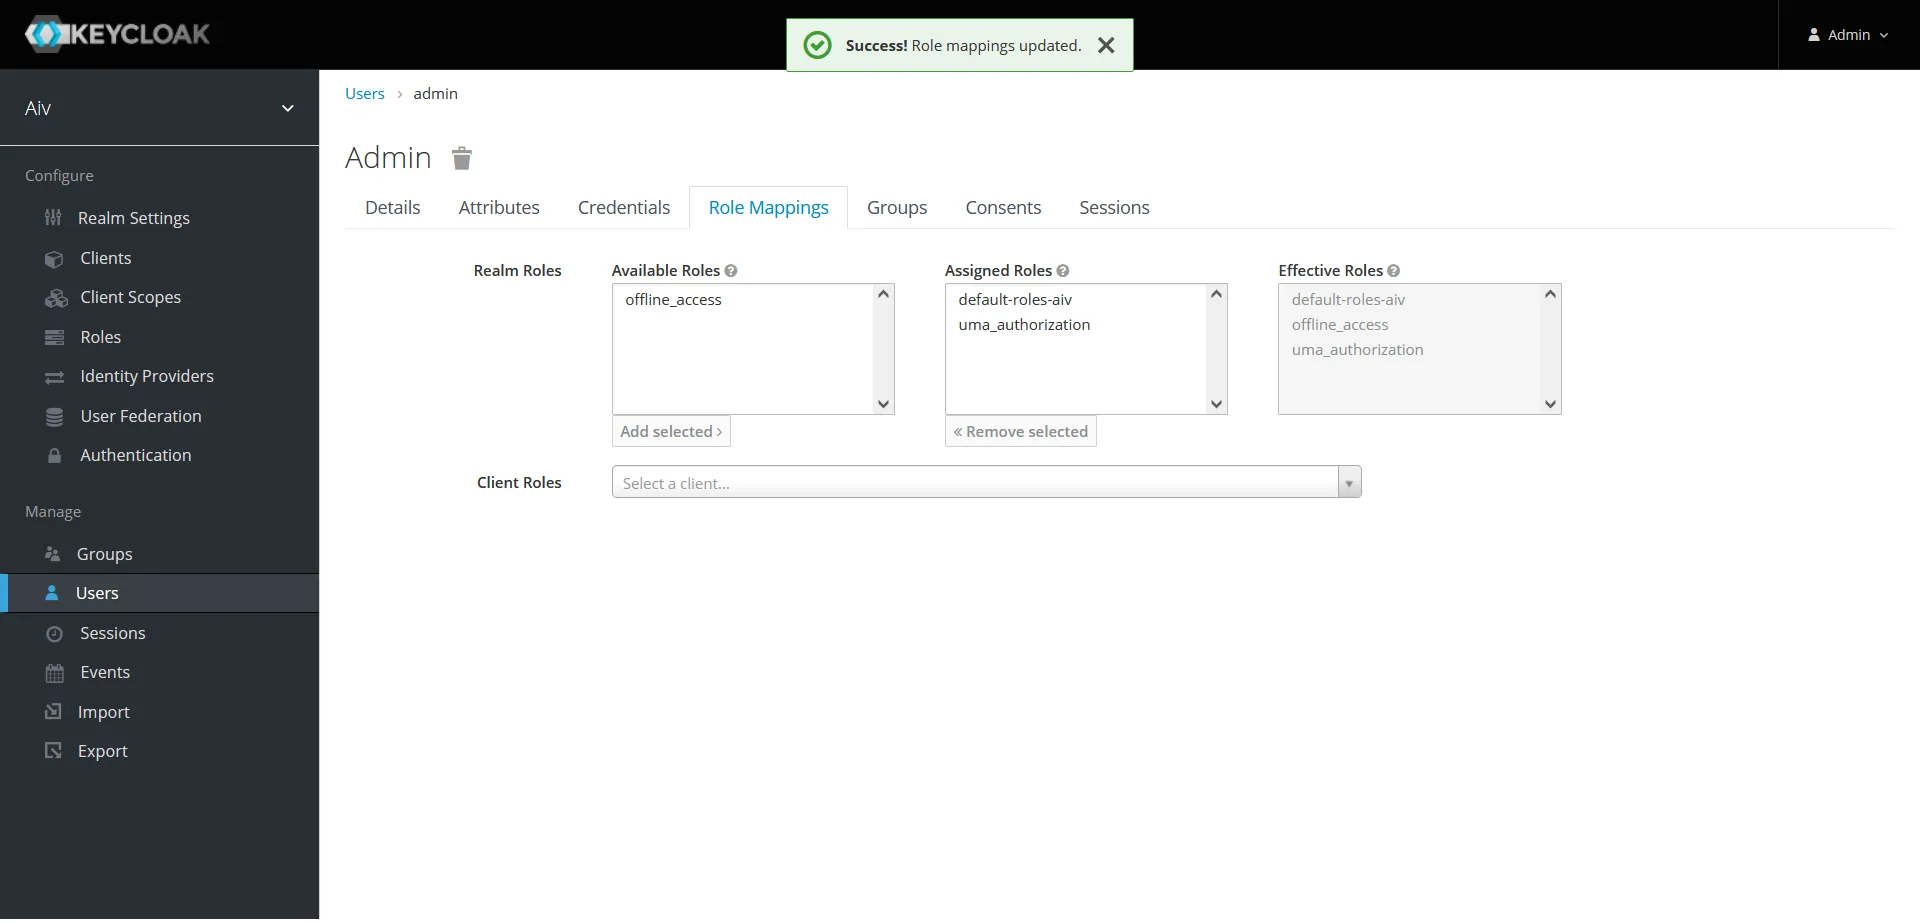
- Click on Role Mapping, select uma_authorization from avilable roles and click on Add Selected button.
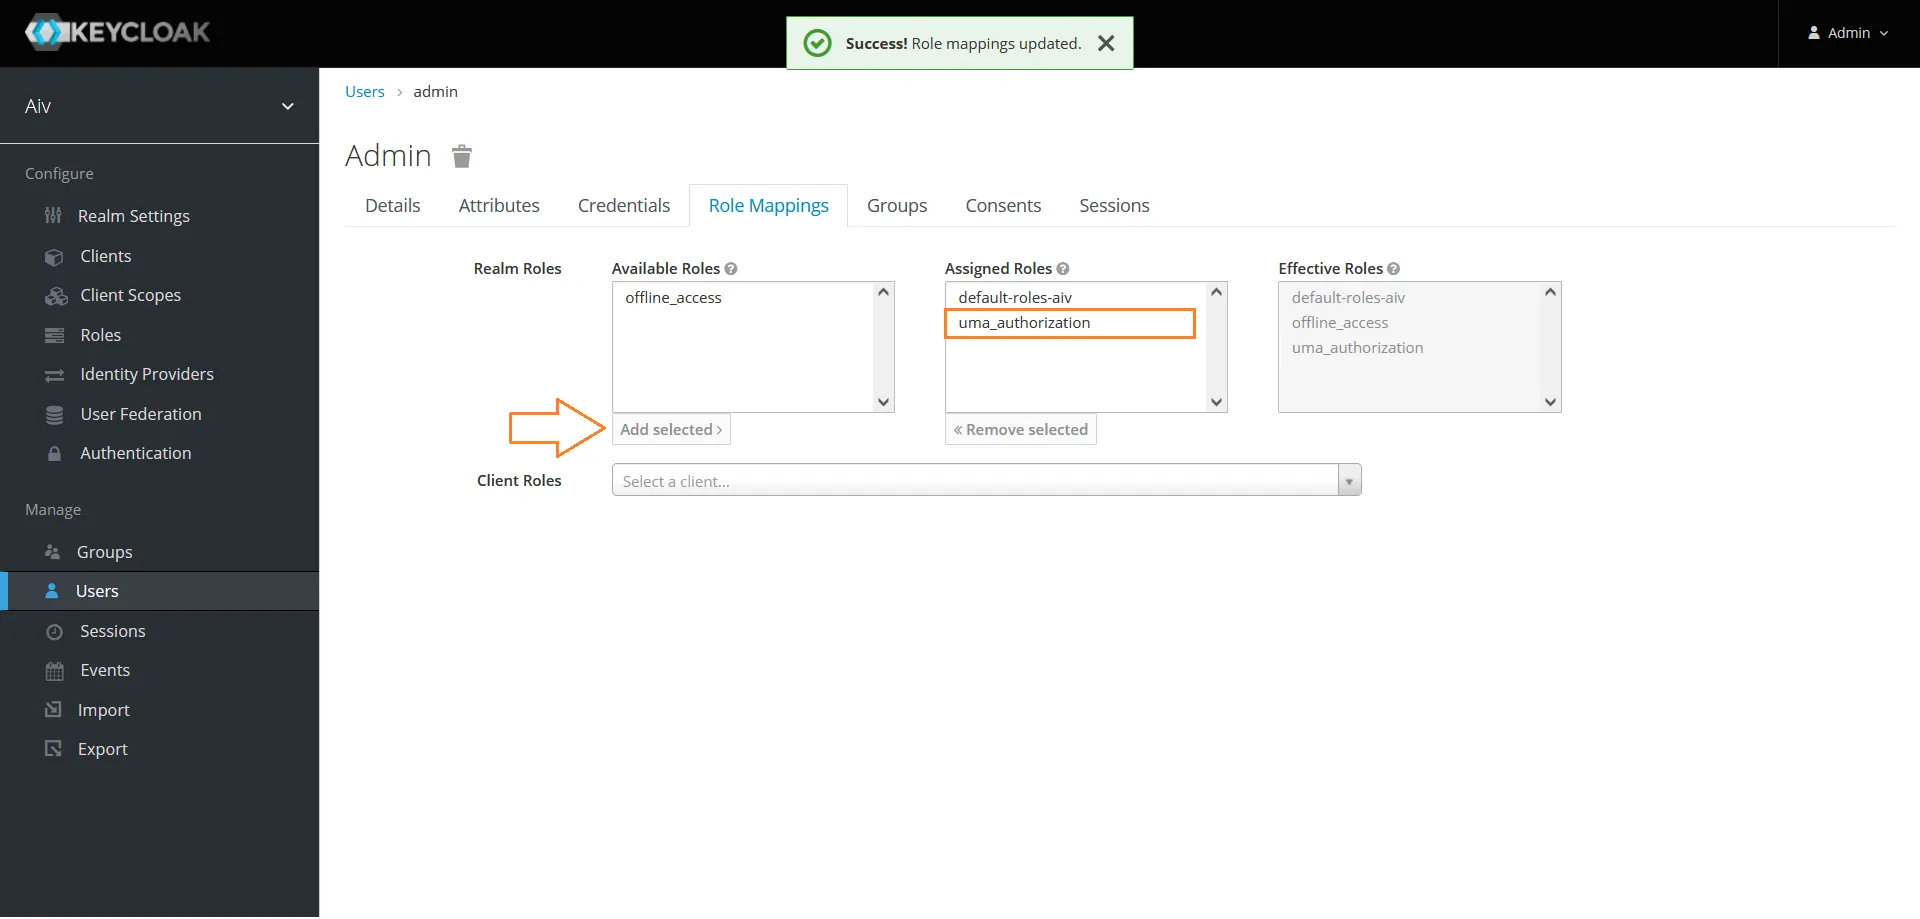
- You can see uma_authorization is added in to Assigned Roles
Create new client
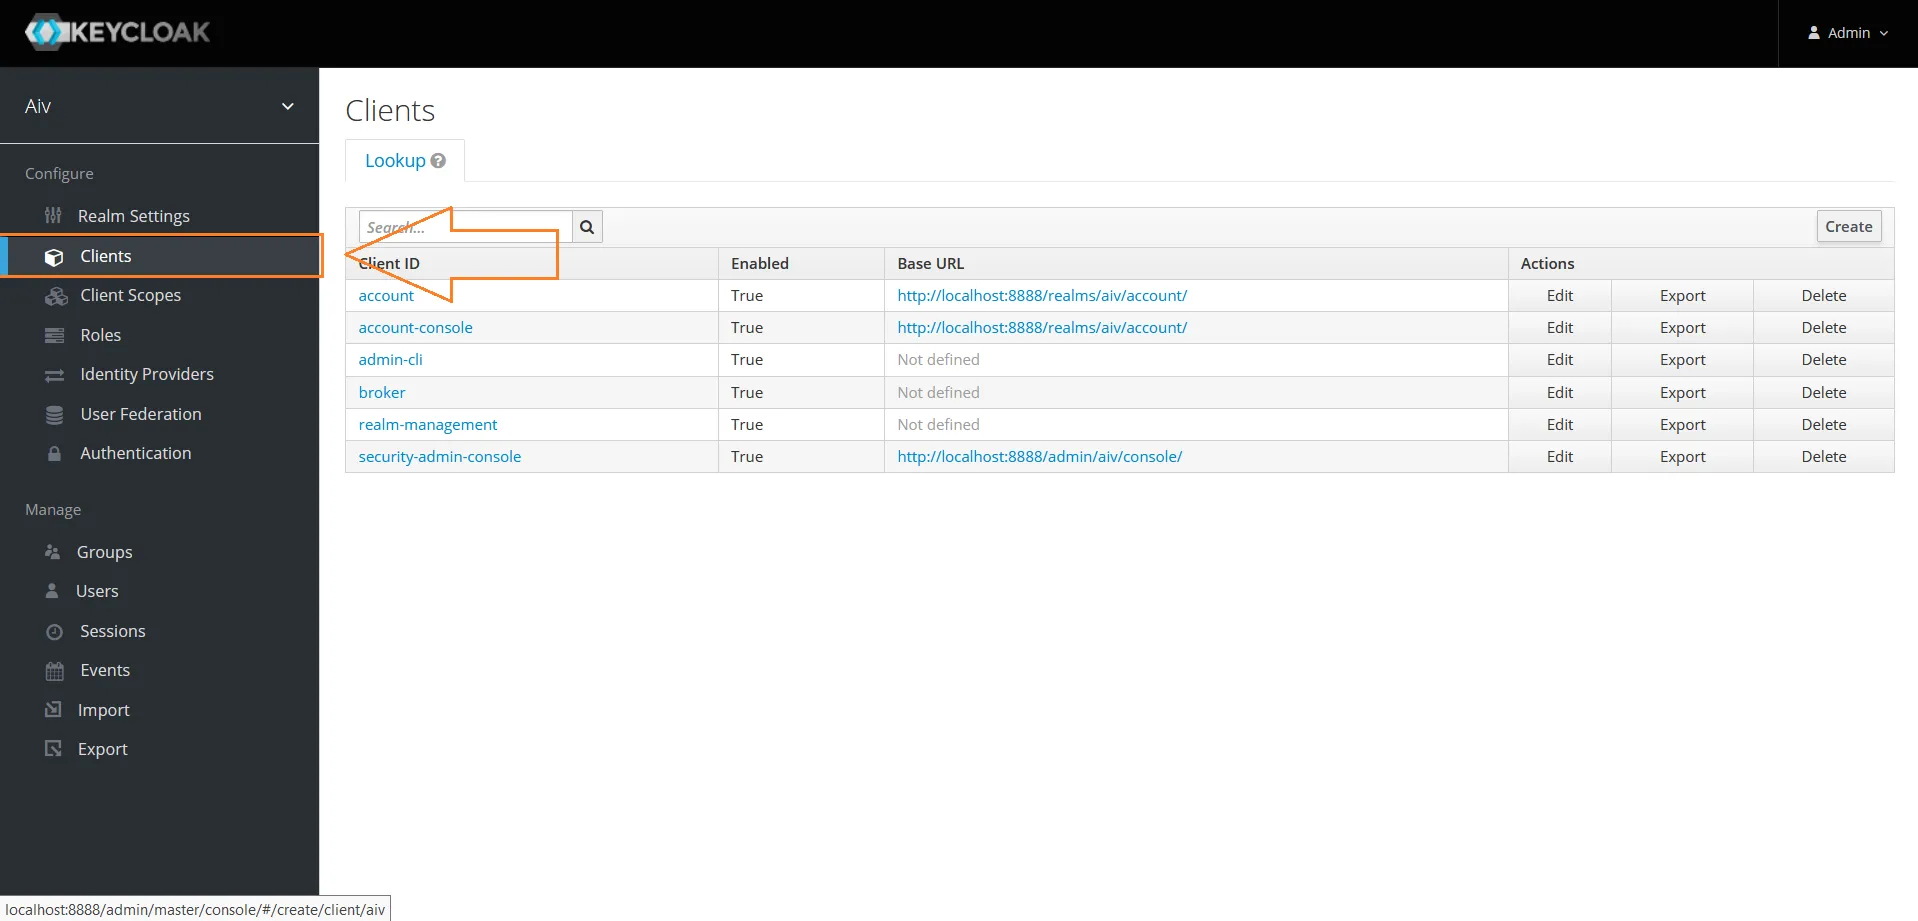
- Click on Clients from left menu and click on Create button to add a new client
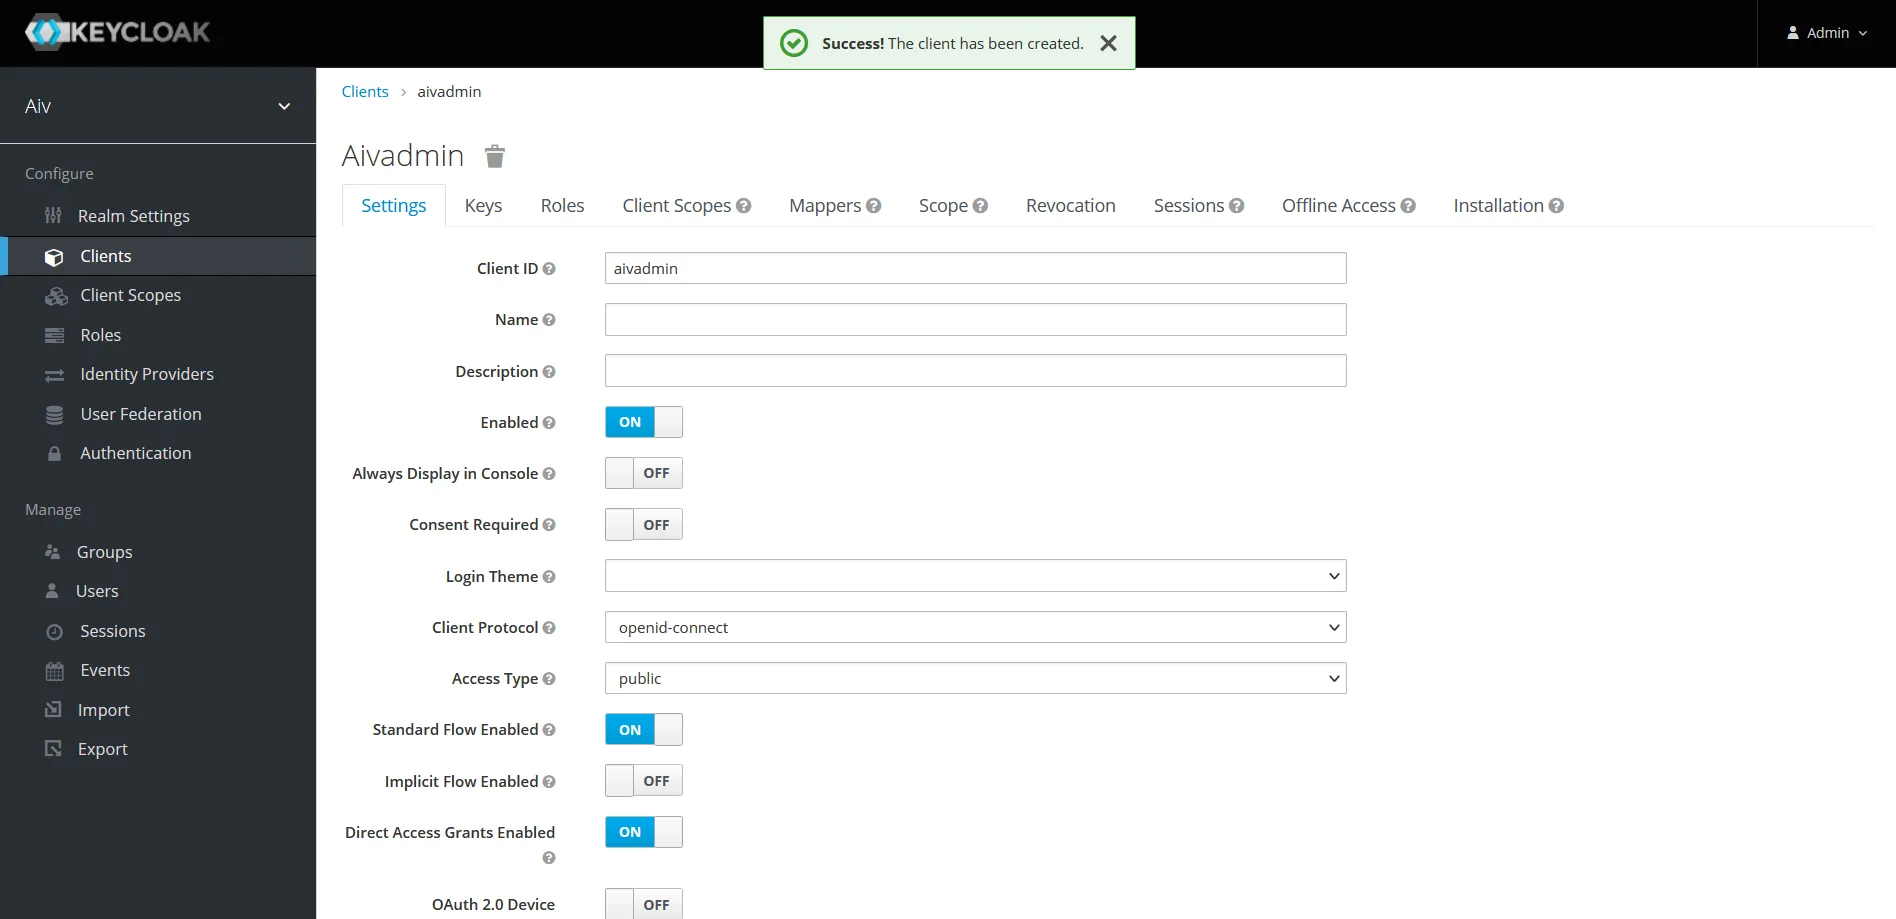
- Provide a Client ID and click on Save button
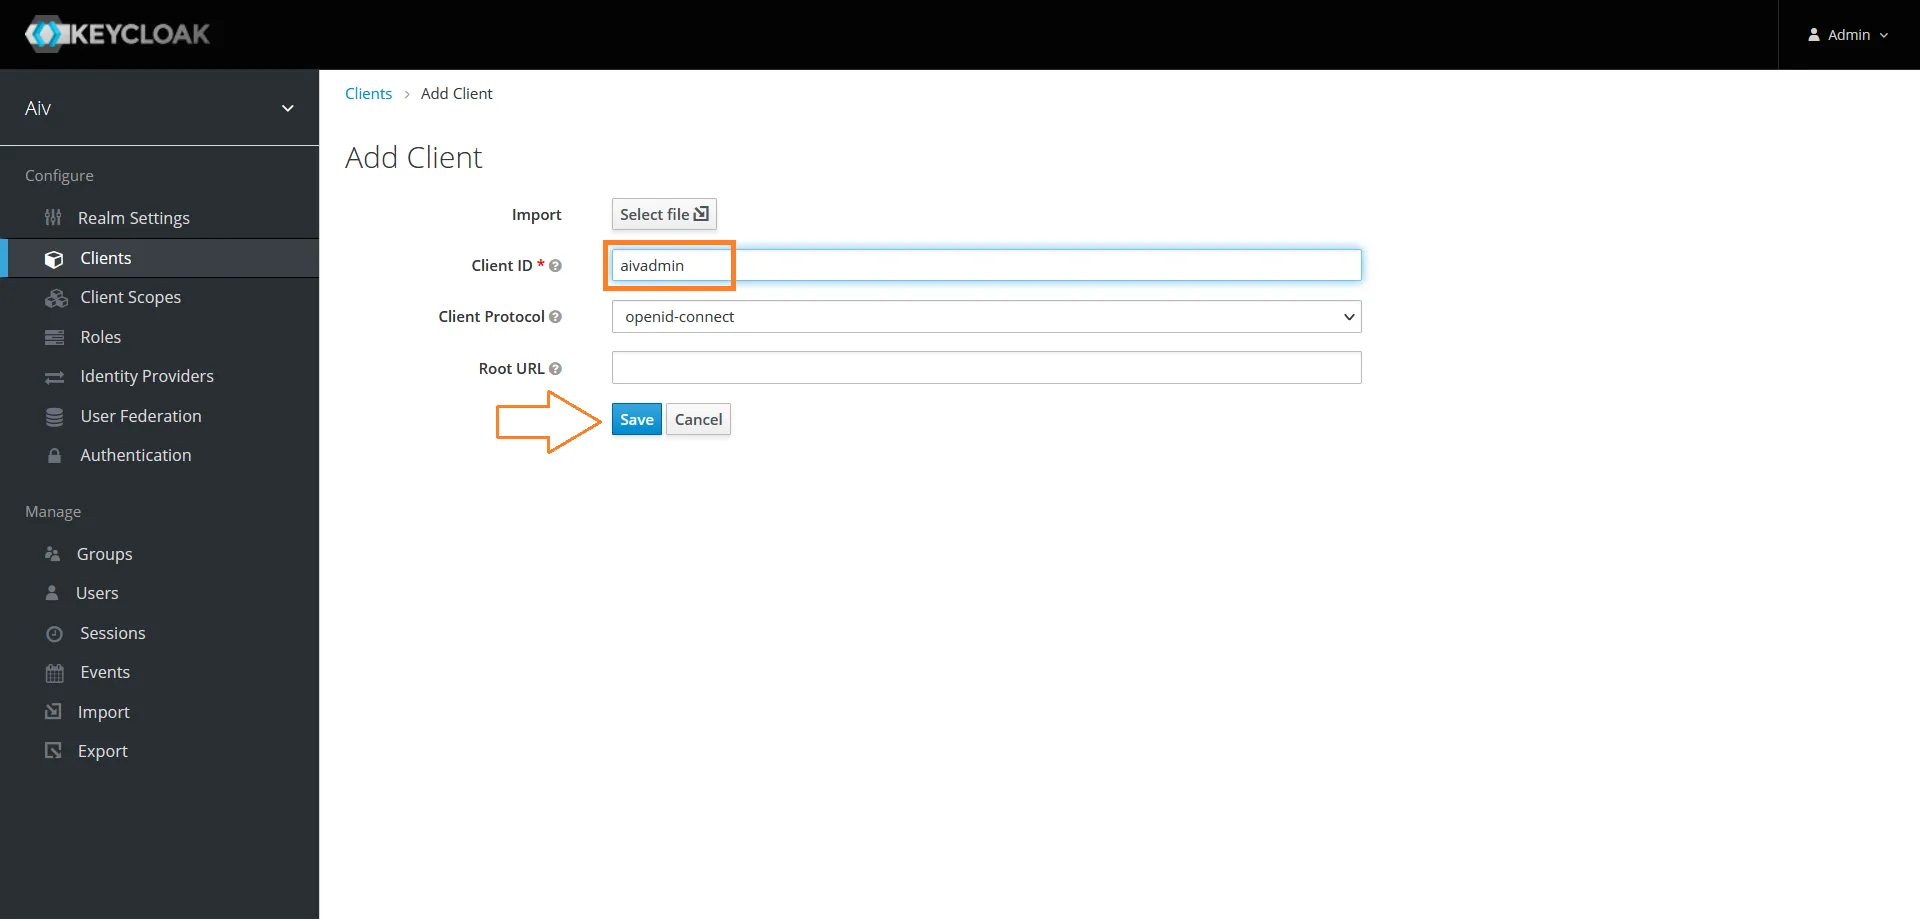
- Once client is created, you will landed on client configuration page
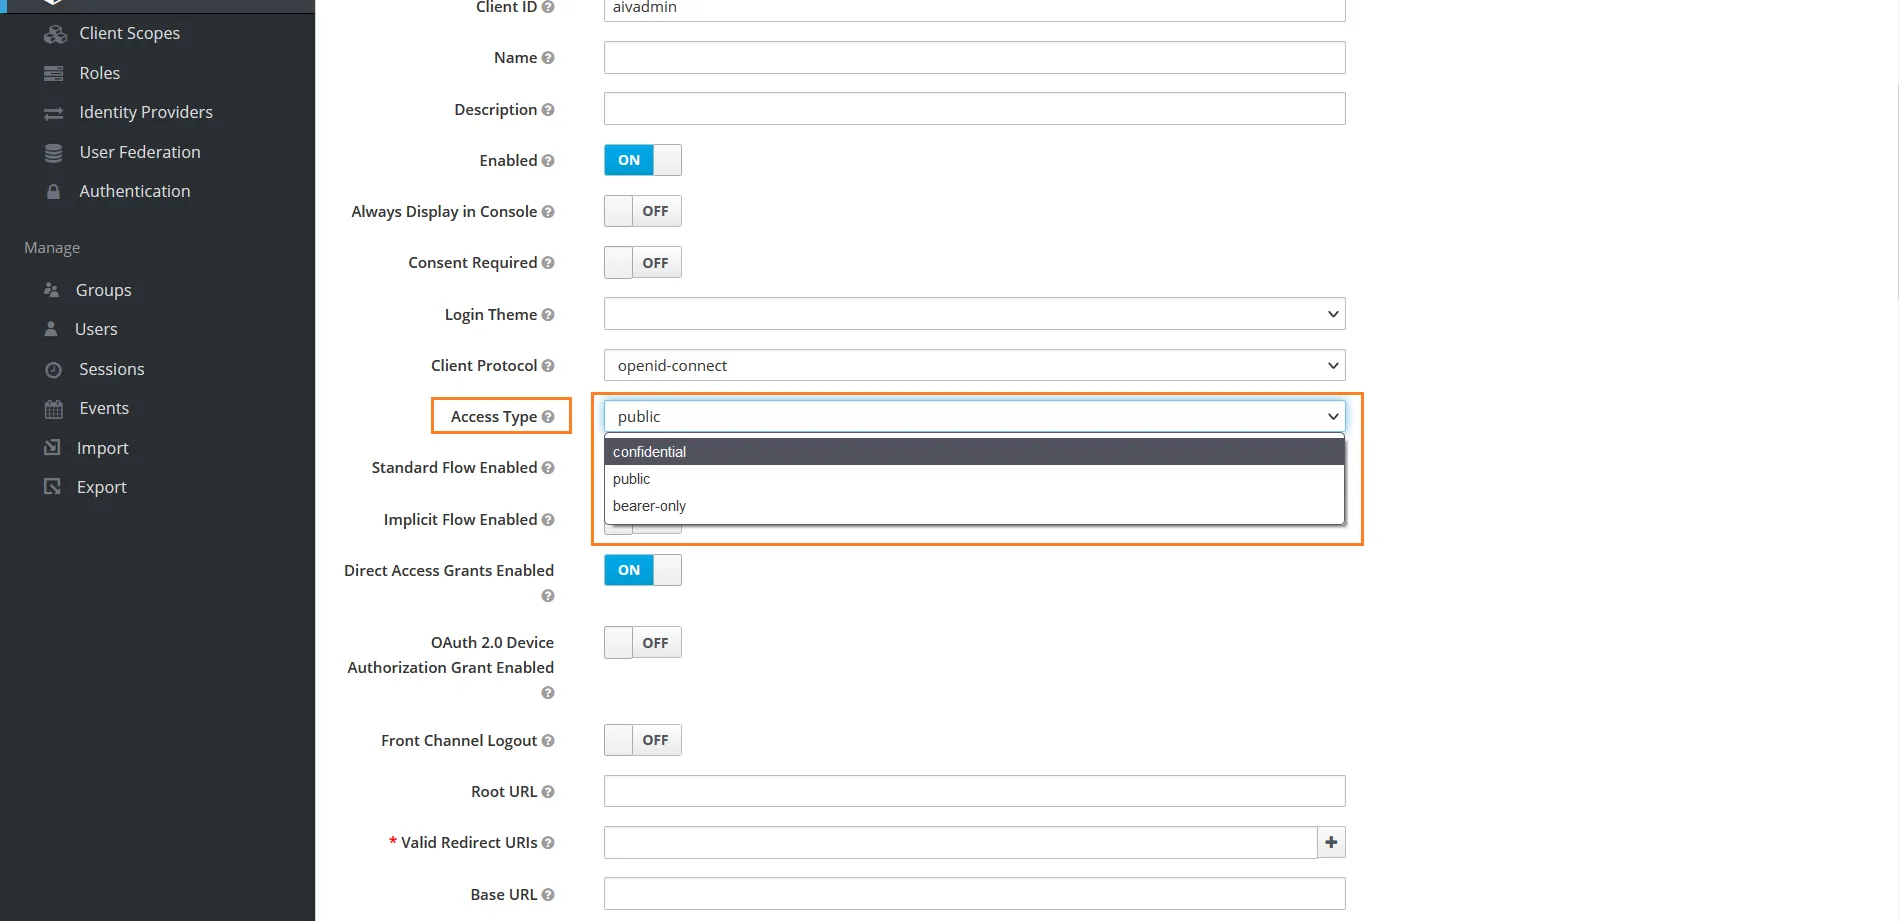
- In settings tab in Access Type dropdown select confidential
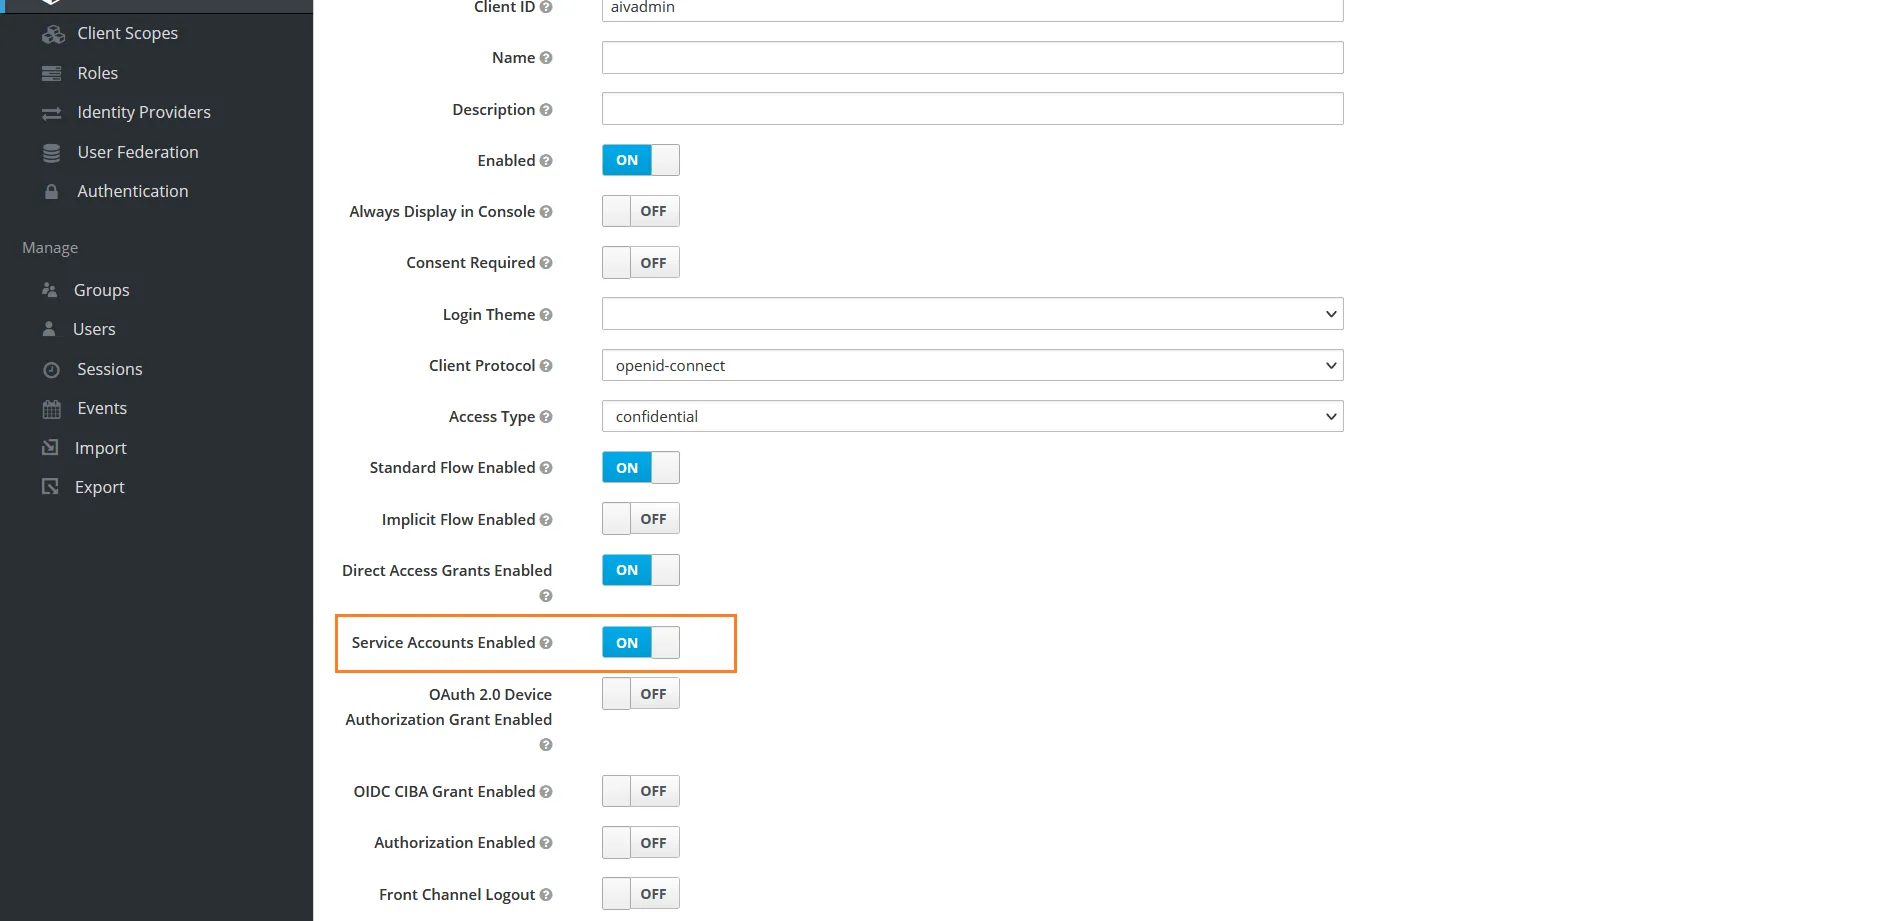
- Enable Service Accounts Enabled property
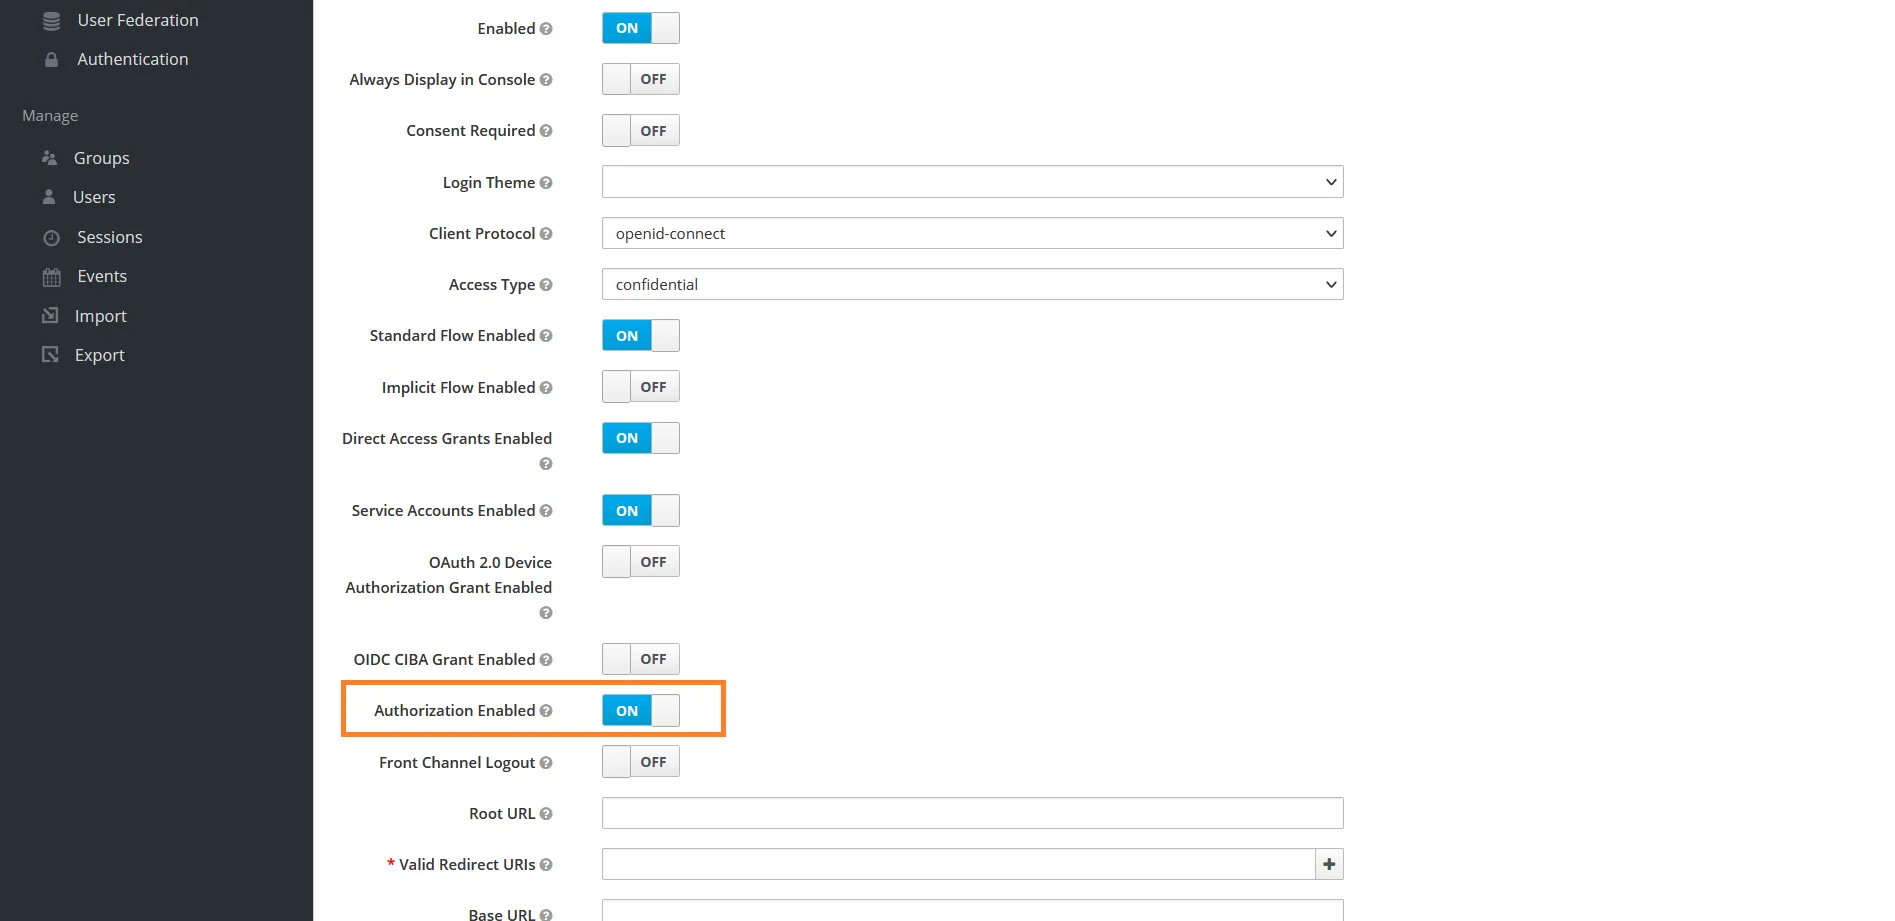
- Scroll down and Enable Authorization Enabled property
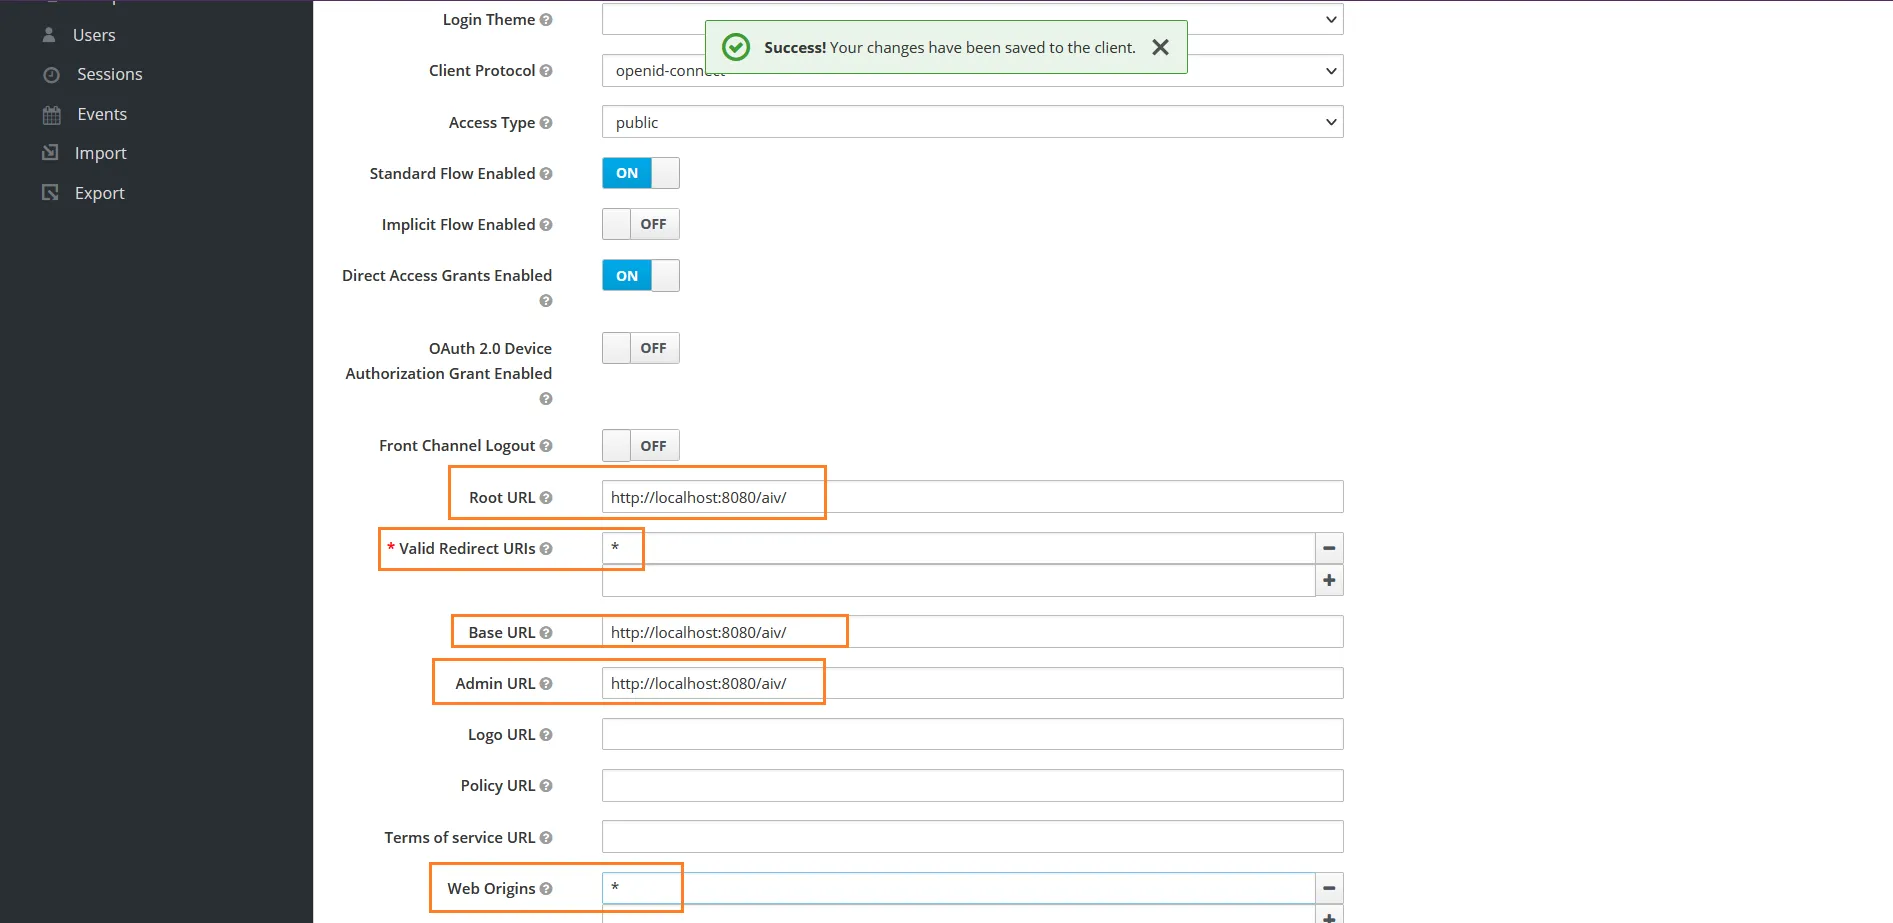
- Provide aiv URL in following fields,
Root URL:http://localhost:8080/aiv/

Valid Redirect URIs : *

Base URL:http://localhost:8080/aiv/

Admin URL : http://localhost:8080/aiv/

Web Origins : *

Backchannel Logout URL : http://localhost:8080/aiv/v5/api/logout
Refer below image for your reference,
-
Leave all other settings and click on save button to save changes.
-
Select Service Account Roles (?) and add uma_authorization from Available roles to Assigned Roles

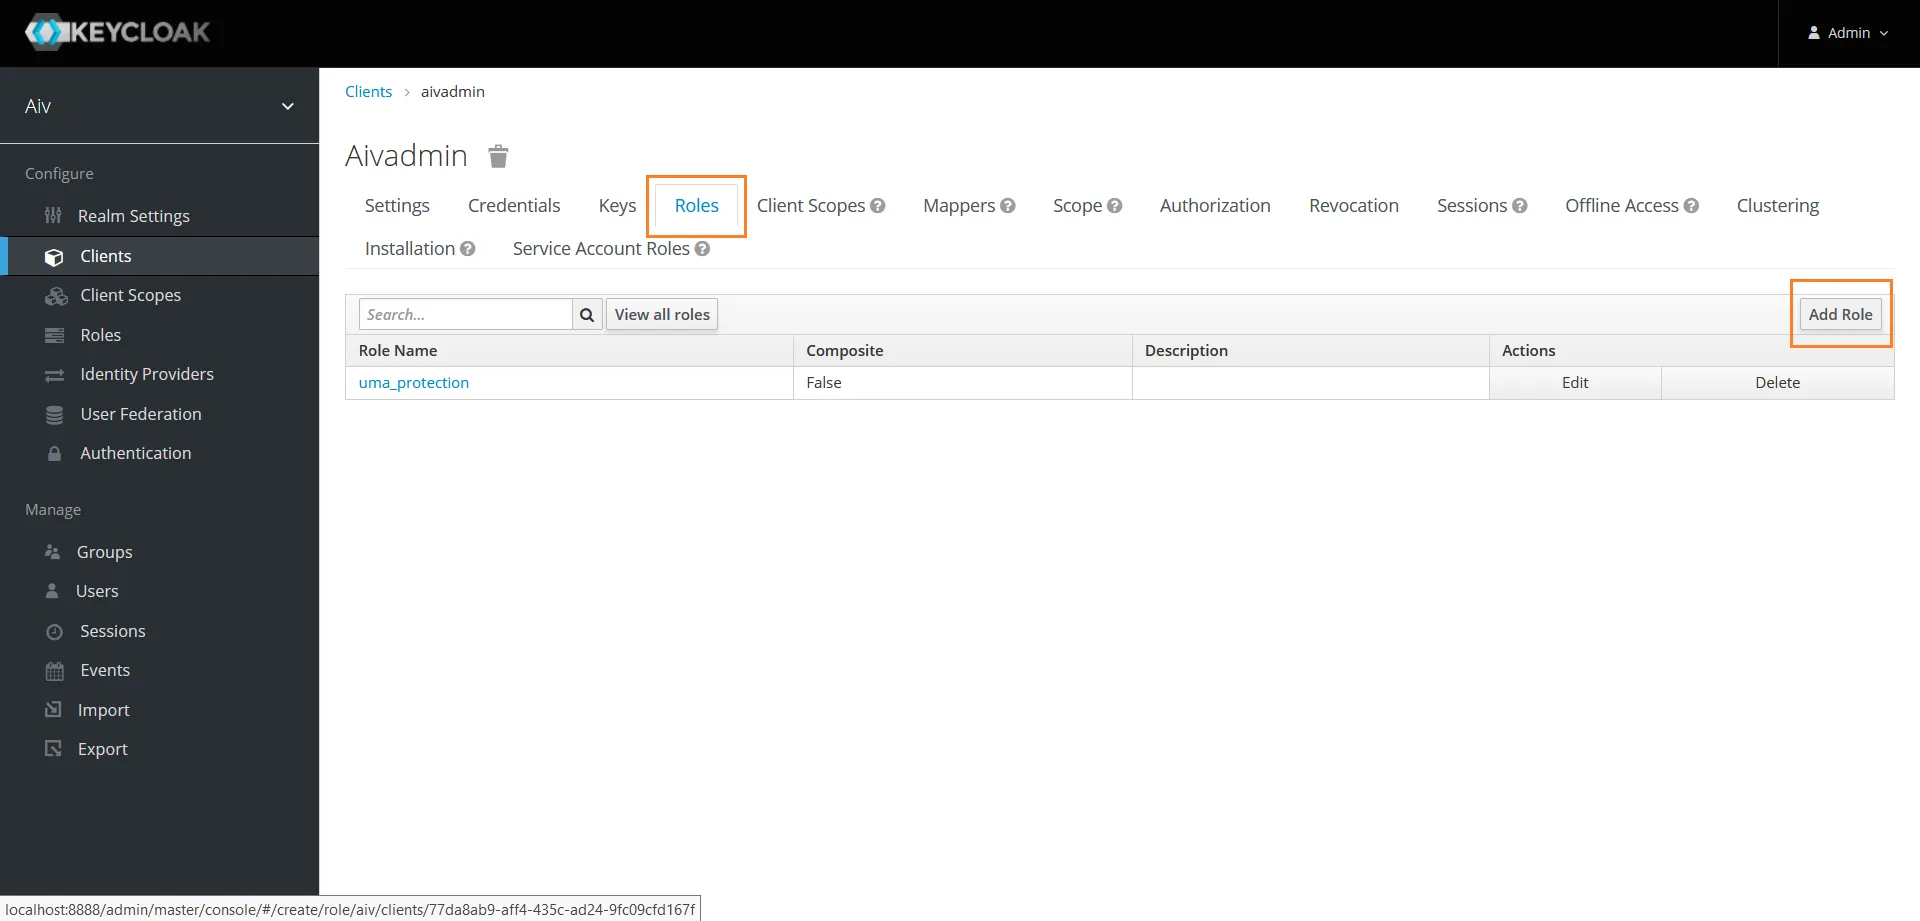
Create new Role
- Click on Roles tab and create a role by clicking on Add Role button
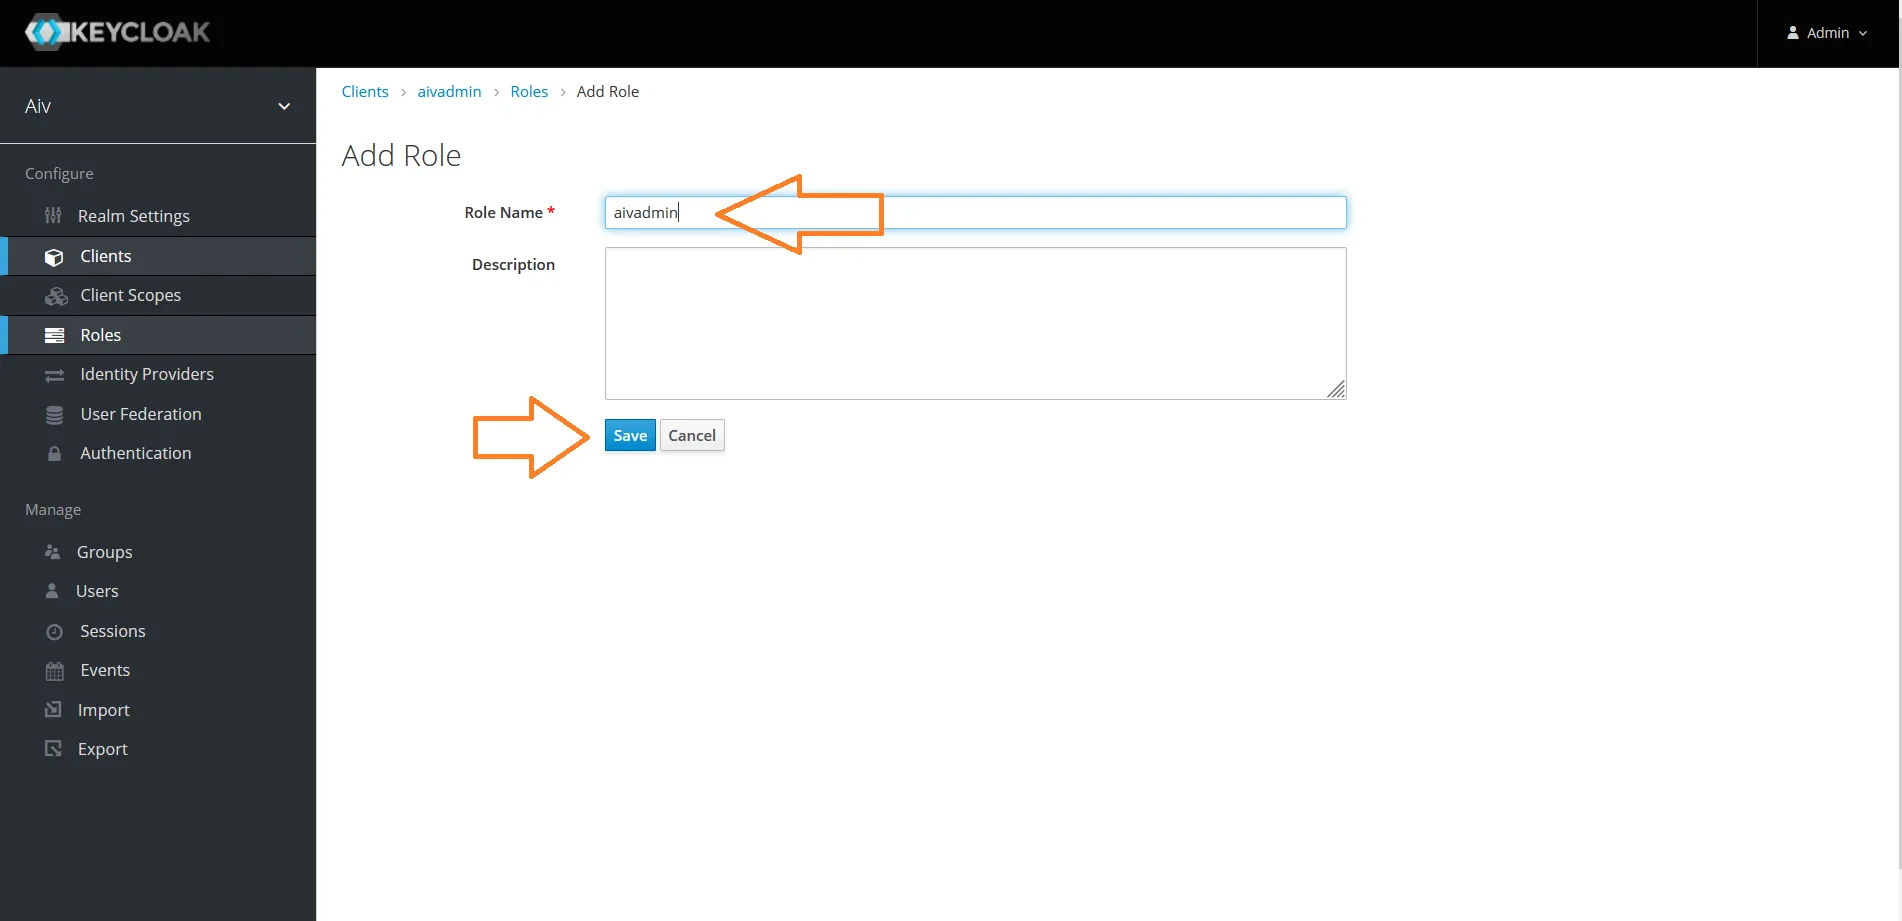
- Provide a role name and Click on save button to save changes
Assign role to user
- Now assign role for Admin user we have created, click on user option from left side menu. click on View all users to see all users
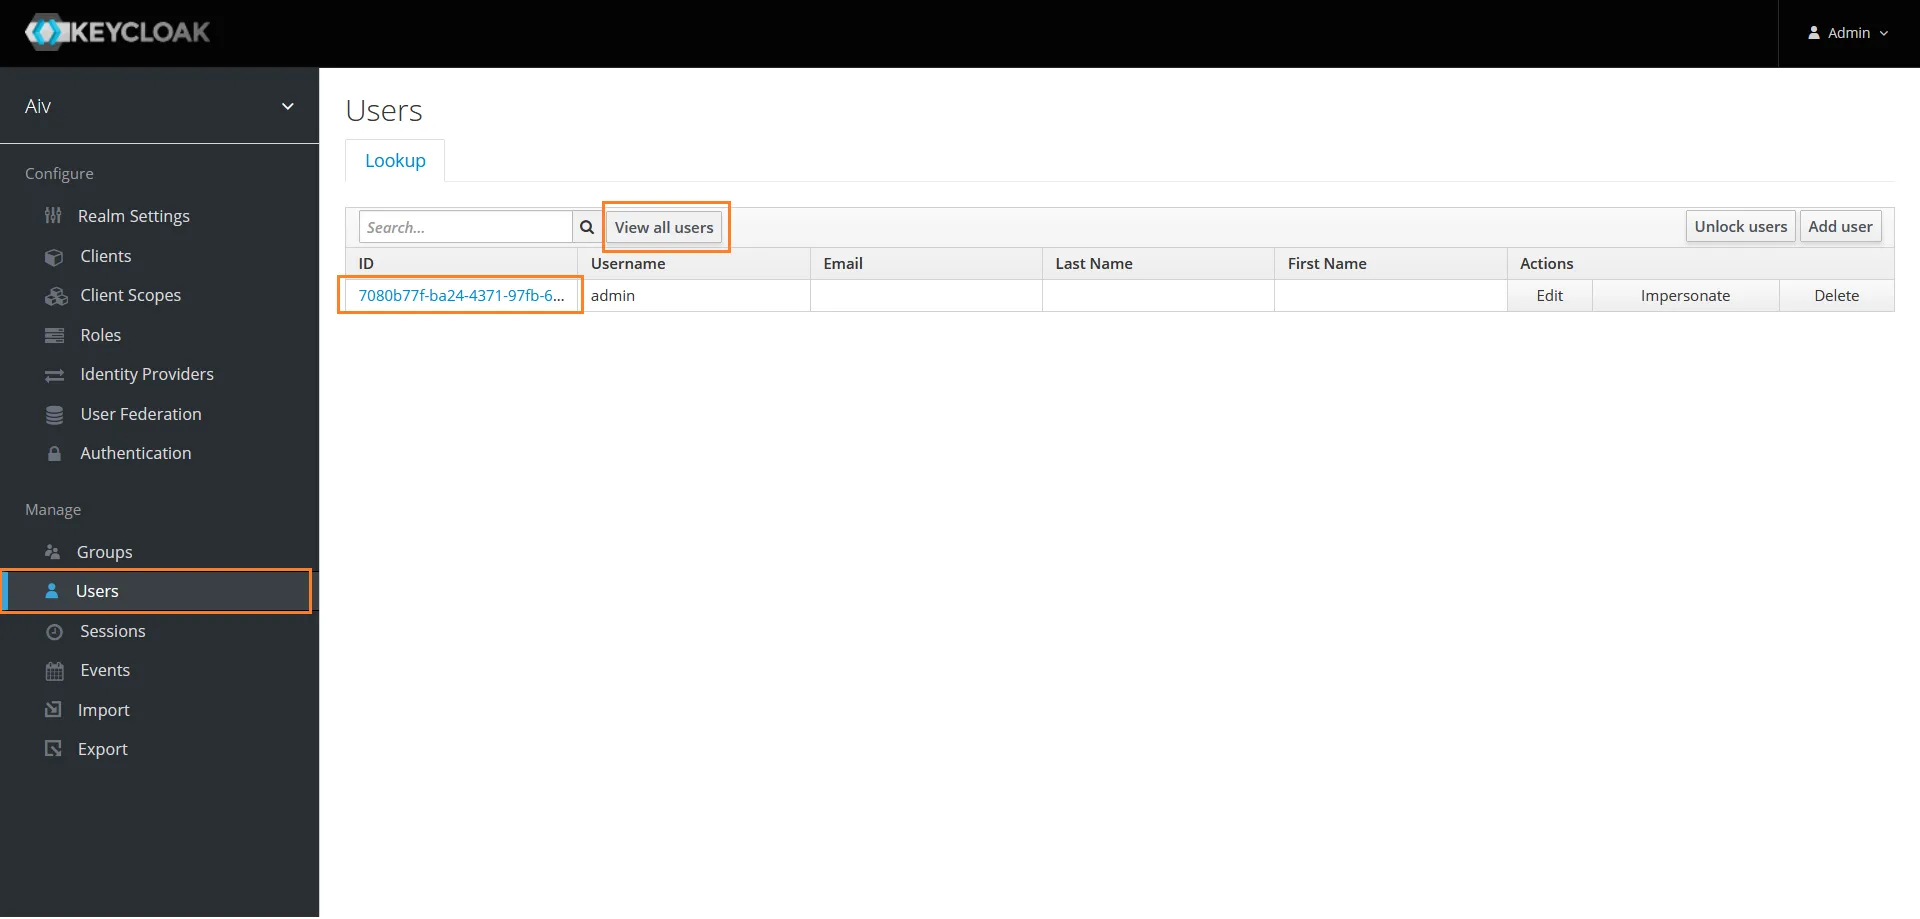
- Click on ID for that user to open user settings
- Click on Role mapping tab and click on Client Roles to see list of available roles
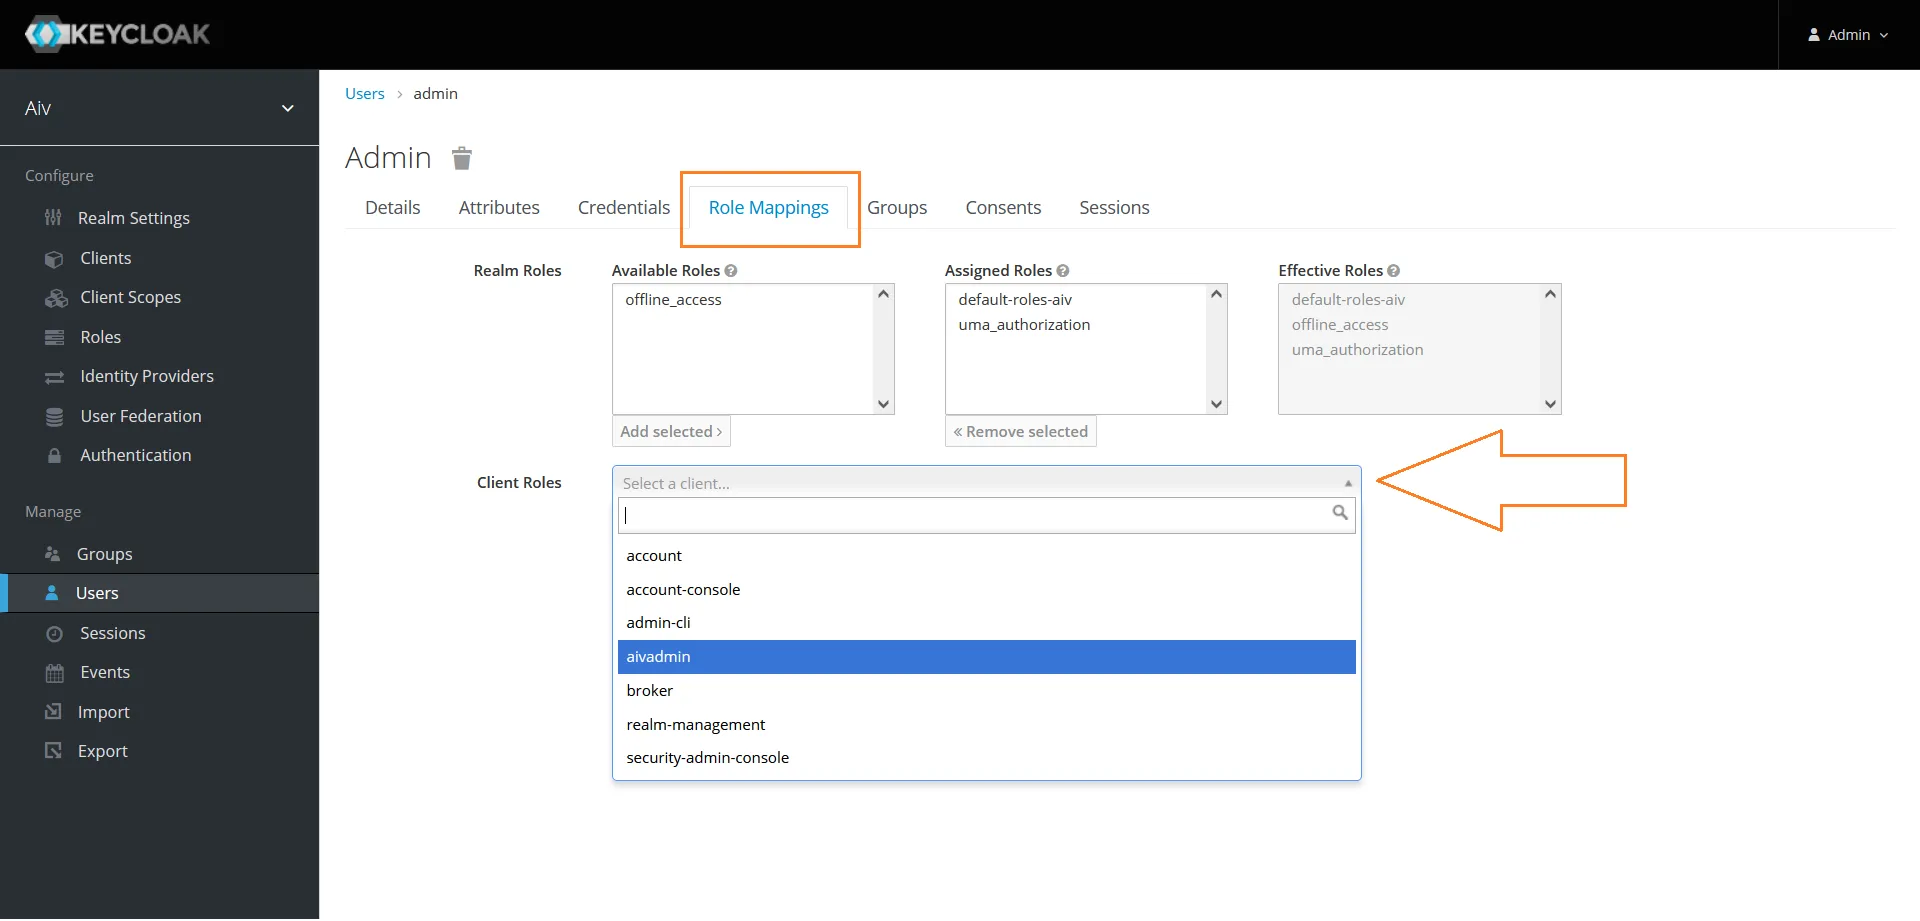
- Select role we have created form the list and add that role to Assigned Roles box
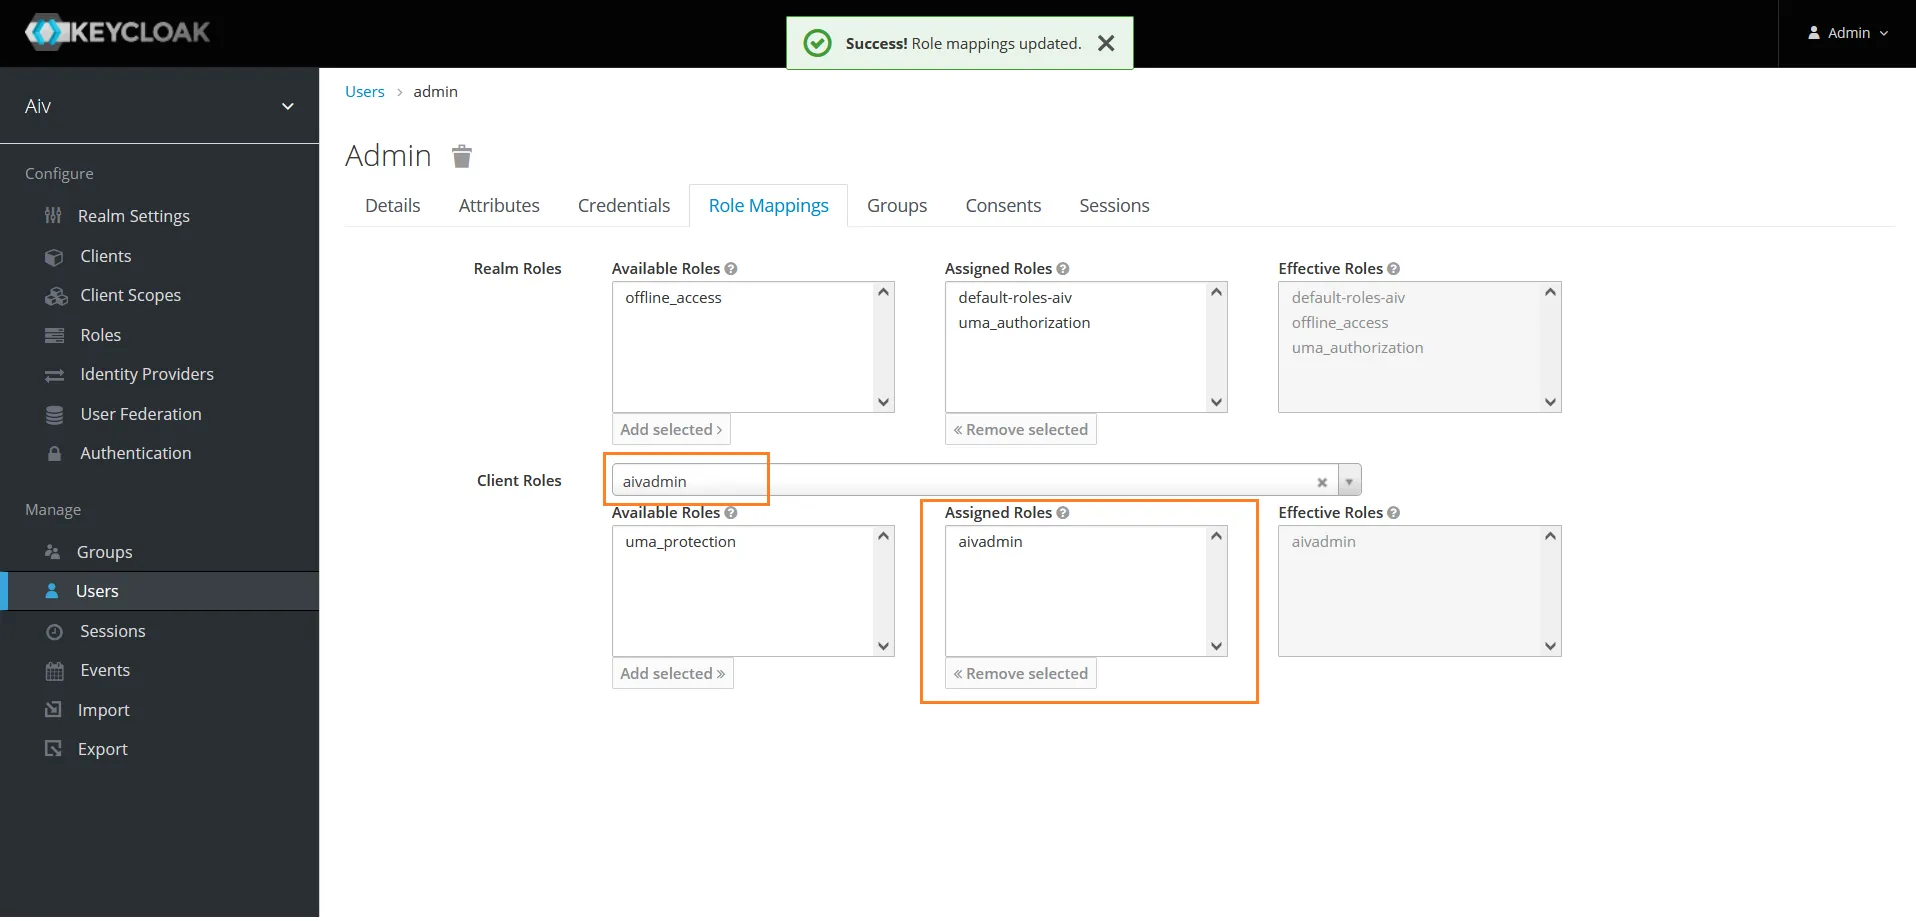
-
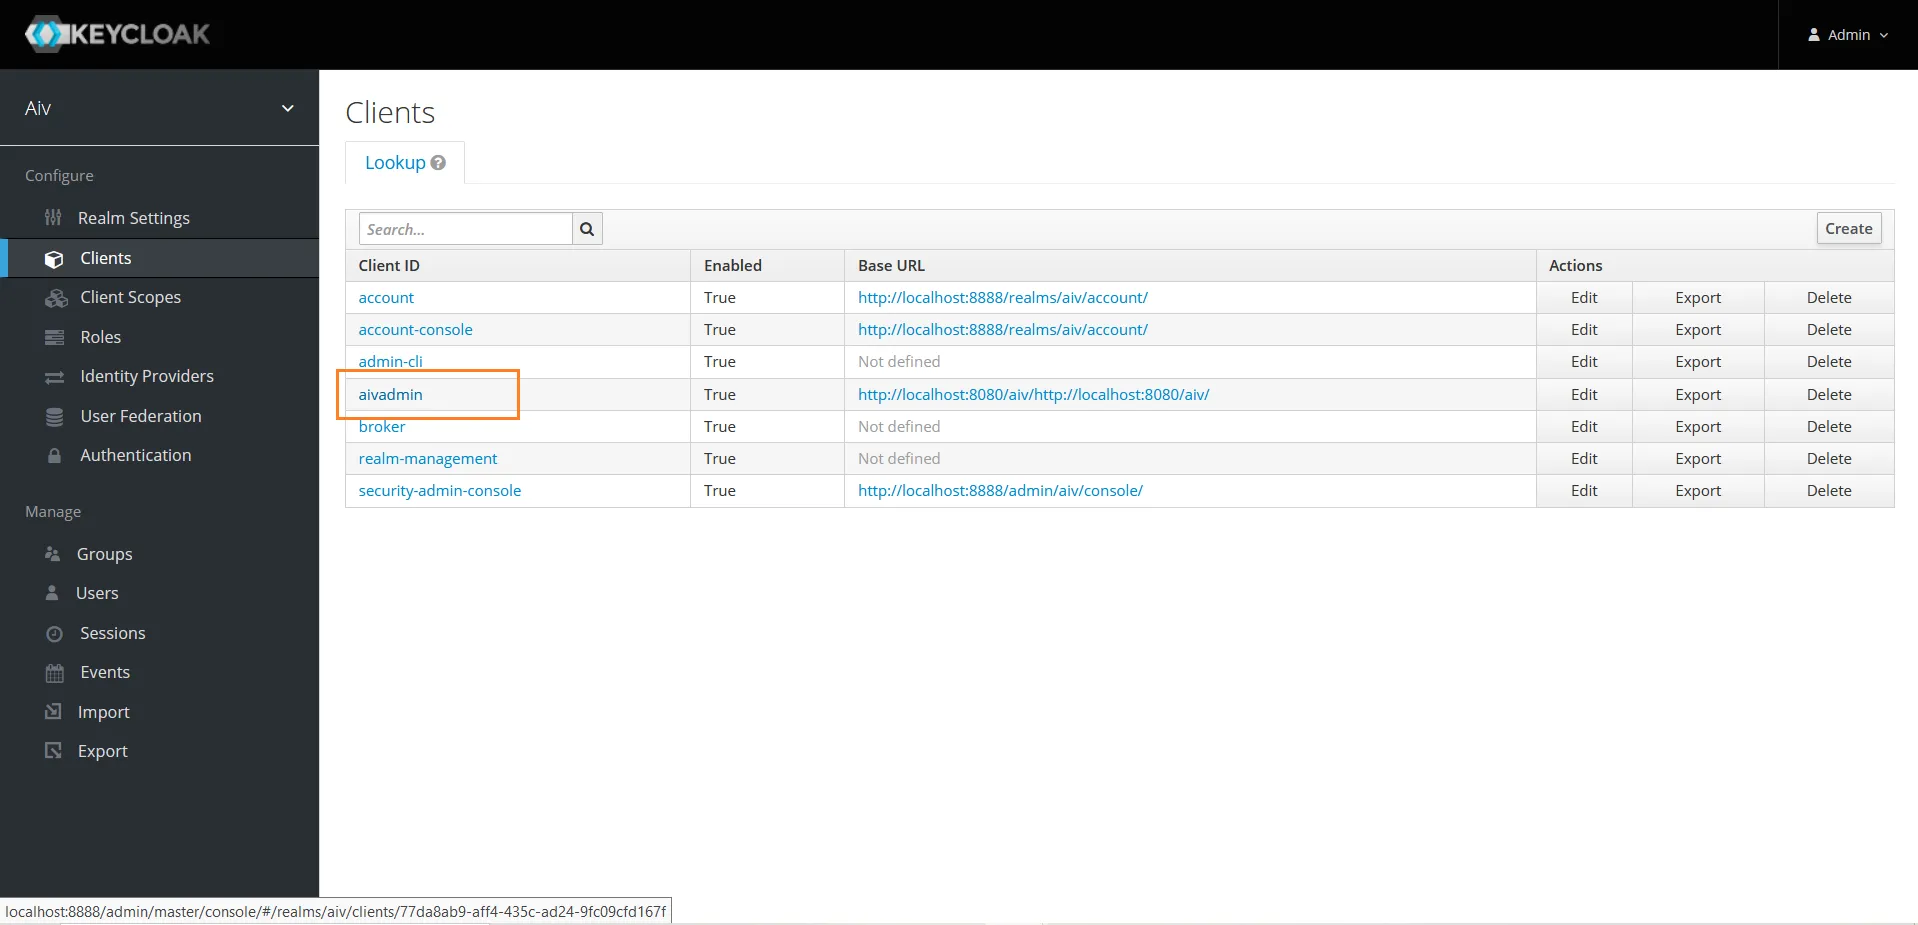
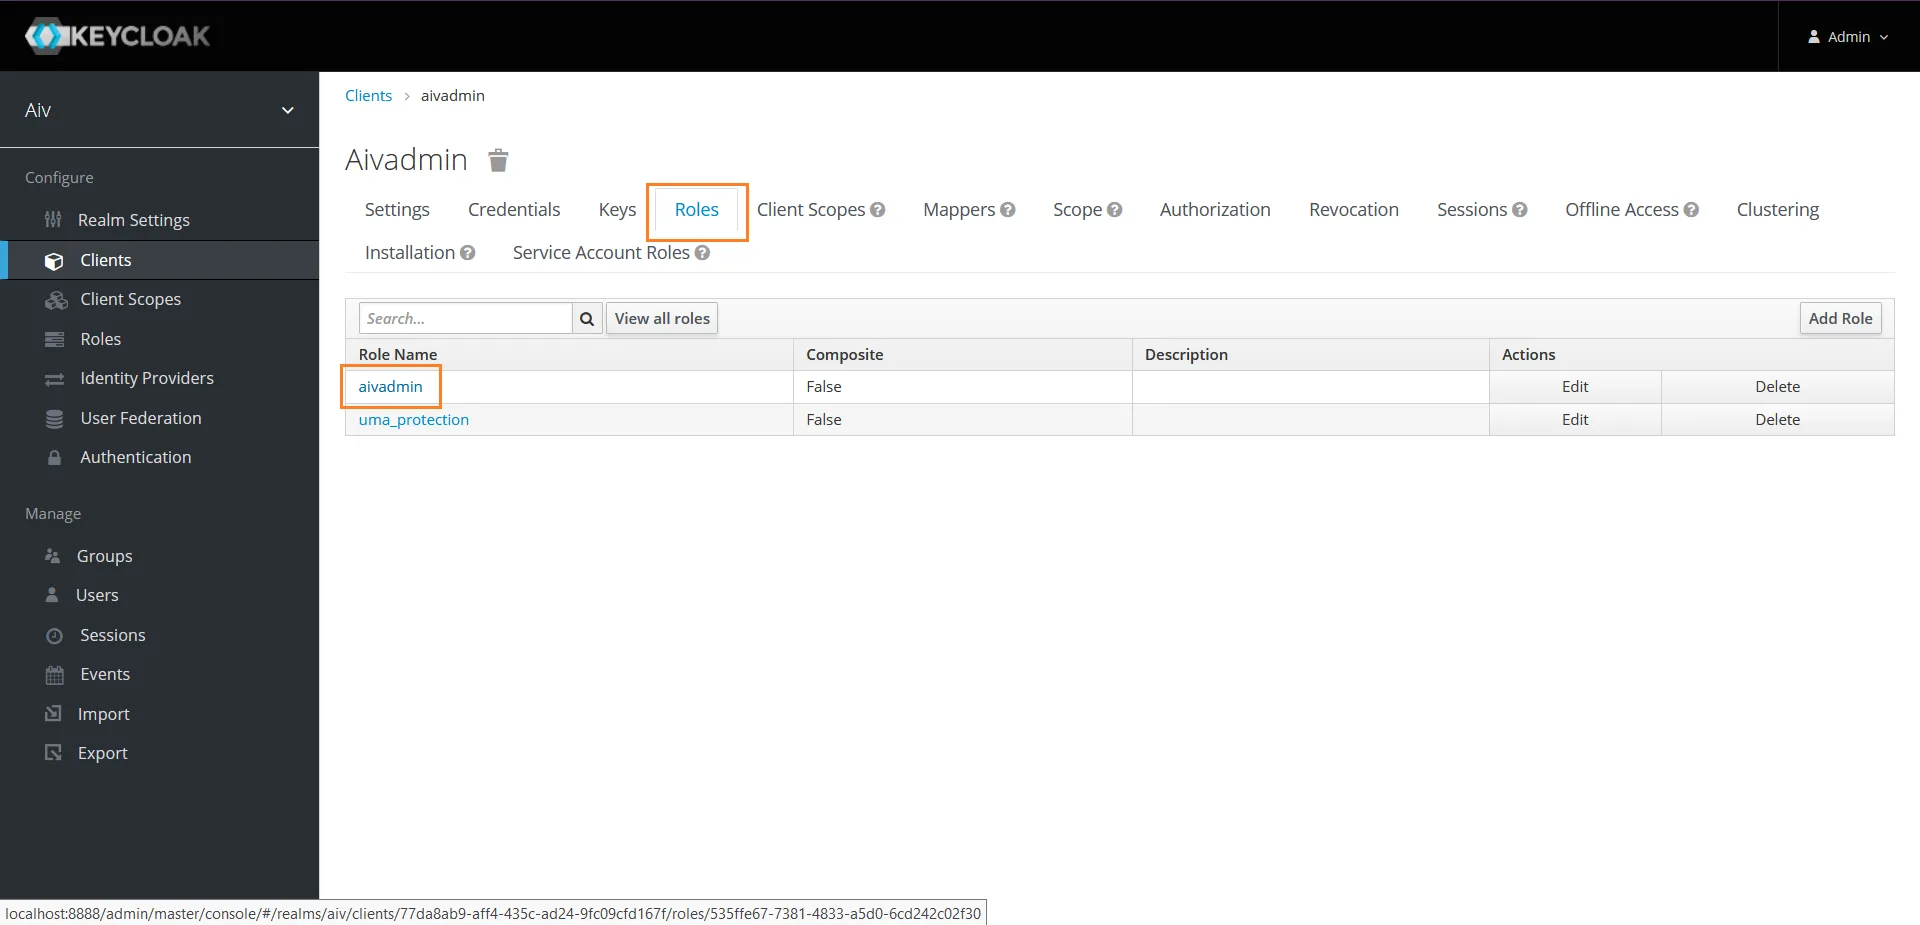
Validate user assigned to this role, click on Clients option from left hand side menu.
-
Click on client ID you have created and here in this example it is aivadmin
- Click on Roles section and click on Role name.

- Click on Users in Role and here you should find admin user liked with this role.
Generate KeyCloak.json
-
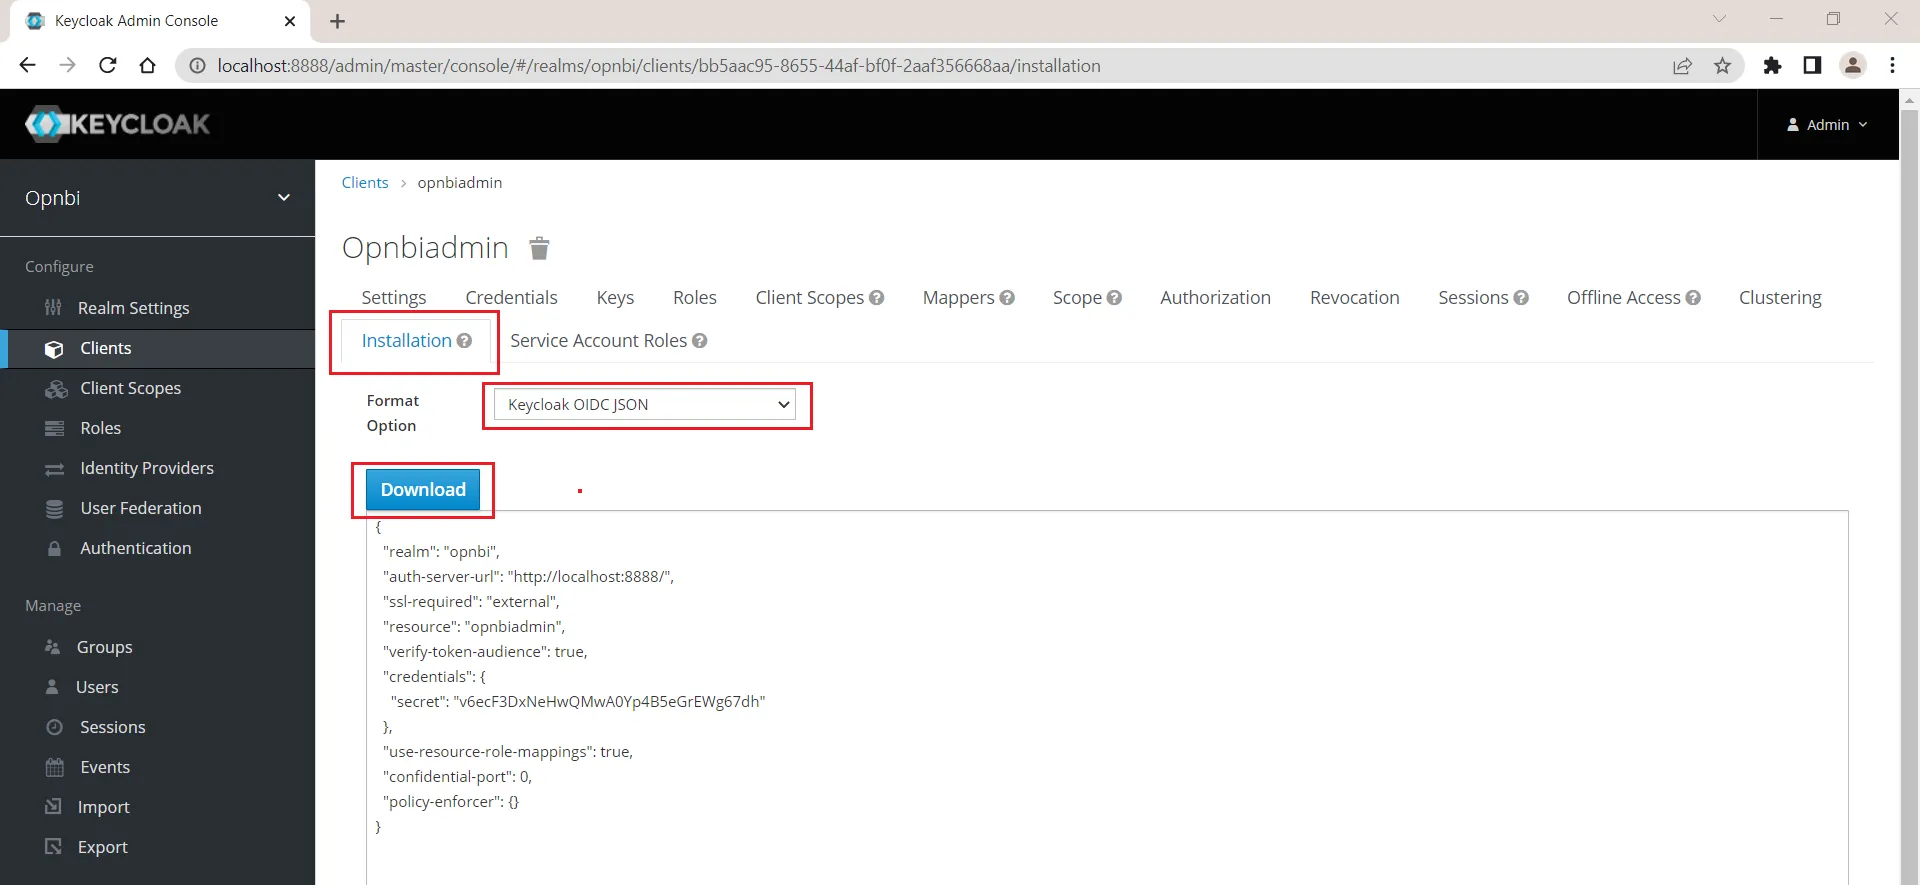
After this setup, you need to download KeyCloak.json file from client section. Click on client option from left side menu and select Client ID we have created.
-
Click on Installation tab, from Format Option select Keycloak OIDC JSON option. As soon as you select this option JSON data will be displayed on the bottom screen. you need to click on Download button to download this json file.
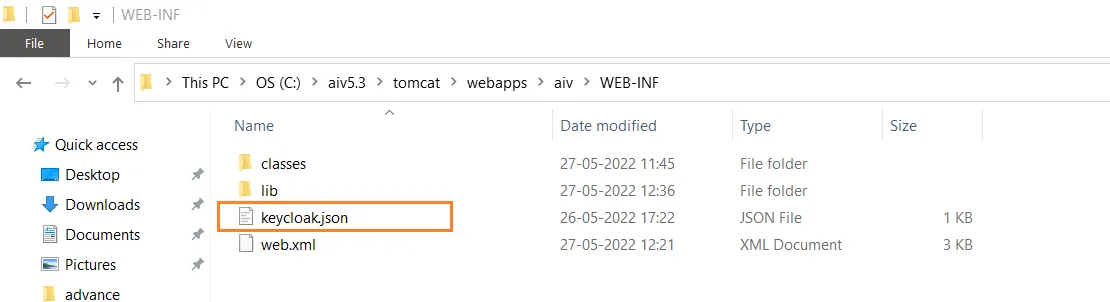
- Place this downloaded json file inside WEB-INF folder of aiv. this is located at (your_directory)/aiv/tomcat/webapps/aiv/WEB-INF/
Task 2. Create java code for SSO and external security
-
Download sample project file from link provided in prerequisites
-
Open downloaded KeyCloak project in eclipse and go to configure build path
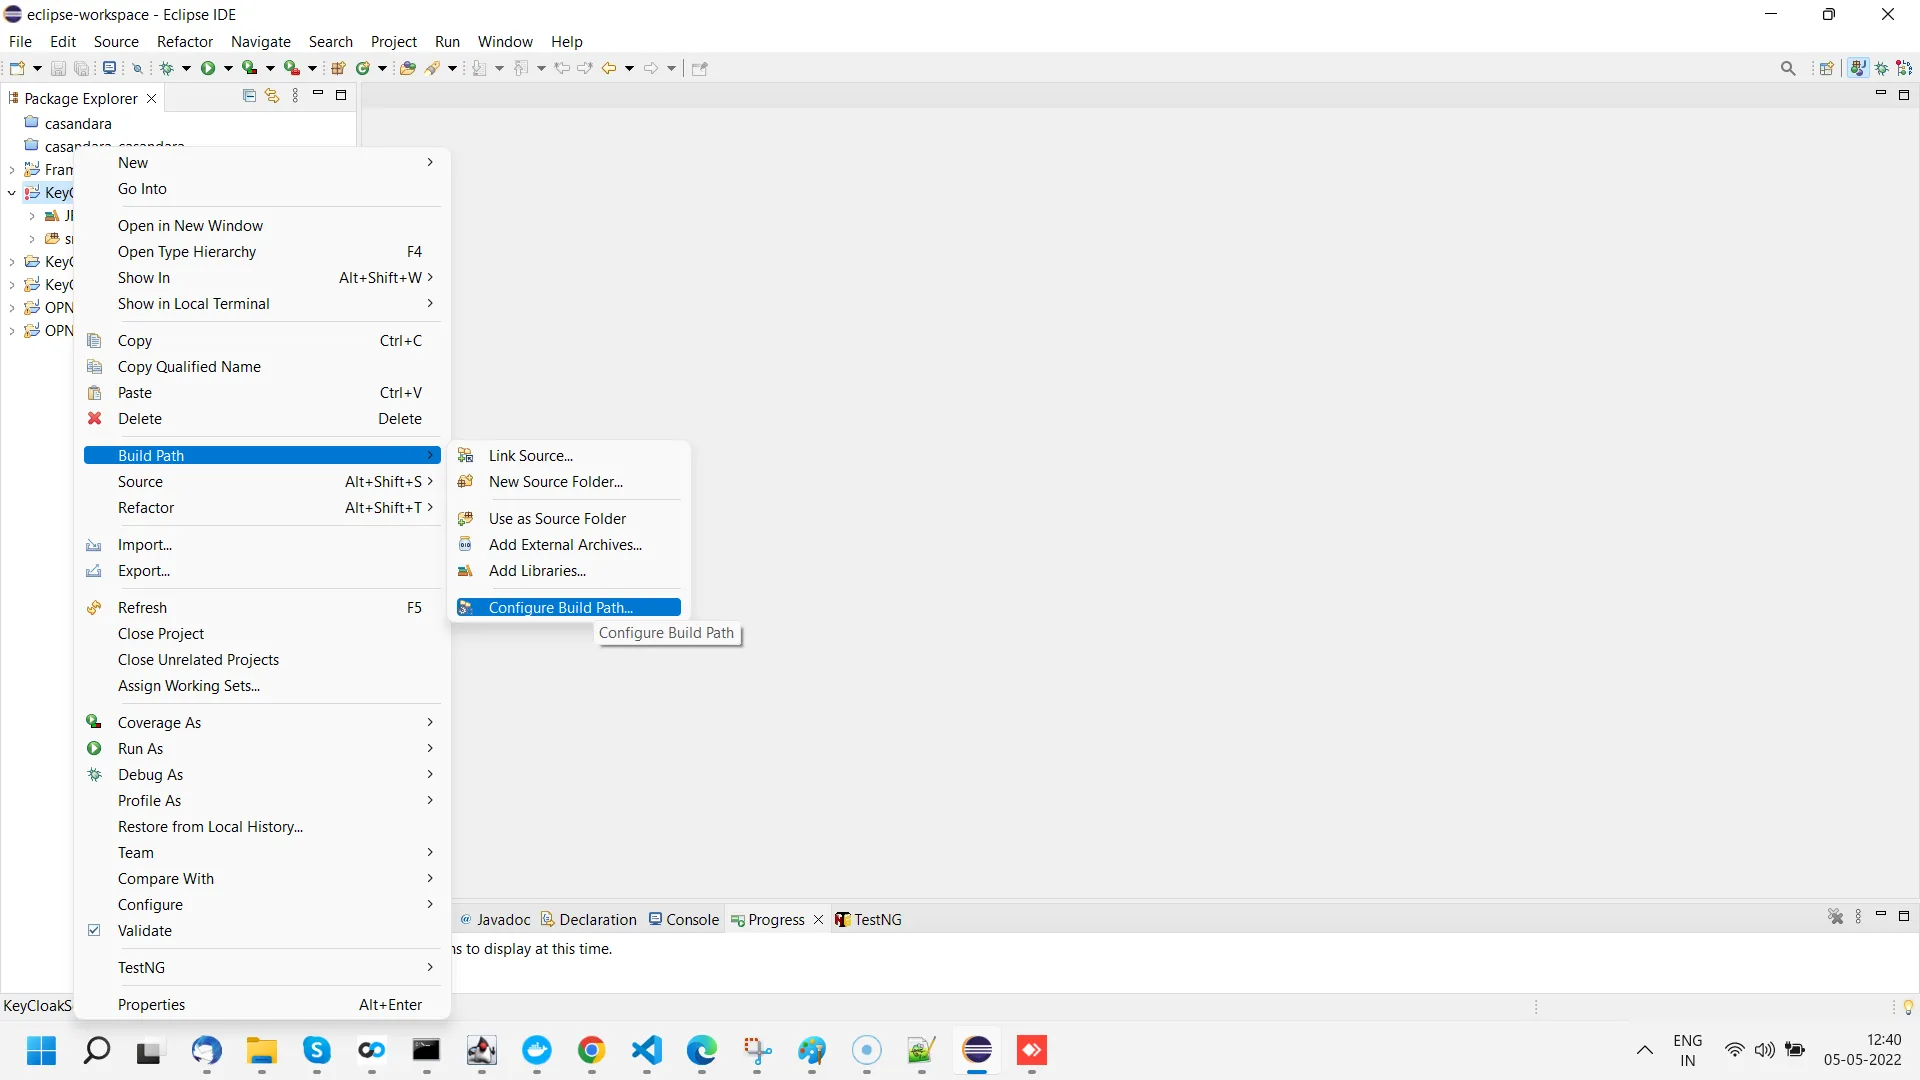
- There are Total 12 jar files whose path you need to reconfigure. amoung of 12 jar files, you will find 8 jar files inside KeyCloak folder in depnedency zip folder provided.
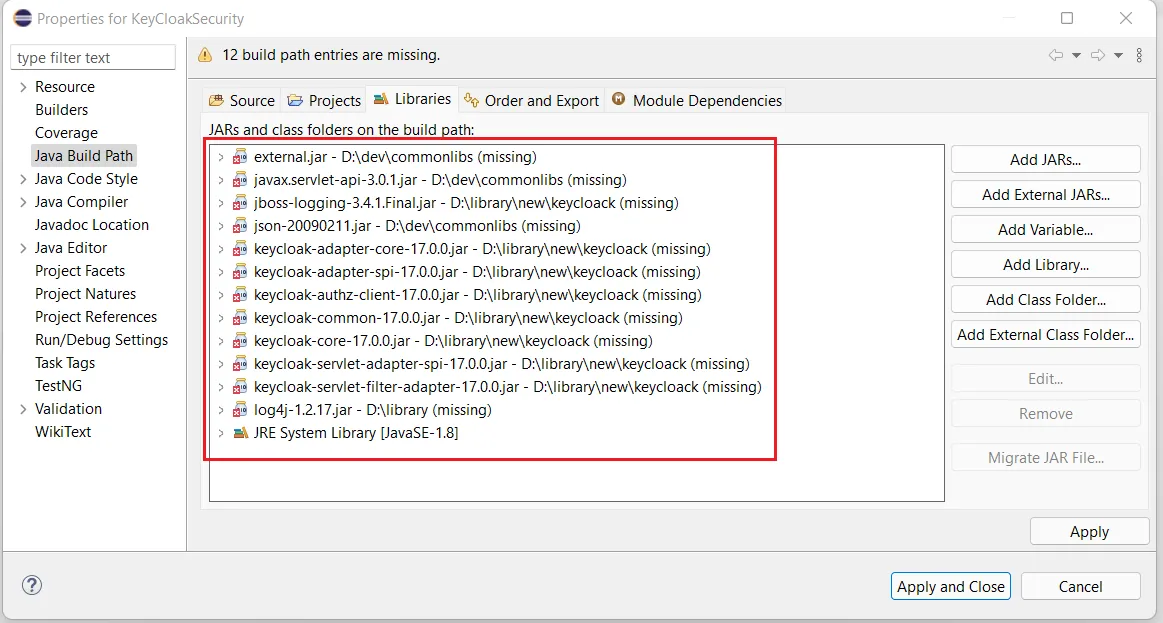
- Remove all 12 jars from form build path and add 8 jars provided using Add external jars option
- Remaining 4 Jar files you will find within aiv. to add these jar files go to lib folder located at (your_directory)/aiv/tomcat/Webapps/aiv/WEB-INF/lib folder. Search for below jar file and add in build path one by one;
1. external.jar

2. json-20090211.jar

3. javax.servlet-api-3.0.1.jar

4. log4j-1.2.17.jar-
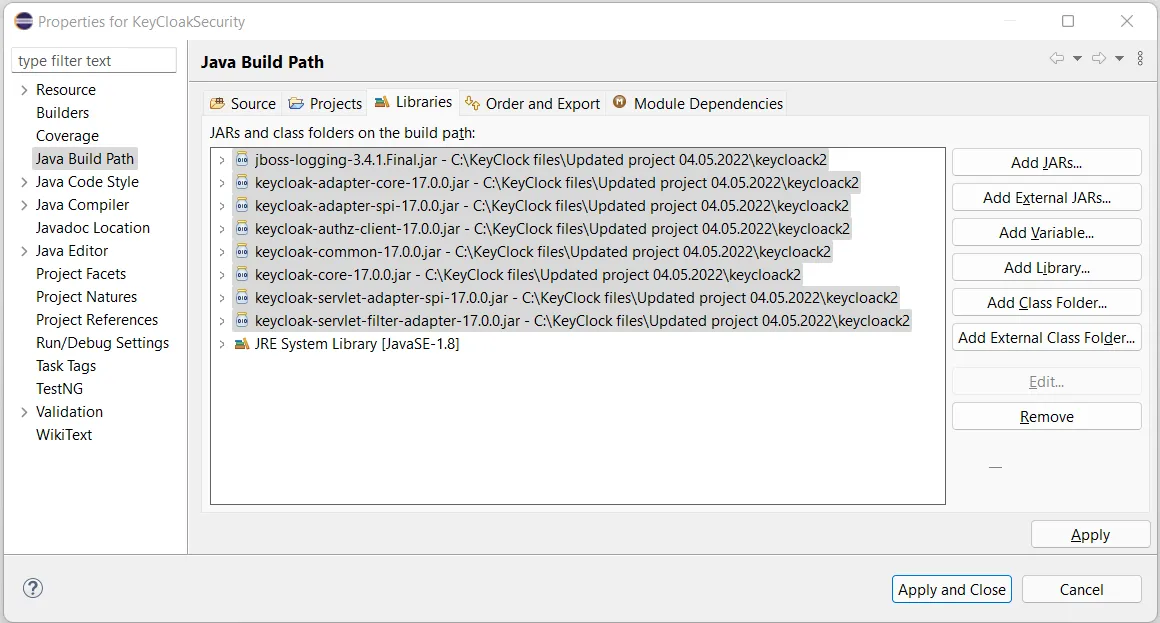
Once all 12 jars are added, click on Apply and Close button to save the changes. you will notice now project has no errors
-
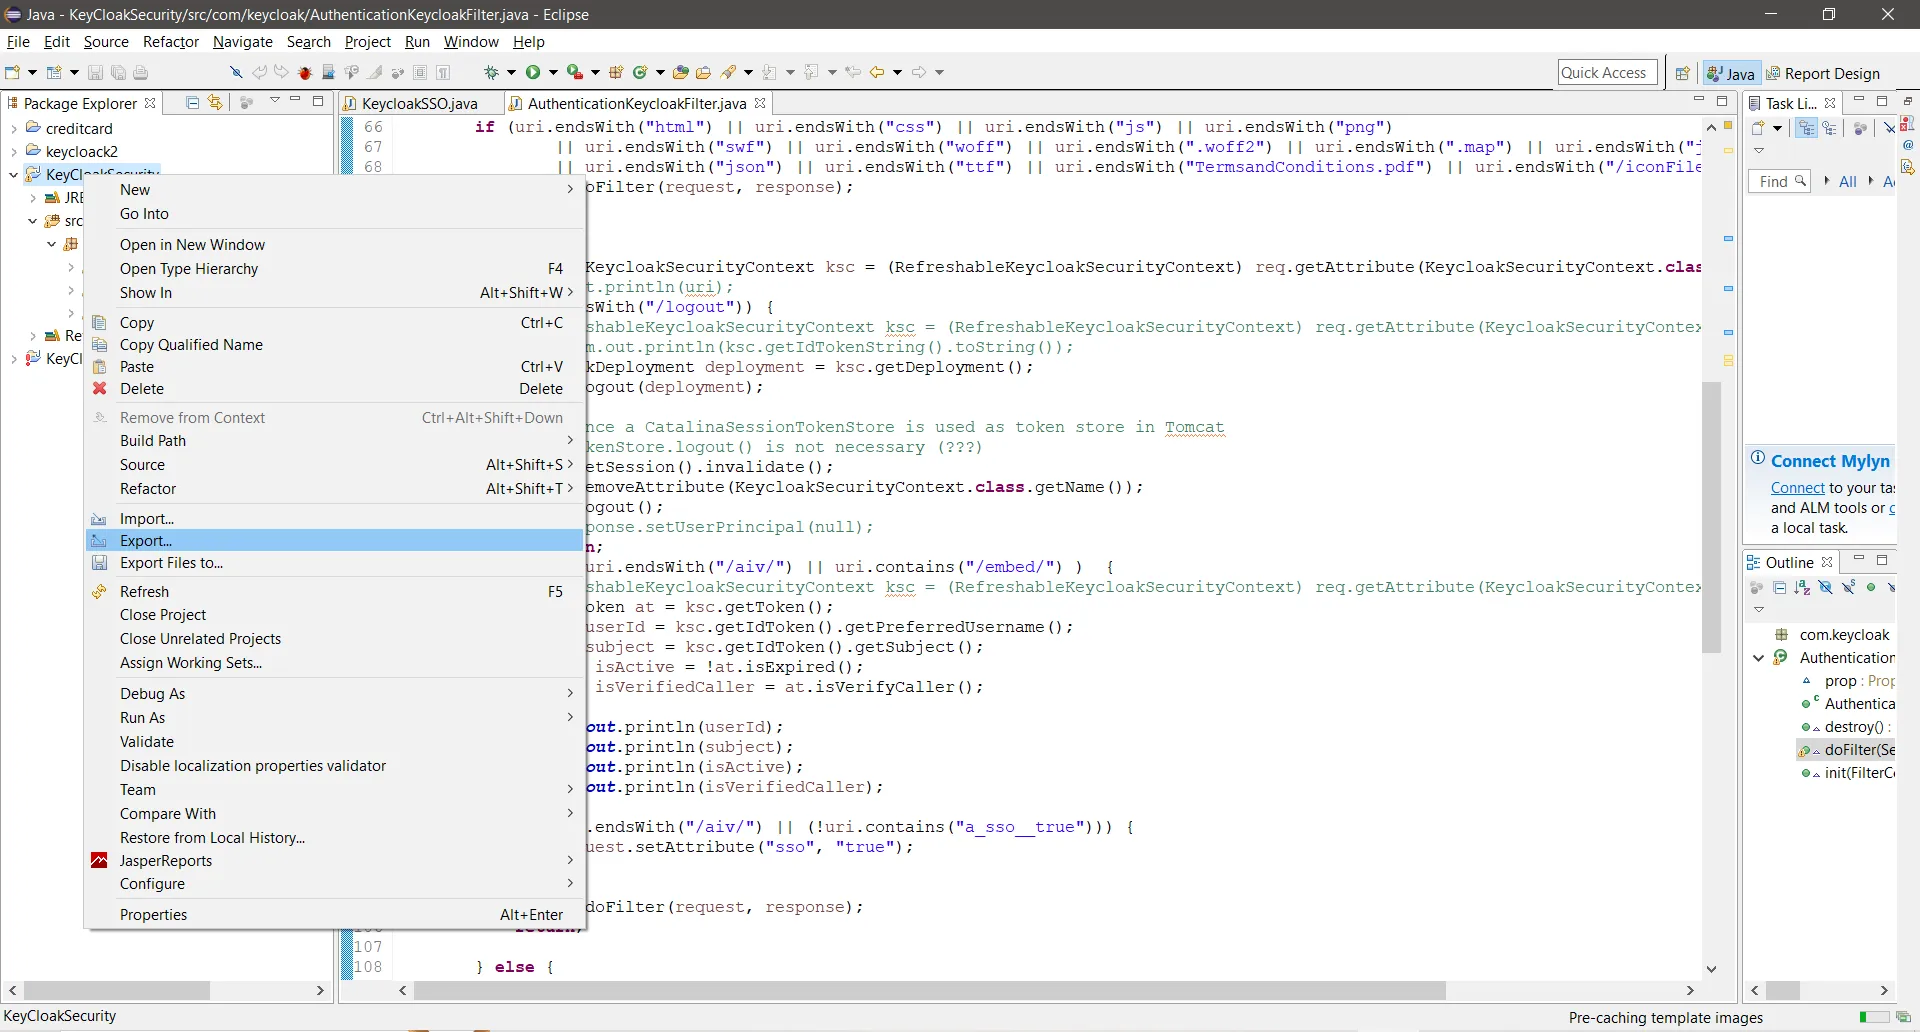
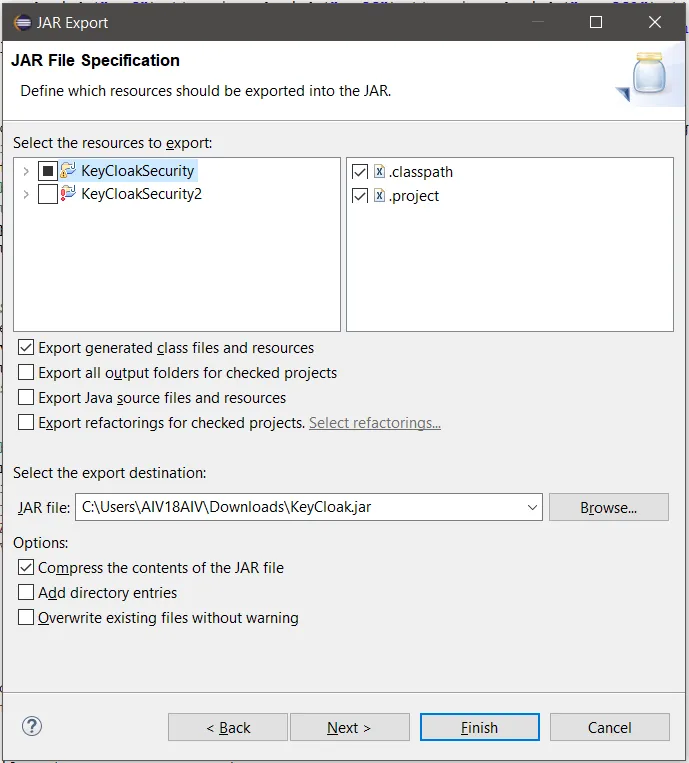
Create a jar file of this project by exporting this project. right click on project and click on Export option from the menu.
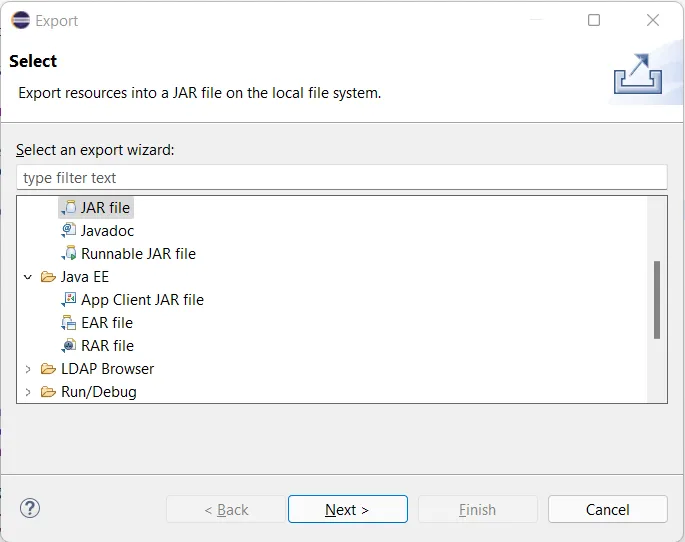
- From export window, select JAR file and click on next button
- In the next window, select export destination, provide jar file name and click on finish button. In case you see any prompt click on ok and finish export operation.
-
Now we need to add this jar file in aiv lib folder. First we need to stop aiv tomcat server if running. Go to aiv folder and execute stop_aiv.bat file to shut down tomcat server.
-
After tomcat server is shut down, go to the lib folder and paste newly created project jar file. you can find lib folder at (your_directory)/aiv/tomcat/webapps/aiv/WEB-INF/lib/
-
Place project jar file here and start tomcat server.
-
Once server is started, enter url to open aiv. Here aiv is running in local machine and port number is 9090.
http://localhost:8080/aiv
Task 3. Configure aiv server for SSO and external security
- Go to (your directory)/aiv/tomcat/webapps/aiv/WEB-INF/classes/ folder and create create com folder under classes and keycloak folder under com folder to match with project path.In resource data you have downloaded there is sso.properties file. Place this file at (your directory)/aiv/tomcat/webapps/aiv/WEB-INF/classes/com/keycloak/ folder.
- Open sso.properties in text editor and Change These highlighted properties as per your aiv installation. Save the changes after update.

- Add below code snippets in web.xml above AuthenticationFilter property;
<filter>

  <filter-name>aiv</filter-name>

  <filter-class>org.keycloak.adapters.servlet.KeycloakOIDCFilter</filter-class>

</filter>

<filter-mapping>

  <filter-name> aiv </filter-name>

  <url-pattern>/*</url-pattern>

</filter-mapping>

<filter>

  <filter-name>AuthenticationKeycloakFilter</filter-name>

  <filter-class>com.keycloak.AuthenticationKeycloakFilter</filter-class>

</filter>

<filter-mapping>

  <filter-name>AuthenticationKeycloakFilter</filter-name>

  <url-pattern>/*</url-pattern>

</filter-mapping> -
Add KeyCloak jar file in to lib folder of aiv. This lib folder can be founded at (your_directory)/aiv/tomcat/webapps/aiv/WEB-INF/lib folder. KeyCloak jar files can be found under keycloack folder in the zip file you have downloaded from prerequisites. There should be 8 jar files under keycloack folder. Add all the JAR files.
-
Configure SSO from config.json file found at (your_directory)/aiv/repository/Config/ folder
-
Open this file in any text editor and search for sso property.
-
Make following changes in sso property for KeyCloak;
"checked" : true,

"defaultValue" : "com.keycloak.KeycloakSSO",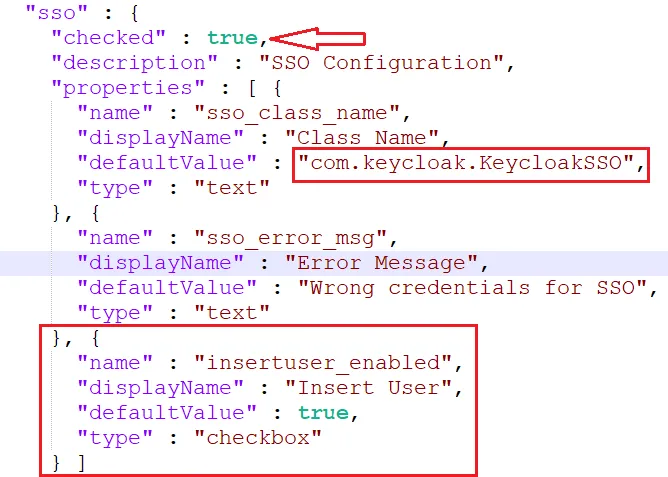
- Restart the AIV after adding the JAR files.
Task 4. Test end to end flow
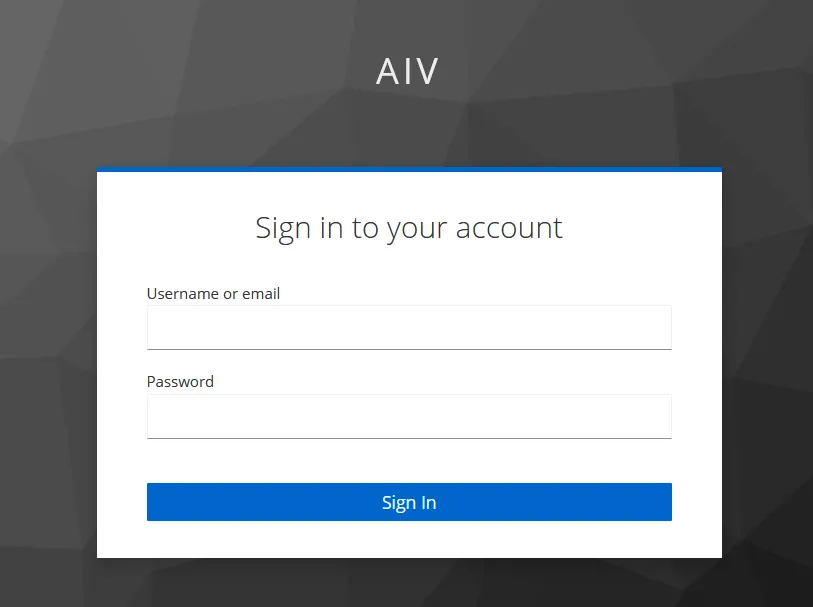
- When you run this URL in browser window, it will redirect you to KeyCloak sign in page for aiv. Now you will not see aiv login page any more.
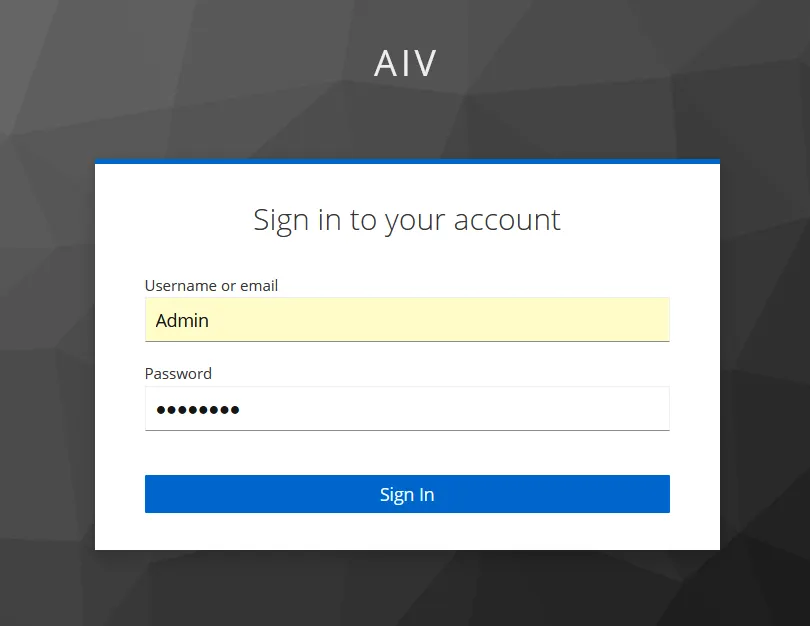
- Enter Username and Password we have created in KeyCloak which is Admin in this case. Provide valid user name and password and click on Sign In button.
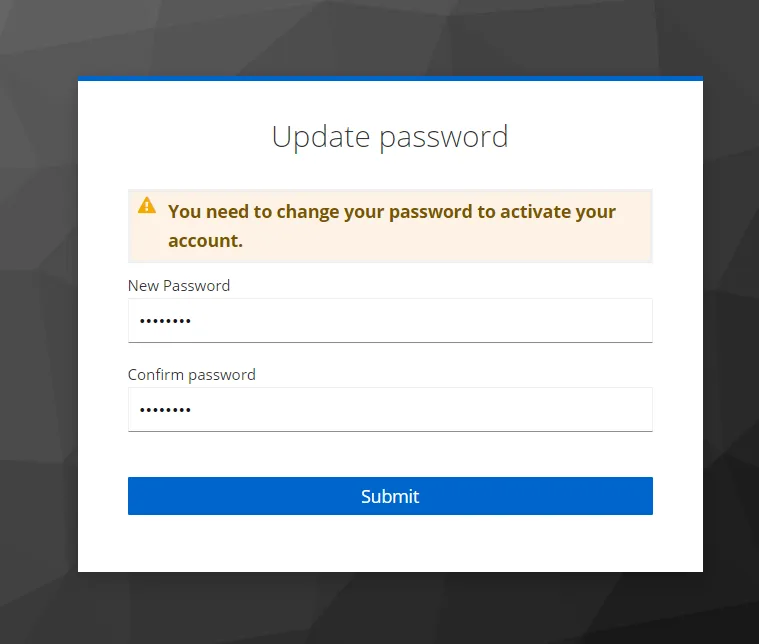
- For the first time Sign In, it will ask you to create new password for sign in user. provide new password in both fields and click on submit button.
- If user name and password are correct, it will redirect you on landing page of aiv Admin user

Task 5. Create User and Role On Fly
To check this feature, lets create a new user in KeyCloak which is not available in aiv as well. Go through Create new user and Assign role to user steps from Task 1 to create and configure new user in KeyCloak,
-
Create new user
-
Assign role to user
-
Once user is created, open aiv login page in browser. Provide user name and password you have just created and click on sign in button.
-
As this user is not available in aiv, SSO code will take care of User & role creation in aiv.
-
It will fetch userOptions and roleOptions from the SSO code and create a new User & Assign role to user.
-
Once all these operations completed, SSO will fetch user info and navigate user to landing page of aiv.
-
Validate user created in aiv by logged in to aiv application with admin user and check user and assigned role from User section.
-
Also Check in repository, folder created or not for that user