Create Department
Departments in AIV allow you to organize and segment your application into distinct organizational units. Each department can have its own set of users, data, and access controls, enabling multi-tenancy and better data isolation within a single AIV instance.
This guide walks you through the process of creating a new department in the AIV application.
Video Tutorial
Steps to Create a New Department
Step 1: Access the Department Section
-
Click on the
 (hamburger menu) icon in the top-left corner of the screen.
 -
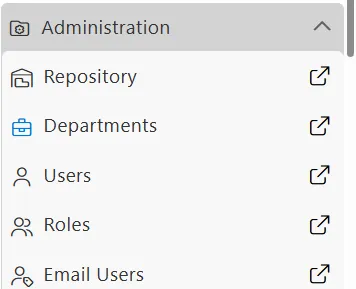
Navigate to Administration.
-
Under the Administration section, click on Departments.
This will take you to the Department Page, where existing departments are displayed in a list view.
Step 2: Open the Create Department Form
There are two ways to create a department:
Method 1: Click on the ![]() button in the bottom toolbar.
button in the bottom toolbar.
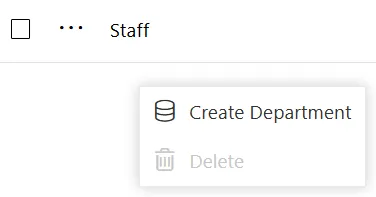
Method 2: Right-click in any blank space and select Create Department from the context menu.
This opens a form where you can input details for the new department.
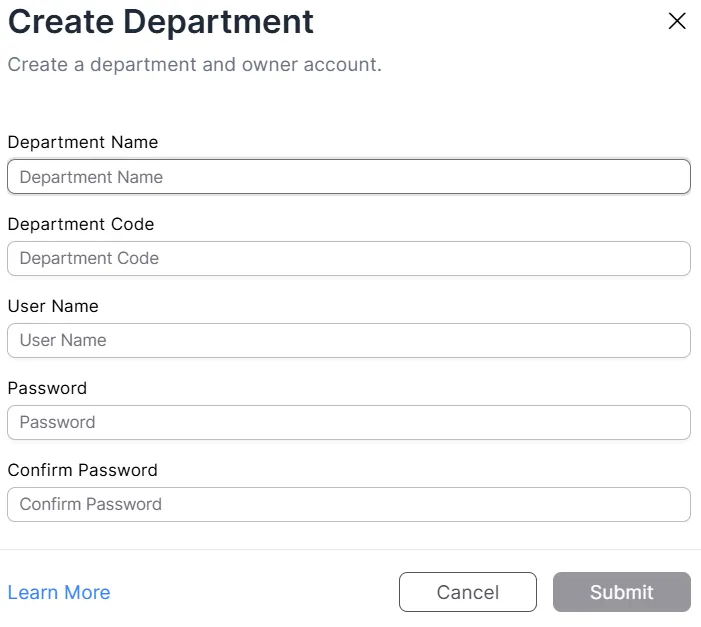
Step 3: Fill in Department Details
Enter the required information in the form fields as shown below.
Step 4: Understanding the Form Fields
-
Department Name (Required)
Enter the name you want to give your department.
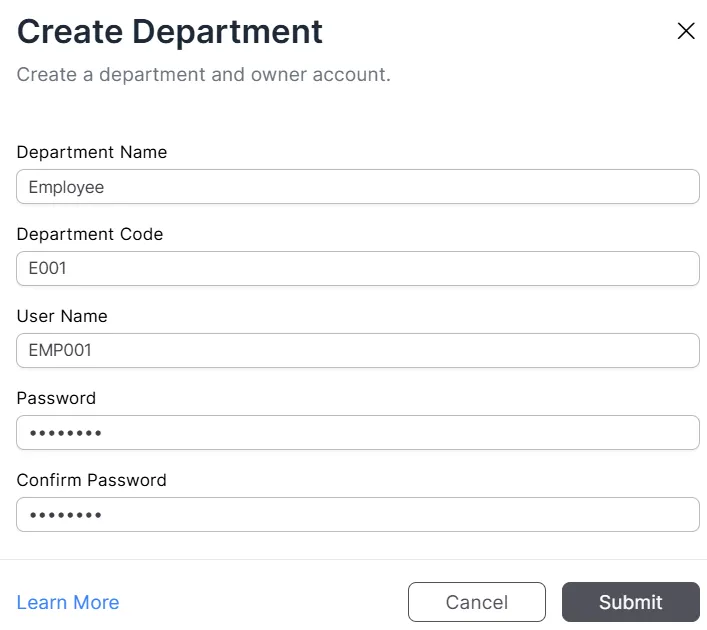
Example: “Employee” -
Department Code (Required)
The unique code that identifies the department. This code is used during login to access a specific department.
Example: “E001” -
User Name (Required)
The username of the user who will have admin privileges for this department. This username is entered along with the department code during login.
Example: “EMP001” -
Password (Required)
Set a secure password for the department admin user. This password will be used during login. -
Confirm Password (Required)
Re-enter the password to confirm. This must match the password entered above.
Step 5: Submit and Create the Department
Click the Submit button to create the new department.
Step 6: Verify the New Entry
-
The newly created department will now be listed in the list view on the Department Page.
-
Use the Search bar to locate and verify the entry.

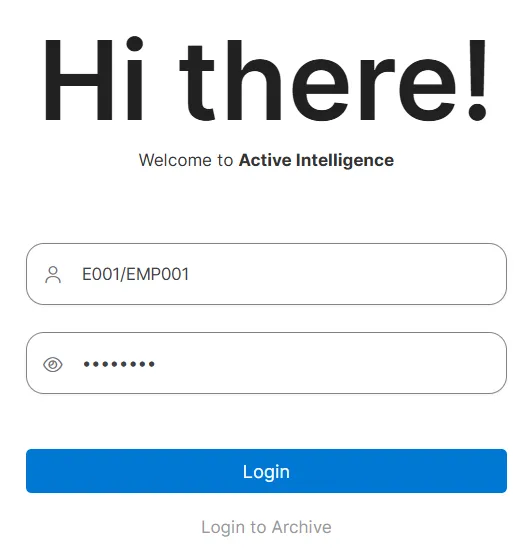
Logging into a Department
To access a specific department, use the following login format:
Department Code / UsernameExample: E001/EMP001
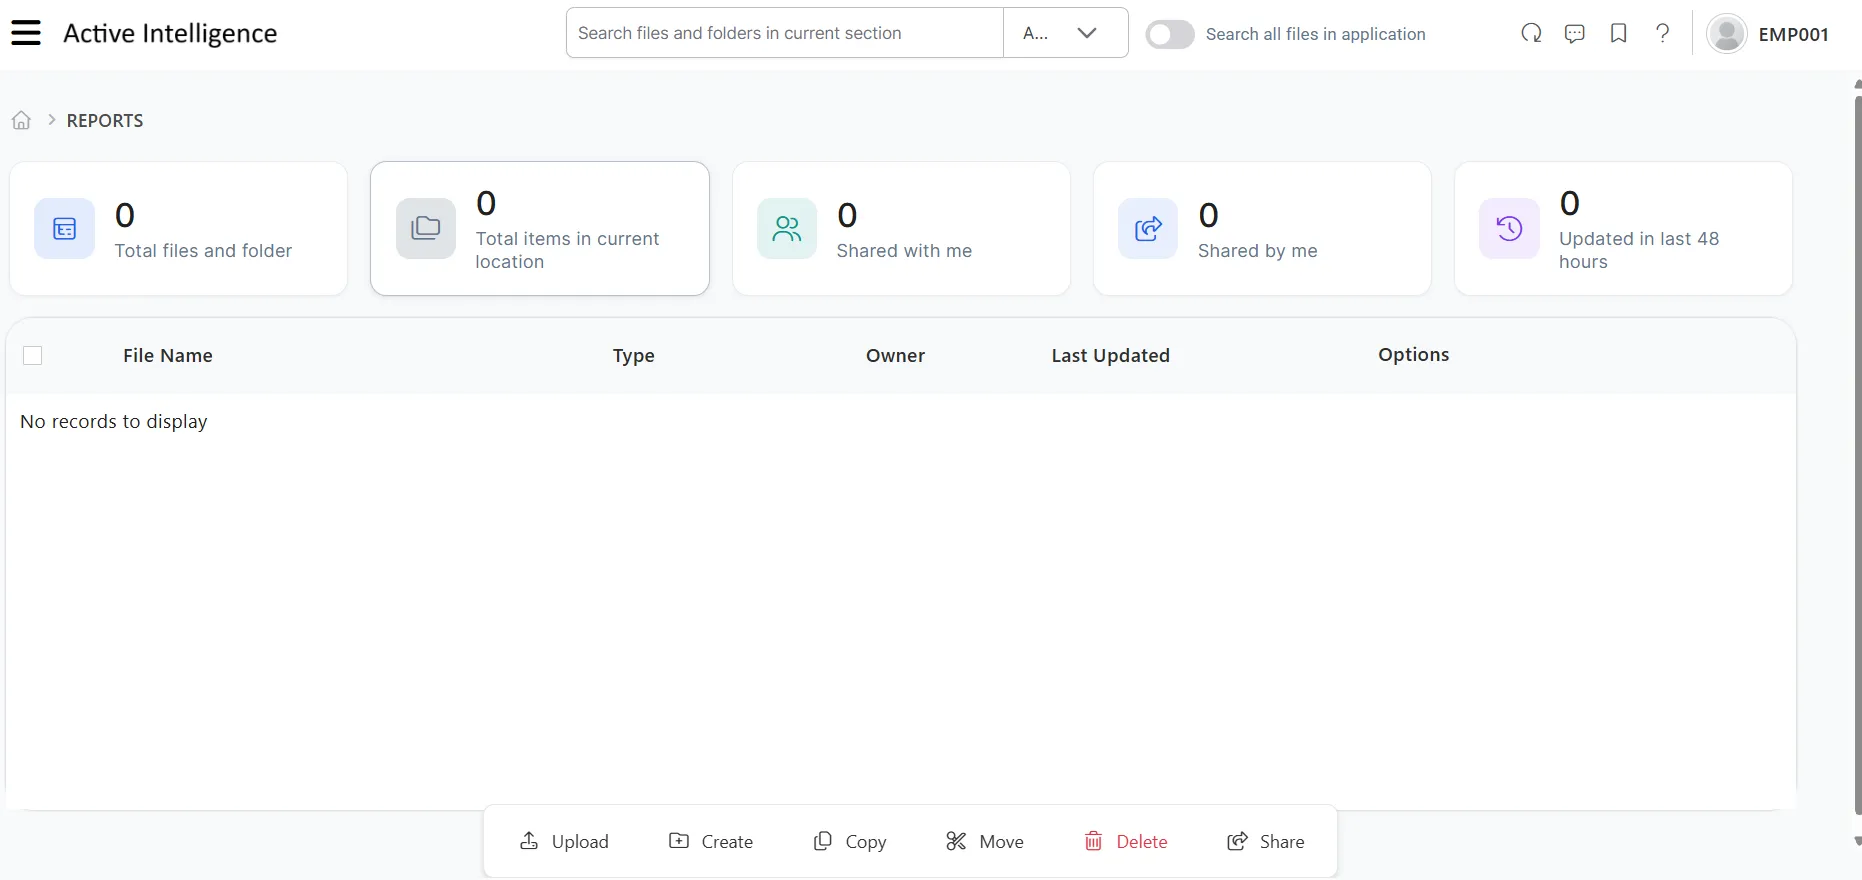
After logging in with the department credentials, you will be directed to the department-specific reports page.
Related Documentation
To learn more about department features, refer to the following guides: