Upload
The Upload feature in the AIV application allows users to easily upload files from their local device to the platform. This functionality ensures the seamless integration of new content into the system, enabling users to share, organize, and manage their files efficiently. The process is designed to be intuitive and user-friendly, supporting a variety of file types and sizes. Once uploaded, the files can be shared, accessed, or modified by authorized users within the application.
Upload Function: This video explains how to upload a file in the application.
Steps to Upload a File in the Application:
-
Click the
 button in the bottom toolbar. This action will open a dialog box, as shown below:
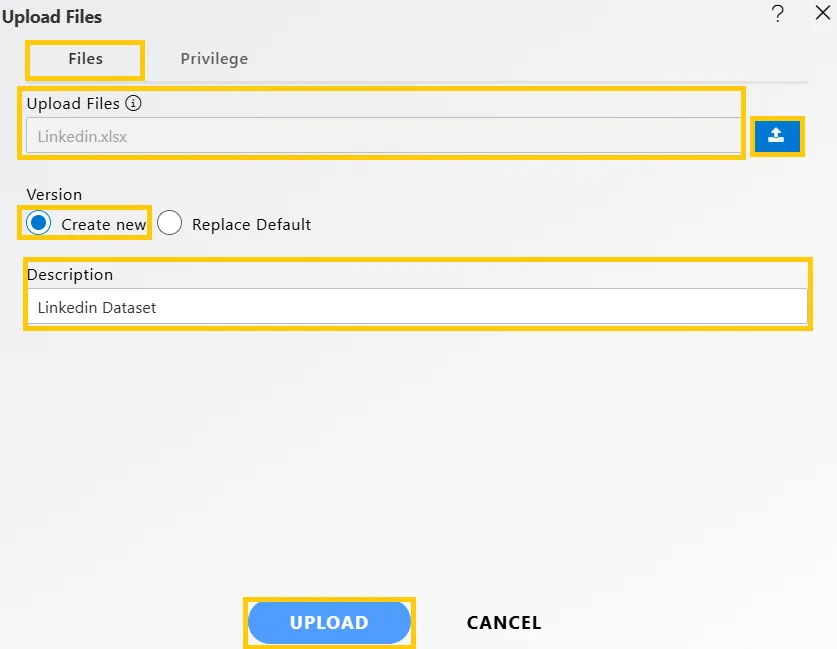
-
In the Files section, as shown in the figure above, select the upload button to upload your files from your computer. In this example, we have uploaded the Linkedin dataset. If the Linkedin dataset already exists in the AIV application, the user has the option to replace the existing file or create a new one using the version option. Additionally, the user can provide an optional description for reference in the description text area.
Steps to Assign Privileges for Uploading a File:
The Privileges feature allows users to control access and visibility of files, folders, or reports in the AIV application.
-
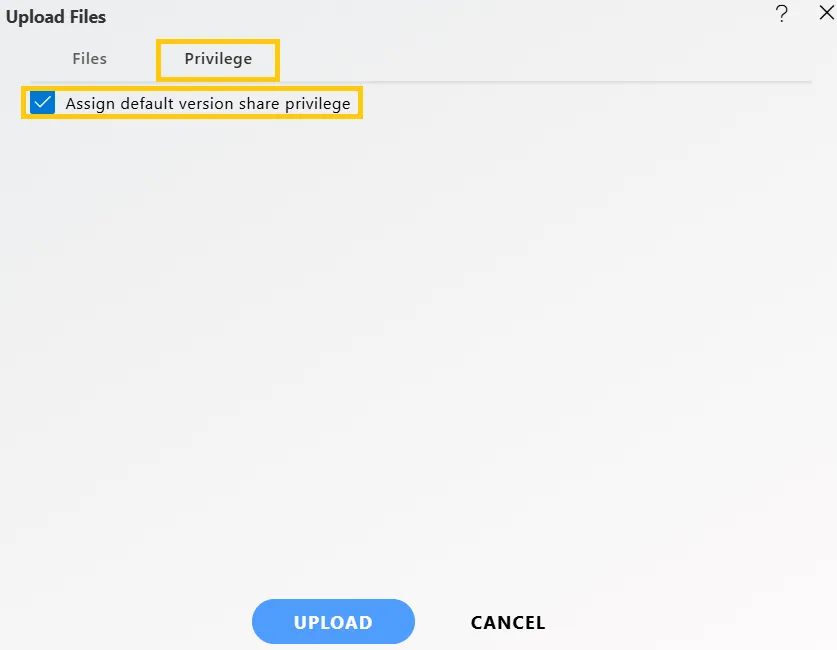
Click on the Privilege tab, located next to the Files tab, to assign privileges. By default, the Assign default version share privilege checkbox is selected, as shown below:
-
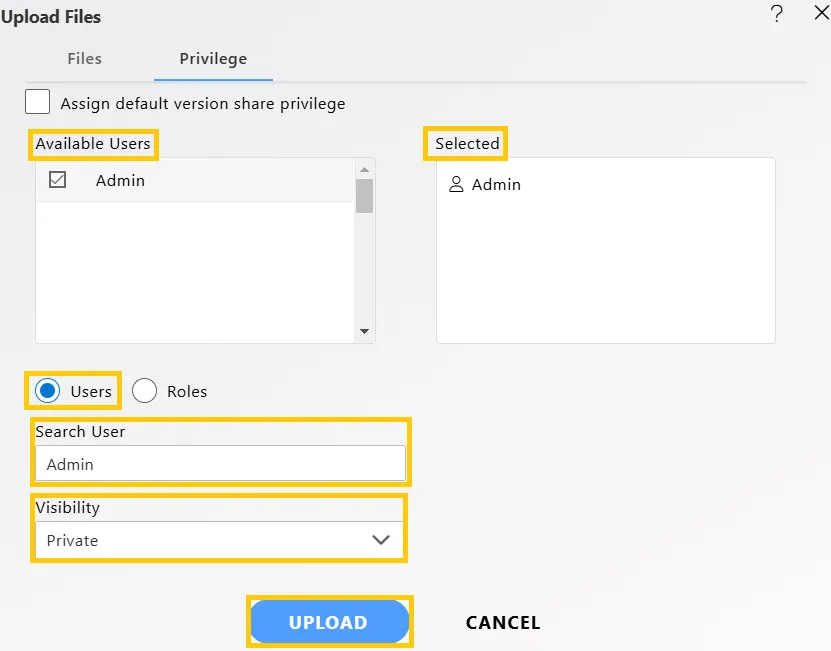
If you want to assign new privileges, uncheck the Assign default version share privilege checkbox. You can then select Users or Roles from the available list (or search using the Search User or Search Role option). Ensure that the selected users appear in the Selected box, as shown below:
-
Visibility for the move file determines who has permission to view it and is categorized into three types, which users can select from the dropdown menu, as shown above:
-
Private: Only the current user or the actual owner has permission to view the file.
-
Internal: All users within the organization have permission to view the file.
-
Public: Anyone, regardless of organizational affiliation, can view the file.
-
-
In case of any further help, the user can click on the
 icon to access the AIV help documents.
 -
If the user is not satisfied and wants to cancel the upload request, he can do this by clicking on the CANCEL button next to UPLOAD or by clicking on
 icon next to the icon.
 -
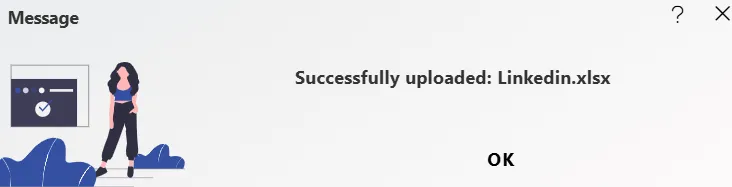
Finally, click the UPLOAD button. A confirmation message will appear, as shown below:
In this way, you can upload a file in the AIV application.
To learn more about common functionality, click on the following links:
Audit
Clone
Create Folder
Copy
Delete
Download
Move
Property
Save as Quicklink
Share
Version
Mark as Unarchive
Mark as Unpurge