Widget Basket
Widget Basket: This video contains how to create an AIV Widget Basket.
Introduction
Imagine having your very own digital “widget basket,” a convenient spot to collect and organize all your favorite widgets. Think of it as your personal treasure chest for widgets. The best part? You can gather widgets from various dashboards and store them all in this one place. Whenever you need, you can effortlessly copy these widgets and place them onto any dashboard you choose. It’s like having your widgets ready and waiting at your command.
- The Widget Basket is a feature in the AIV application that stores a list of all the widgets created by the user.
- Users can add any widget (except filter widgets) from the dashboard to the Widget Basket and vice versa.
- This feature is exclusive to the dashboard section, allowing users to copy widgets across dashboards without restrictions.
Steps to Add a Widget to the Widget Basket
-
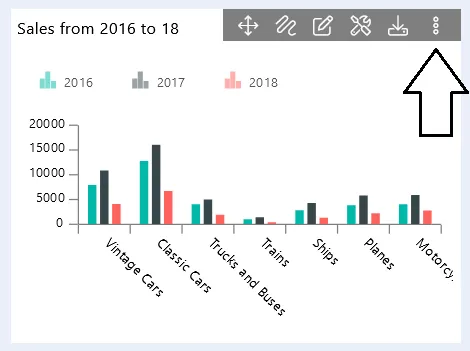
Go to any widget and click on the ellipsis (three dots) icon in the top-right corner.
-
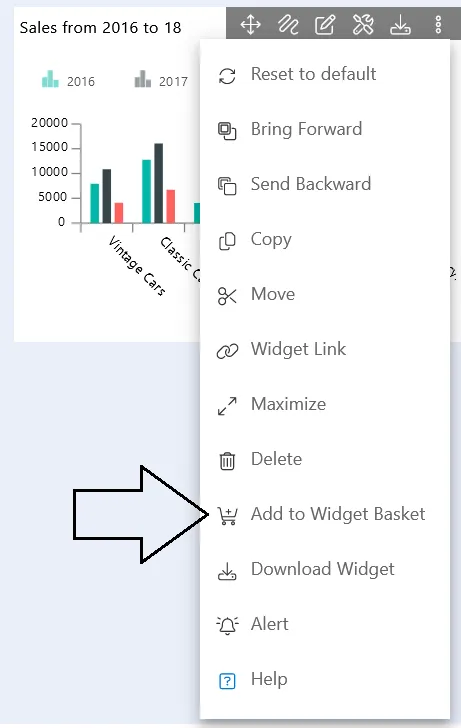
From the widget’s menu, click on the Add to Widget Basket button, as shown below.
-
Once you click the Widget Basket button, you will see the widget listed in the basket.
Steps to Add a Widget from the Widget Basket to a Dashboard
-
Create a dashboard, then click on the Widget Basket icon located in the right-side menu bar. This icon is placed at the bottom of the menu bar. To find the icon, click on the bottom arrow button as shown below.
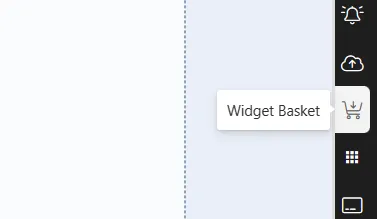
-
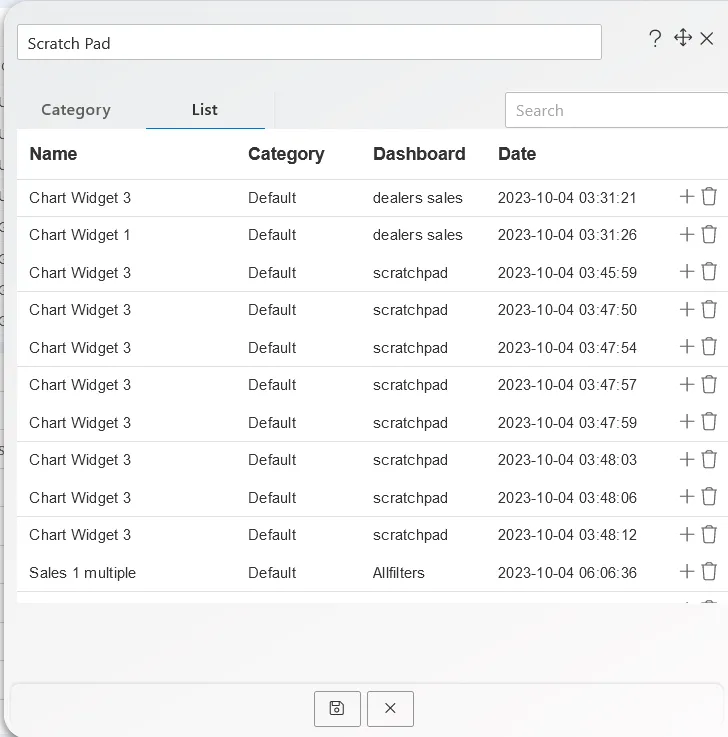
When you click on the Widget Basket icon, a dialog box will appear on the screen, as shown below.
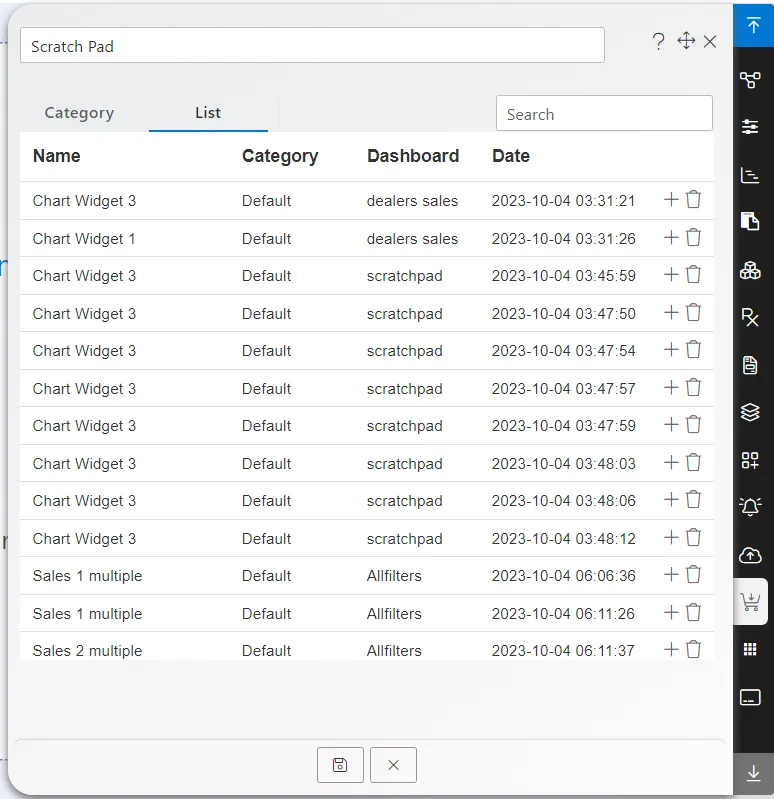
-
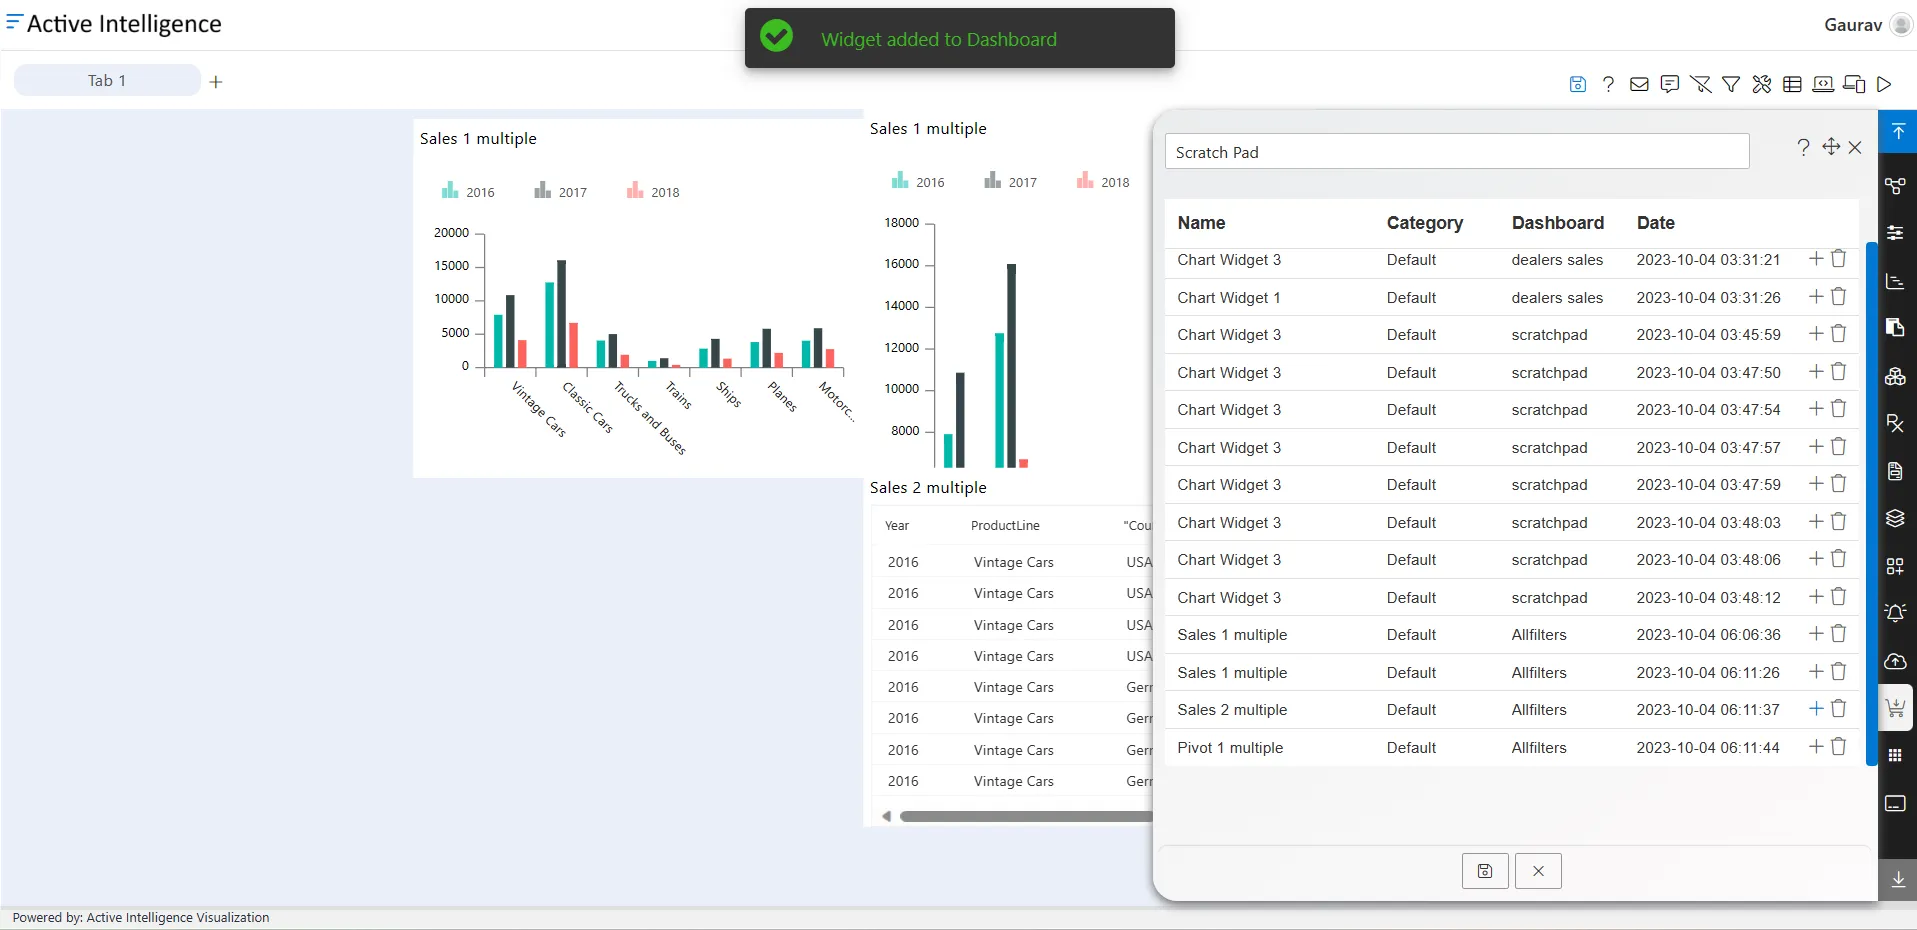
Click on the (+) plus icon on the right side of the widget list, as shown below.
-
As you click the (+) plus icon, the widget will appear on the dashboard, and an alert message will be displayed at the top of the screen.
-
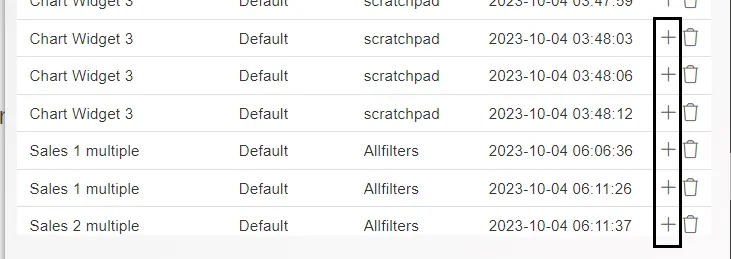
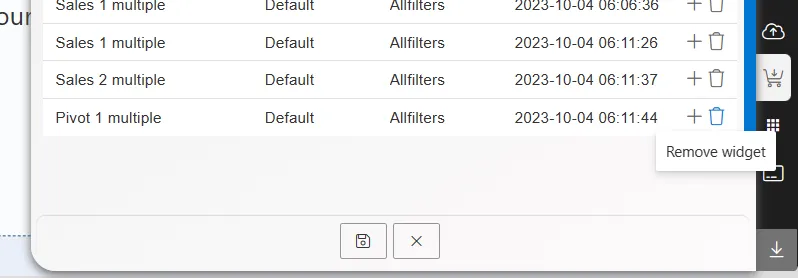
After adding the widget to the dashboard, you can remove it from the list by clicking the delete button next to the plus icon.
- Note that this action only removes the widget from the list, not from the dashboard. To delete the widget from the dashboard, you’ll need to do so individually.
- For help locating the delete icon, refer to the figure below.
-
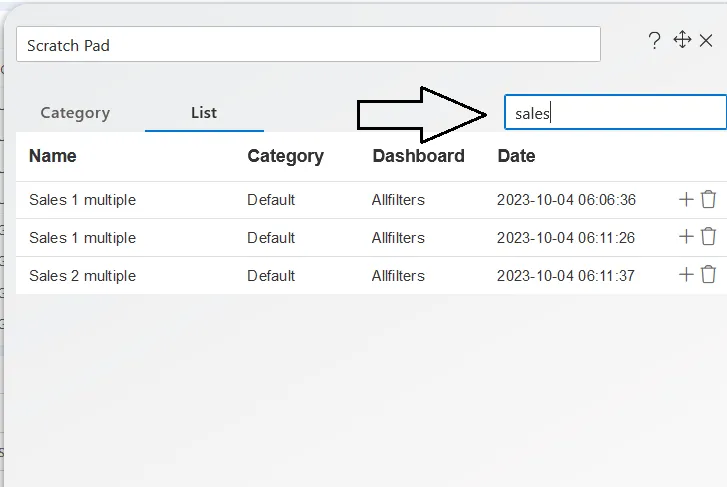
If the list is extensive, users may have difficulty locating a specific widget. To address this, you can use the search bar located in the top-right corner of the list tab, as shown below.
Category Overview
Imagine you have a large number of widgets, all ready for use. The problem is, the list has become overwhelming to manage. This is where the widget category system comes into play, simplifying the process.
- Inside the Widget Basket, you’ll find the Category tab, which acts as a personal organizer for your widgets. It allows you to sort and categorize your widgets according to your preferences, making it easier to manage them.
- Whether you’re dealing with a multitude of widgets serving different purposes or simply aiming for better organization, the widget category feature will help you achieve a more streamlined and efficient workflow.

Steps to Add a Category
-
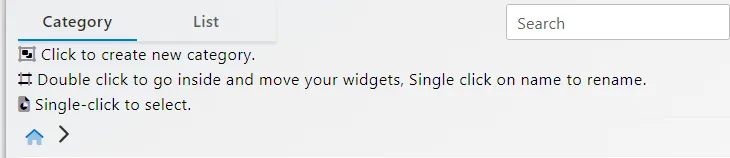
Select the Widget Basket icon from the right-hand menu bar. Then, click on the Category tab if you’re currently on the List tab, as shown below.
-
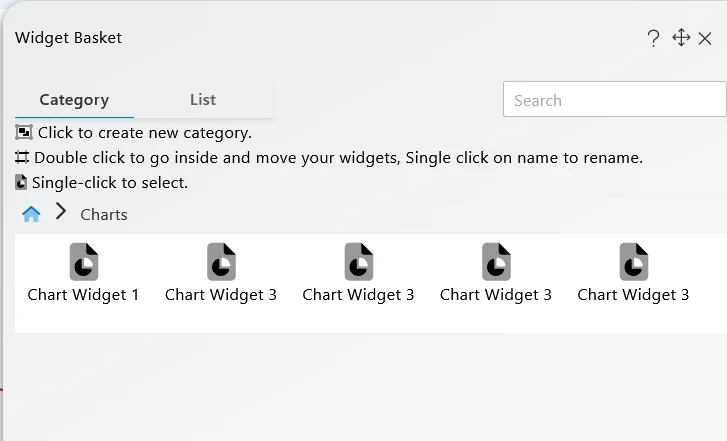
You will see the “Category Getting Started” prompt at the top of the Category tab, as shown below.
Creating a Category
-
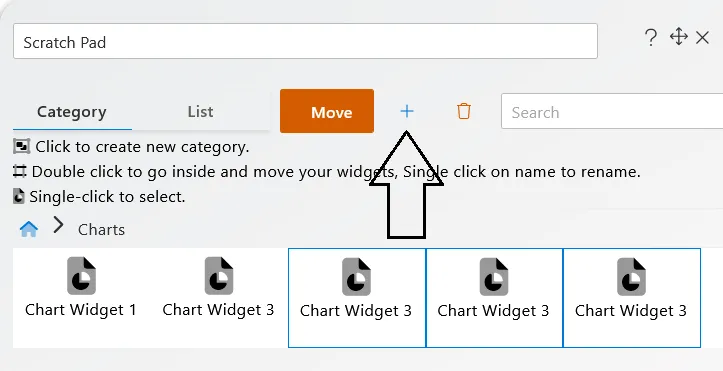
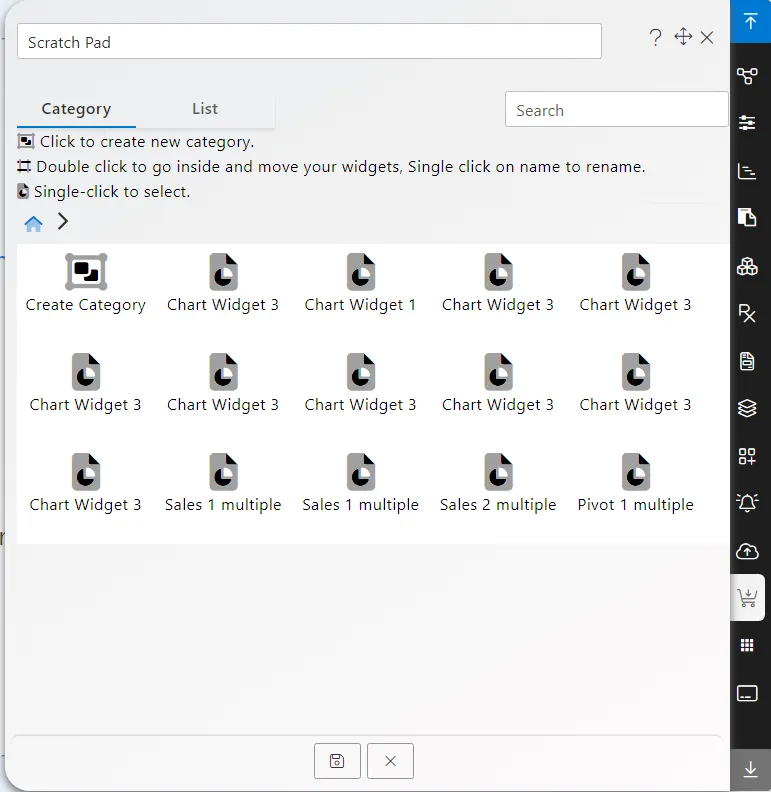
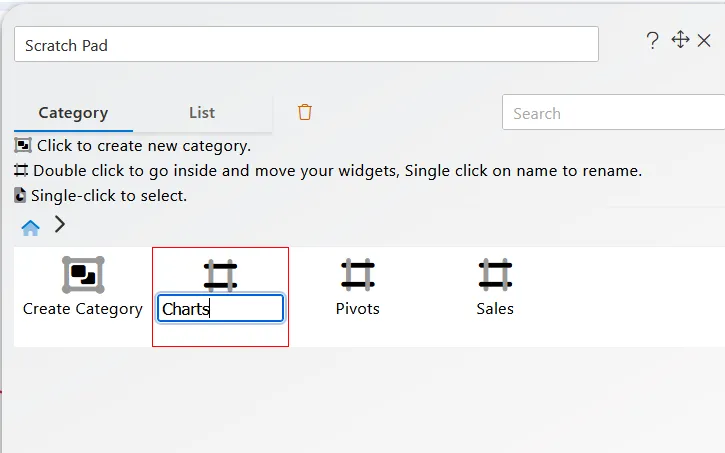
To create a category in the Widget Basket, click on the Create Category button from the widget and folder list, as shown below.

-
Once the new category appears, click on the title to rename it, as shown below.
Moving Widgets into a Category
-
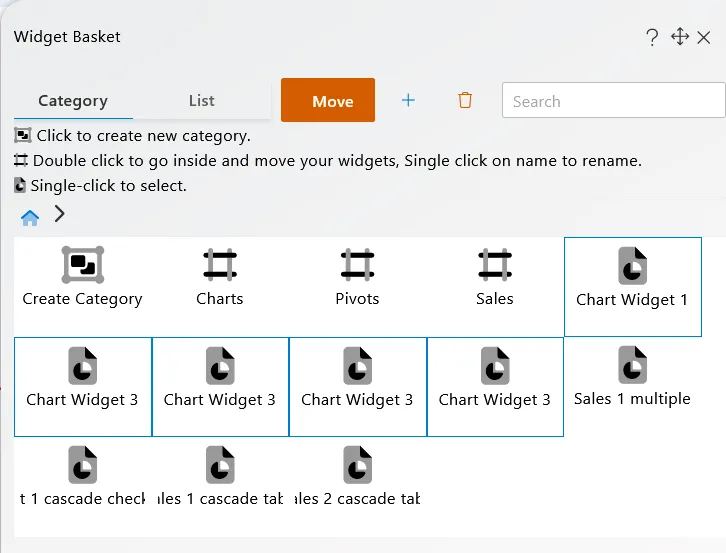
Click and select the widgets from the widget and folder list, as shown below.
-
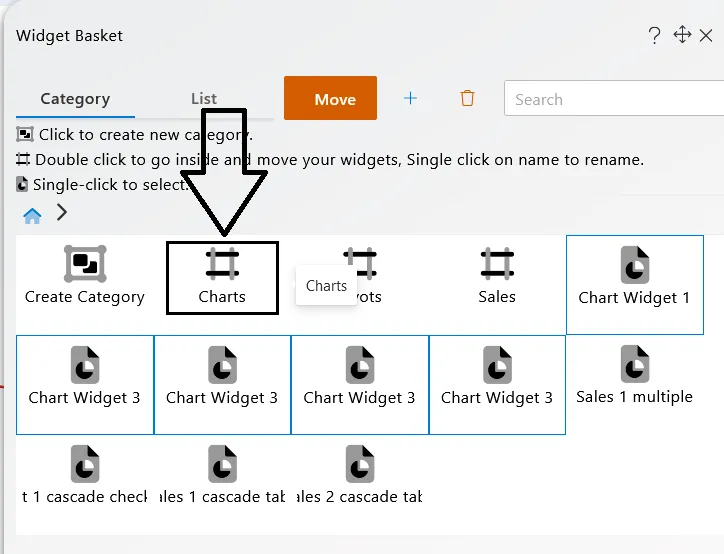
Double-click on the category you want to move the widgets into, as shown below.
-
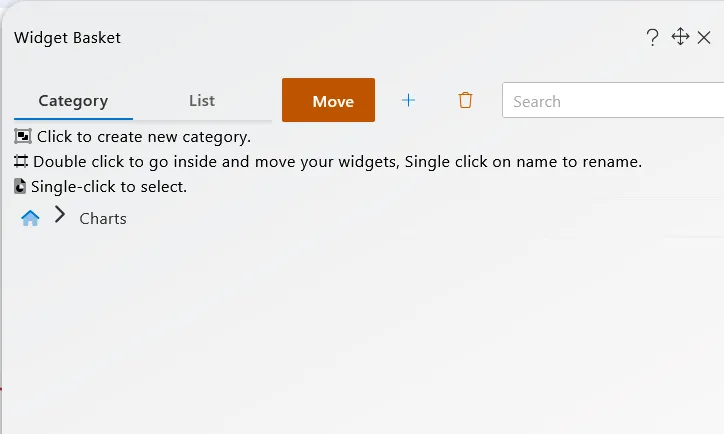
Once inside the category, the view should look like this.
-
To finalize the move, click on the Move button at the top of the menu bar. Once the widgets are moved, the button will disappear, as shown below.
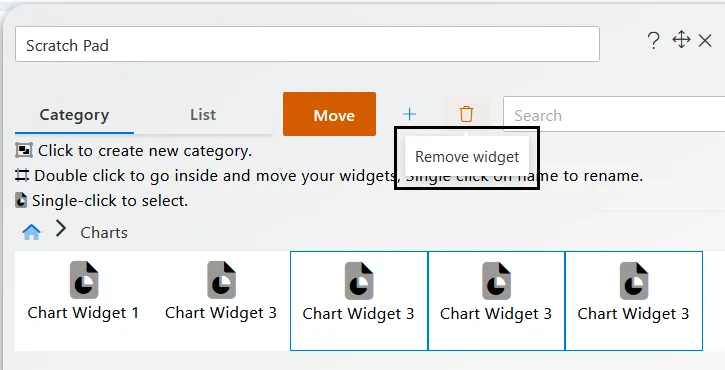
Deleting Widgets
-
To delete a widget from the widget and folder list, simply select the widget and click on the delete icon from the top menu bar, as shown below.
Adding a Widget to the Dashboard
-
To add a widget from the widget and folder list to the dashboard, select the widget and click on the (+) plus icon. The widget will then appear on the dashboard.