Annotation Tab Table Widget
Overview
Annotations function as comments within widgets, allowing users to provide additional context or notes. In the AIV application, users can grant specific users or roles permission to view or edit annotations, enhancing collaboration and workflow management.
Prerequisites
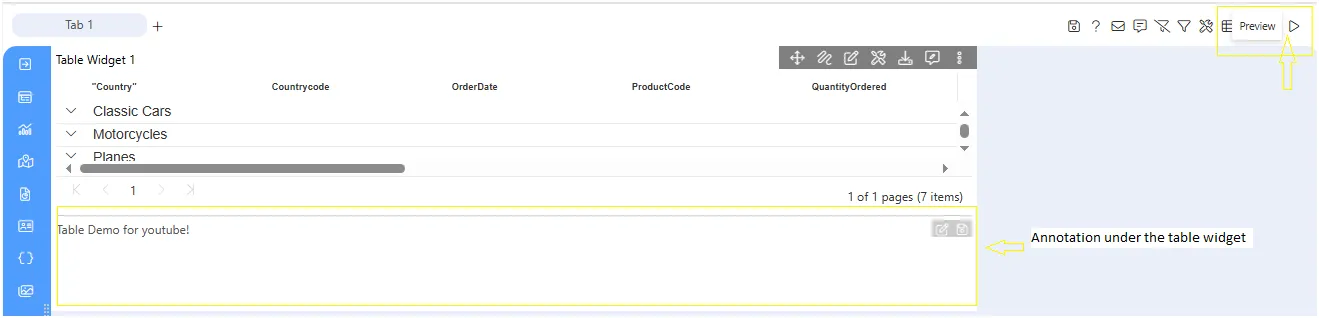
The dashboard must have at least one widget published for the user to view the annotation under the widget.
Annotation Tab Table: This video explains how users can add annotations to a table in the AIV dashboard.
Follow the steps to apply annotations on the table widget:
-
Open or edit the table on which you want to add the annotation, and click on the Annotation tab from the edit menu.

-
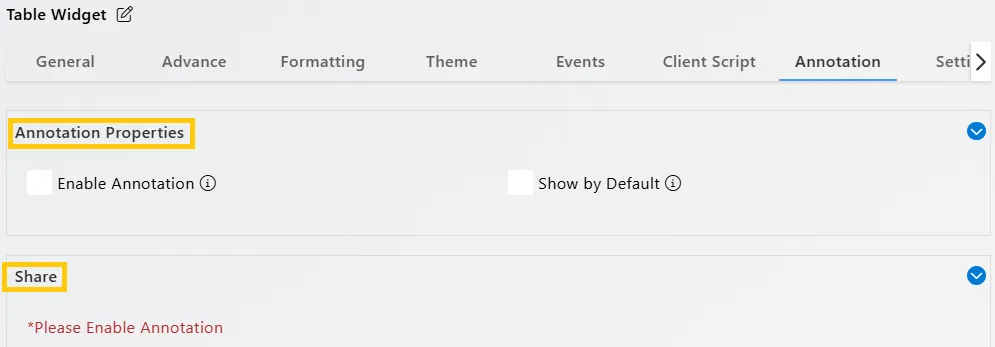
In the annotation tab, you will see the Annotation Properties and the Share menu, as shown in the figure:
-
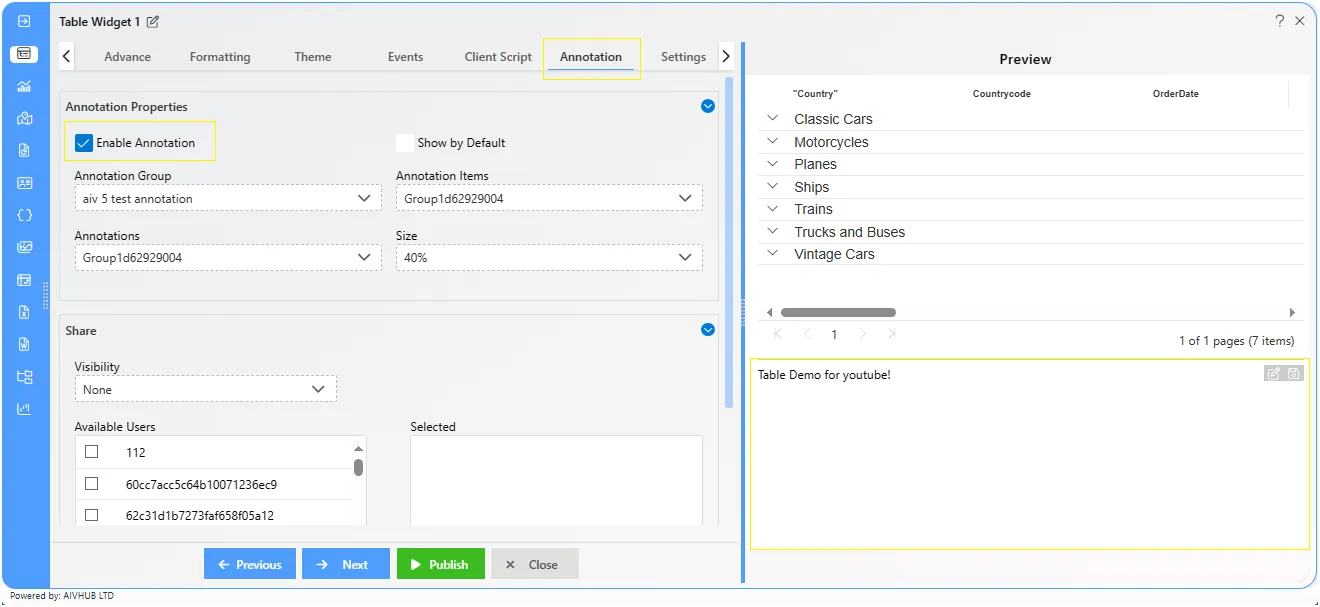
Enable the annotation by clicking on the Enable Annotation checkbox. When enabled, the Show by Default checkbox is automatically selected, as shown below:
-
Annotation Properties Overview:
- Annotation Group: Provides groups of annotations; you can add more groups as needed.
- Annotation Item: Offers a series of items from the selected group; you can add more items as needed.
- Annotations: Displays the list of annotations for the selected item. Users can view different types of annotation text under the widgets.
- Size: Specifies the total size of the annotation, allowing users to adjust its size.
-
By following these steps, you should be able to see the annotation under the desired widget.
-
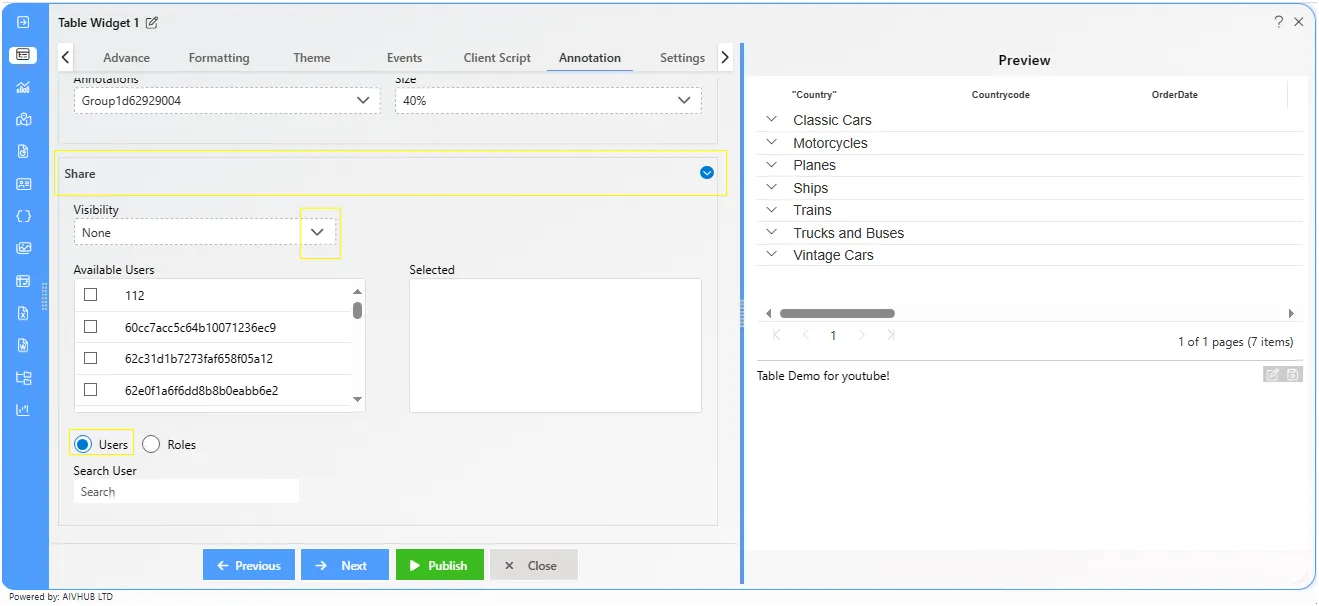
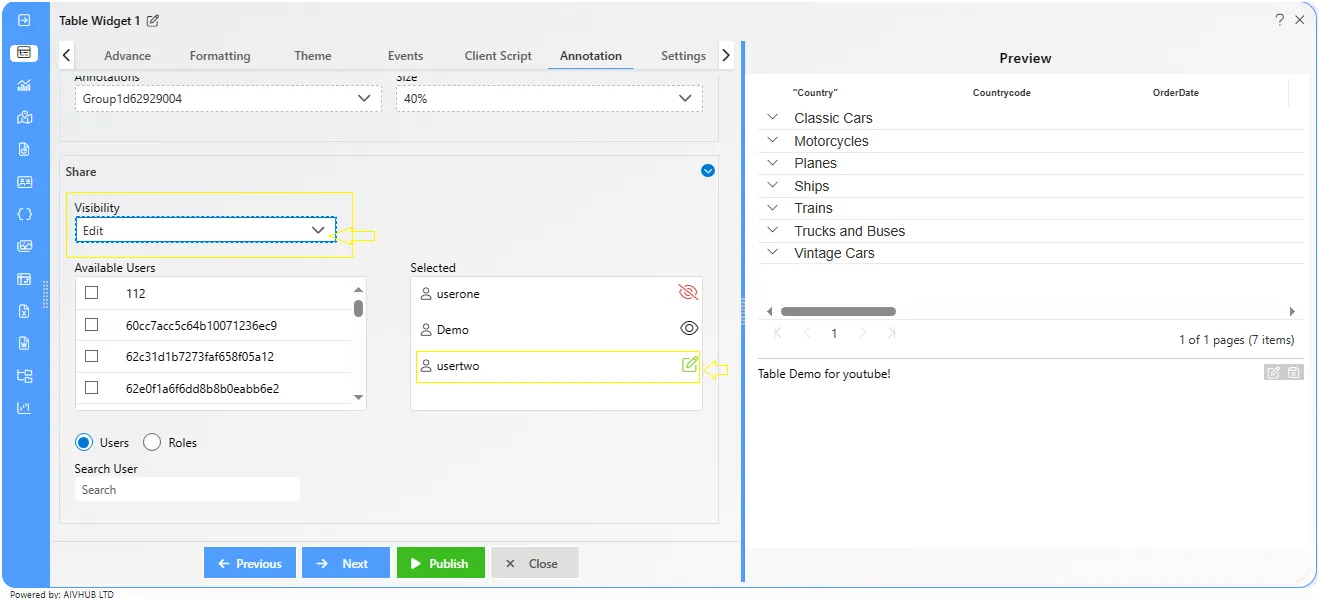
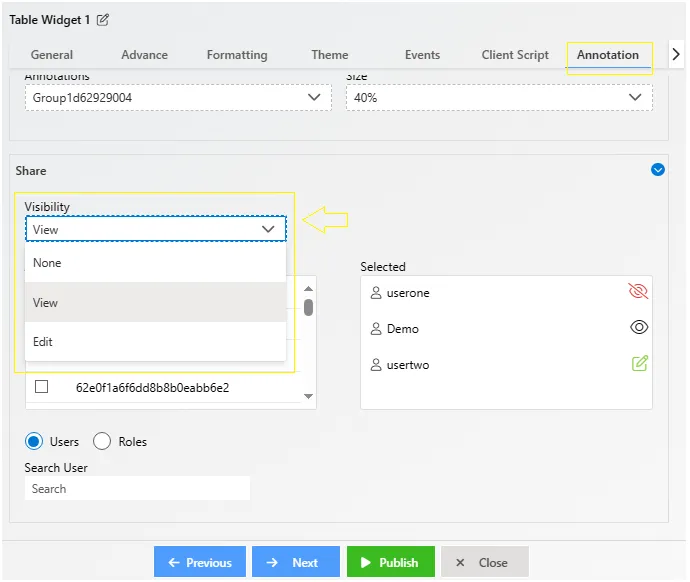
The Share annotation option allows users to control annotation visibility and edit rights for specific users or roles through the Share Annotation Control Overview, which includes:
-
Visibility: Enables users to share annotations with view-only or view-and-edit-rights.
-
Available users: Lists all users in the application. You can select multiple users as viewers or editors.
-
Selected Users: Displays all selected users in a separate grid, with icons making it easy to identify whether users have view-only or edit rights.
-
Users/Roles: Lets you choose whether to share annotations with individual users or roles.
-
Search User: Allows users to search for a specific user by their username.
-
Exercise: Share annotation with users
Follow these steps to add and share an annotation with specific users:
-
Add the annotation to the desired widget, then click on the Share menu.
-
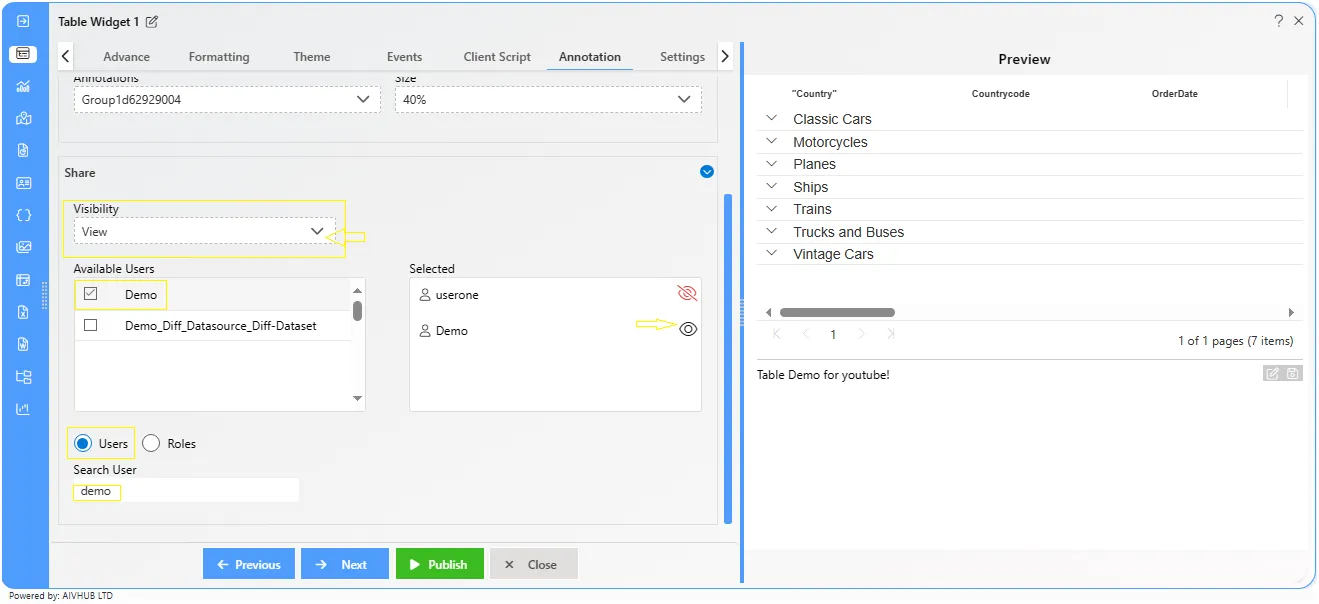
Select the Visibility dropdown, choose the View option, and click on Demo from the Available users. (Here, we used Demo, but you can select any user as per your requirement.)
-
Select the Visibility dropdown, choose the Edit option, and click on usertwo from the available users. (Here, we used usertwo, but you can select any user as needed.)
-
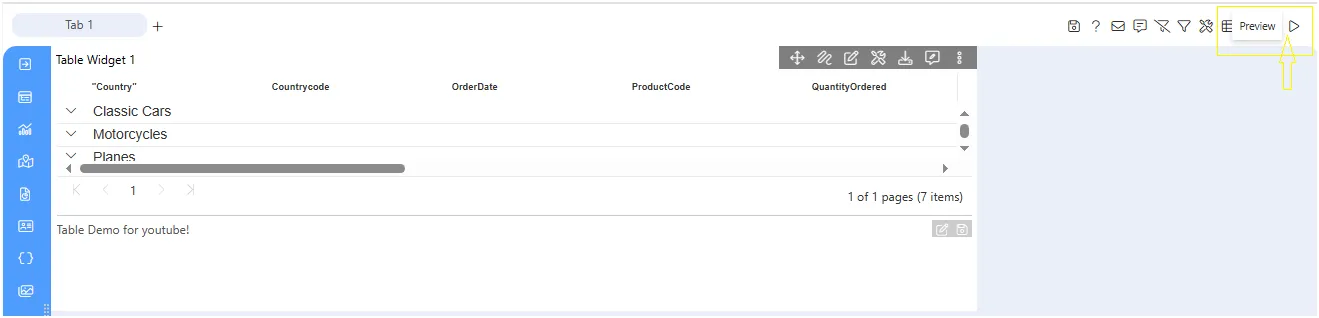
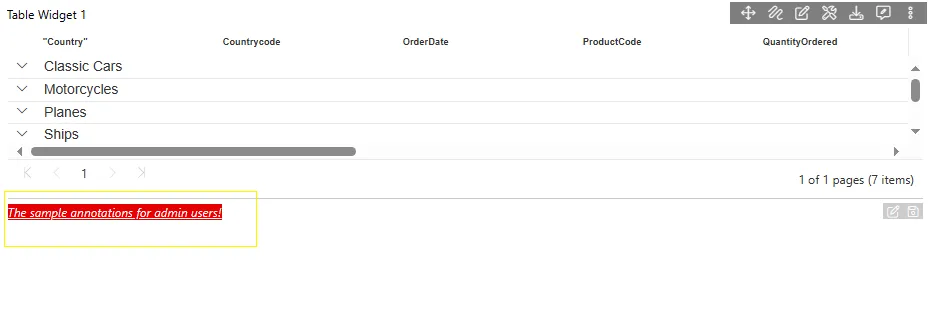
Click the Publish button, then the Preview icon, and finally click on the SAVE AND EXIT button to view the Annotation.
-
From the preview screen, you should see the annotation displayed under the widget.
-
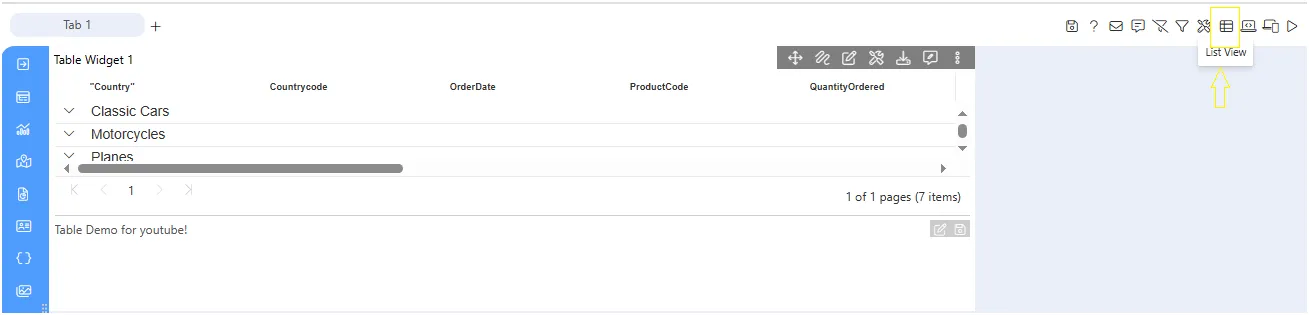
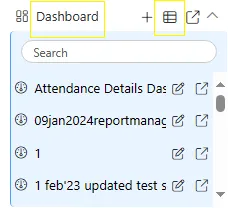
Go to the Grid View of the dashboard section and search for the dashboard where you added the annotation.
-
To access the grid view, click on the hamburger icon and, beside the Dashboard title, click on the List view icon.
-
In the grid view, search for the dashboard and click on the share button. Right-click on the dashboard and select the share option from the menu.
-
The share dialog box will appear on the screen. Select demo and usertwo form the available users, and both users will appear in the selected users grid.
-
Select the visibility option as Public, as shown in the figure: below:
-
Click on the share button to complete the dashboard sharing.
-
Once you share the dashboard, both users (Demo and usertwo) will be able to view the dashboard and the annotation, with either visibility or edit rights, as per the selected permissions.
To learn more about the features of the Table Widget, click on the links below:
Create Table Widget
Advance Tab Table Widget
Formatting Tab Table Widget
Event Tab Table Widget
Themes Table Widget
Widget Settings
To learn more about the advanced features of the Table Widget, click on the links below:
Custom Column Table Widget
Custom Column Micro Chart
Custom Column Table Widget Icon
Custom Column Table Hyperlink
Skip Widget Event Filtering