Installation on Windows
This documentation contains the steps to install AIV in the windows system.
Objective
- Objective of this document is to guide the user in the installation process of AIV on a Windows machine.
Hardware requirements
- Operating System - Windows, Linux, Unix, Mac
- RAM- Minimum 8 GB (16+ GB Recommended)
- Disk Space - 15 GB of free disk space (additional space is required for repository and log folder)
Software Requirements
- Java - 8
- Metadata Database - MySQL 5.5+, Oracle 11+, PostgreSQL 9.1+
- Browsers - Firefox 25+, Chrome 30+, Safari 9.0+, MS Edge
- Application Server - Apache Tomcat 8.x
Setup AIV in Windows
There are 2 ways the user can install AIV on the windows machine:
(i) Install AIV with default database [PostgreSQL]
(ii) Install AIV with existing database [MySQL / PostgreSQL / Oracle]
1. Install AIV with default database [PostgreSQL]
This type of installation is preferred when there is no database installed on the windows machine or server. AIV setup comes with a default database i.e. PostgreSQL setup files. if the user does not have any database on his machine, he can install AIV without setting up a separate database on the windows machine. The user just needs to run the AIV setup and select the PostgreSQL option during the metadata selection step. That’s it, AIV will get configured with PostgreSQL. There’s no need to download any database to store metadata of AIV before running this setup.
Follow these steps to install AIV with PostgreSQL Database:
-
Follow this link to download & install Java in your system. follow this link to get java in PATH system variable if you do not have it installed
-
Go to AIV website and Download the AIV setup file. Extract AIV Installer in the respective drive.
-
Locate and double-click the .exe file. (It will usually be in your Downloads folder or in your respective drive.)
-
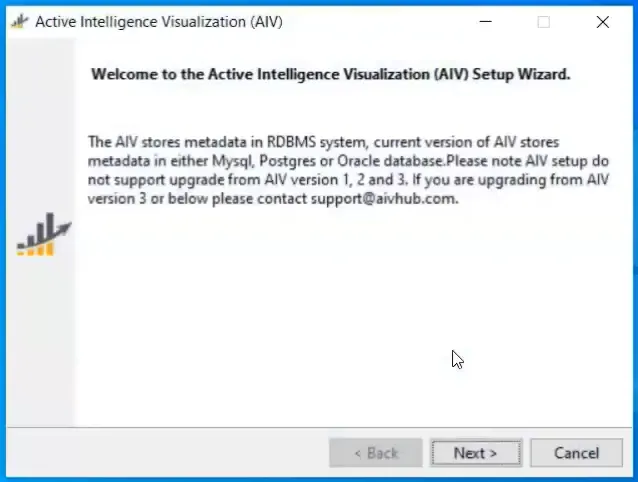
A dialog box will appear. Click on Next button & Follow the instructions to install the software:
-
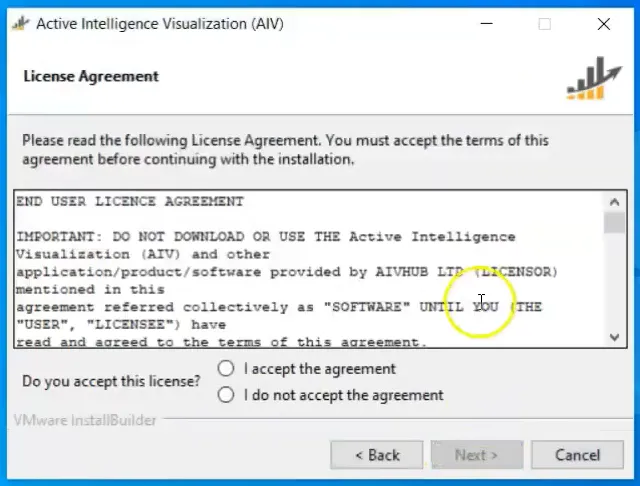
Accept the agreement & Click on the Next button.
-
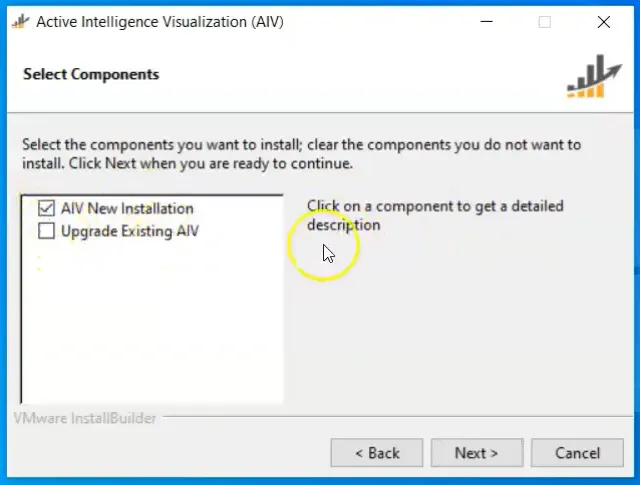
Click on AIV New installation checkbox, de-select Upgrade Existing AIV & Click on the Next button.
-
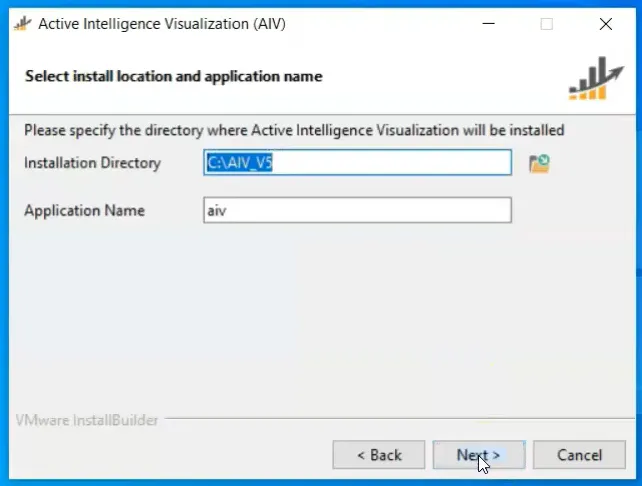
Select your respective Installation Directory & Click on the Next button.
-
Installation files will start extracting.
-
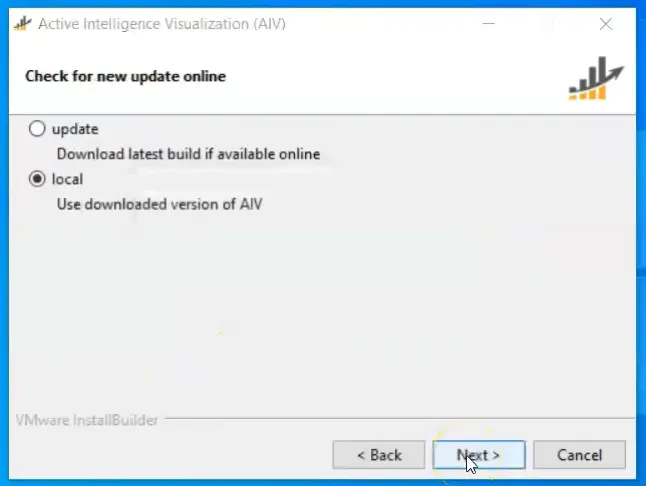
While performing the installation procedure it will ask the user for the update & local. If the user selects update option setup will check if any newer version is available on the server or not. If yes, It will fetch a new build from the server and then install AIV with an updated build.
-
If the user select local option, setup will use files available with setup to install AIV.
-
Select the preferred option & click on the Next button
- Next window will ask the user to select Metadata Database.
-
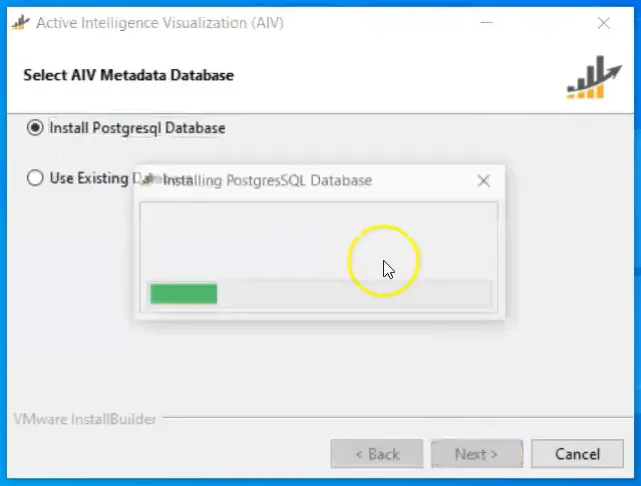
Select the Install PostgreSQL Database option & Click on the Next button.
-
PostgreSQL Database installation will start.
-
After PostgreSQL is installed it will configure the database.
-
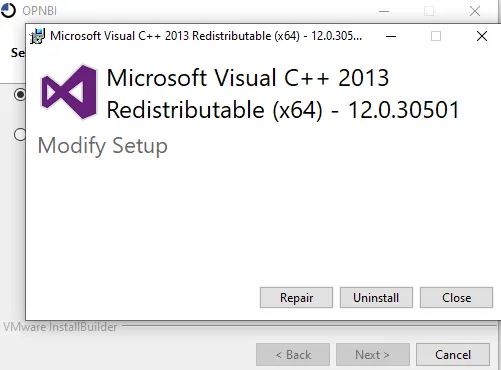
During installation one dialog box will appear asking regarding Visual C++ as shown then click on the Repair button:
-
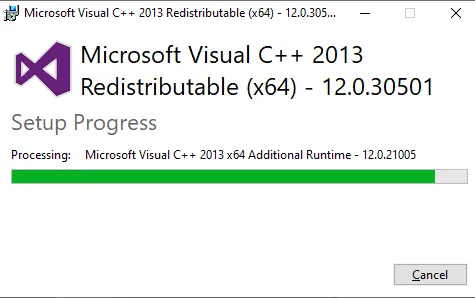
After click on the Repair button, the process should look like below figure.
-
User’s setup is successful & Click on the Close button.

-
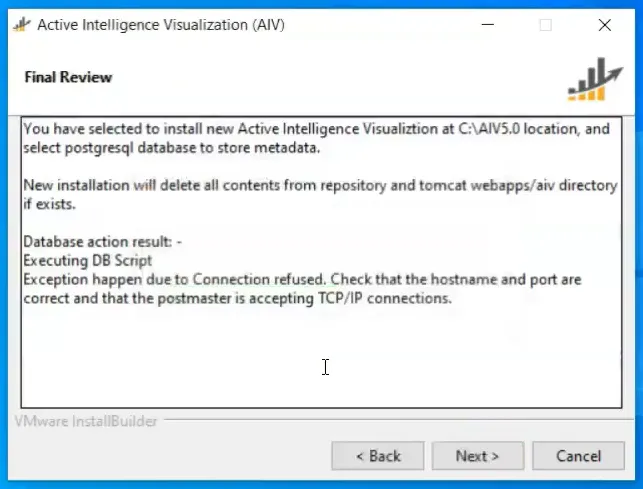
After this user’s database will be cofigured & Final Review window will appear.
- Here you can see the connection status of the database installed. It shows Connection Successful if a database connection is found. Click on the Next button.
-
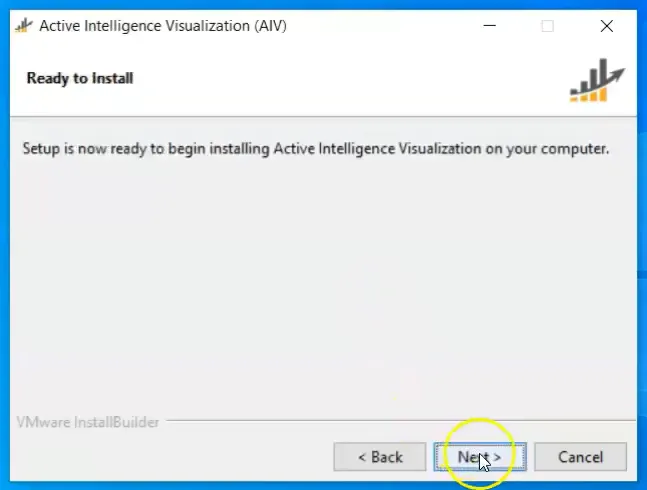
Setup is ready & AIV Installation will start in the system.
-
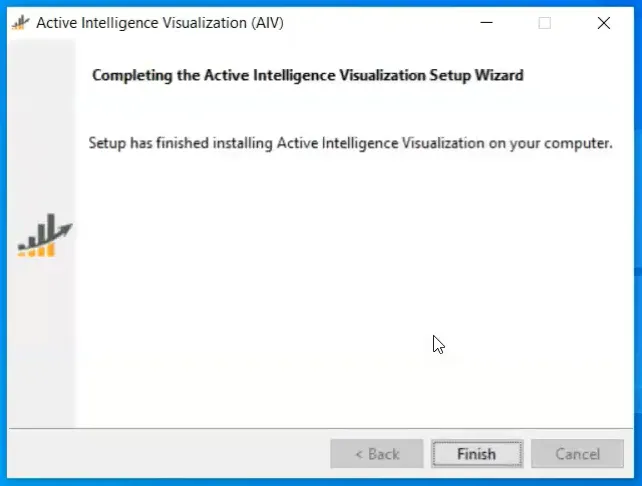
Click on the Finish button after Installing AIV in the system.
-
AIV is downloaded & it will be seen in your local drive with provided folder name. ( In user’s respective location & name selected at the start of the installation process).
2. Install AIV with existing database [MySQL / PostgreSQL / Oracle]
This type of installation is preferred when the user already has any database out of MySQL or PostgreSQL or oracle installed on his machine or server. Although AIV comes with the default database setup of PostgreSQL if the user has any out of the 3 listed databases then he can use this database to store metadata of AIV.
Follow these steps to install AIV with the existing Database.
-
Download & Extract AIV Installer in the respective drive.
-
Locate and double-click the .exe file. (It will usually be in your Downloads folder or in your respective drive.)
-
A dialog box will appear asking for a License Agreement. Click on I accept the agreement radio button & Next button respectively.
-
Click on AIV New installation checkbox, de-select Upgrade Existing AIV & Click on the Next button.
-
Select Installation Directory, provide or select folder name & Click on the Next button.
-
Installation files will start extracting.
-
While performing the installation procedure it will ask the user for an update & local. If the user selects update option setup will check if any newer version is available on the server or not. If yes, It will fetch a new build from the server and then install AIV with an updated build.
- If the user select local option, setup will use files available with setup to install AIV.
- Select the preferred option & click on the Next button.
-
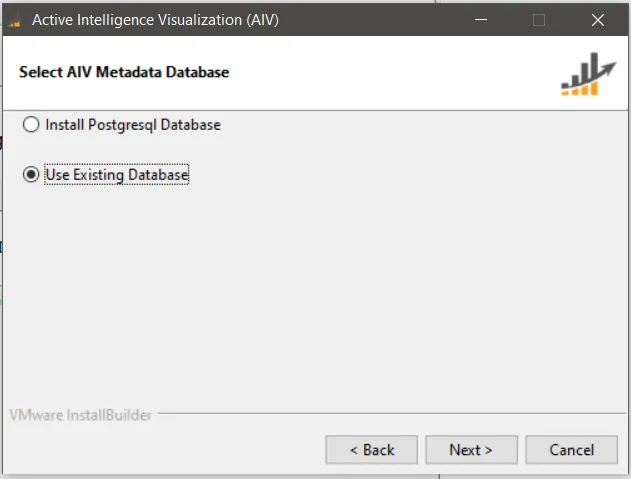
Select the Use Existing Database radio button & Next button respectively.
-
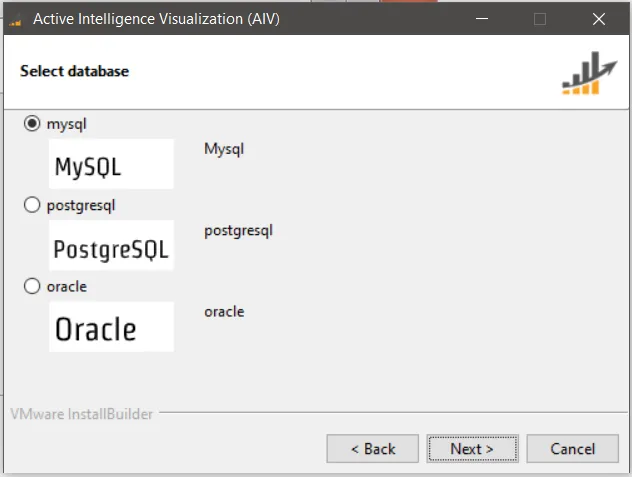
A dialog box will open & it will ask the user to select Database from available options. Here we will set up AIV with MySQL database. Select MySQL & Next button respectively.
-
Here user needs to provide the database credential listed below.
- DB Server URL :
localhost[provide database URL here] - Database Name :
aiv[by default database name provided is open. if the user has a database already created then change the database name here ] - DB User Name :
root[provide username to connect with database] - DB password :
****[provide valid password for provided username] - DB Port :
3306[provide database port information] - Create database: this checkbox should be marked when the database mentioned in
Database Nameproperty is not yet created in the database. by marking this checkbox, setup will create a new database with the name provided inDatabase Nameproperty and all metadata of AIV will be stored there.
-
Click on next and Validating DB Connection will start.
-
After this user’s database will be configured & Final Review window will appear.
- Here you can see the connection status of the database. It shows Connection Successful if database credentials are correct and a connection is found. Click on the Next button.
-
Click on the Next button & below the dialog box will appear:
-
As the user clicks on the Next button shown in the last image, installing AIV files will take place.
-
After the installation of files is completed your AIV setup is completed.
-
Click on Finish shown in the last image, and your AIV software is ready to use.
-
AIV is downloaded & it will be seen in your local drive with provided folder name. ( In user’s respective location & name selected at the start of the installation process).
Request for AIV License
-
Go into the directory where AIV is installed. you will see start_db.bat, start_aiv.bat, stop_db.bat, stop_aiv.bat files. Click on start_db to Start PostgreSQL if AIV is installed with PostgreSQL. In case AIV is installed with MySQL you will not find start_db.bat file. To start the application server double click and run start_aiv.bat and wait for about 2 min till the tomcat server starts.
-
When the user starts the Application server the first time one dialog box for Windows Security Alert will open as shown:
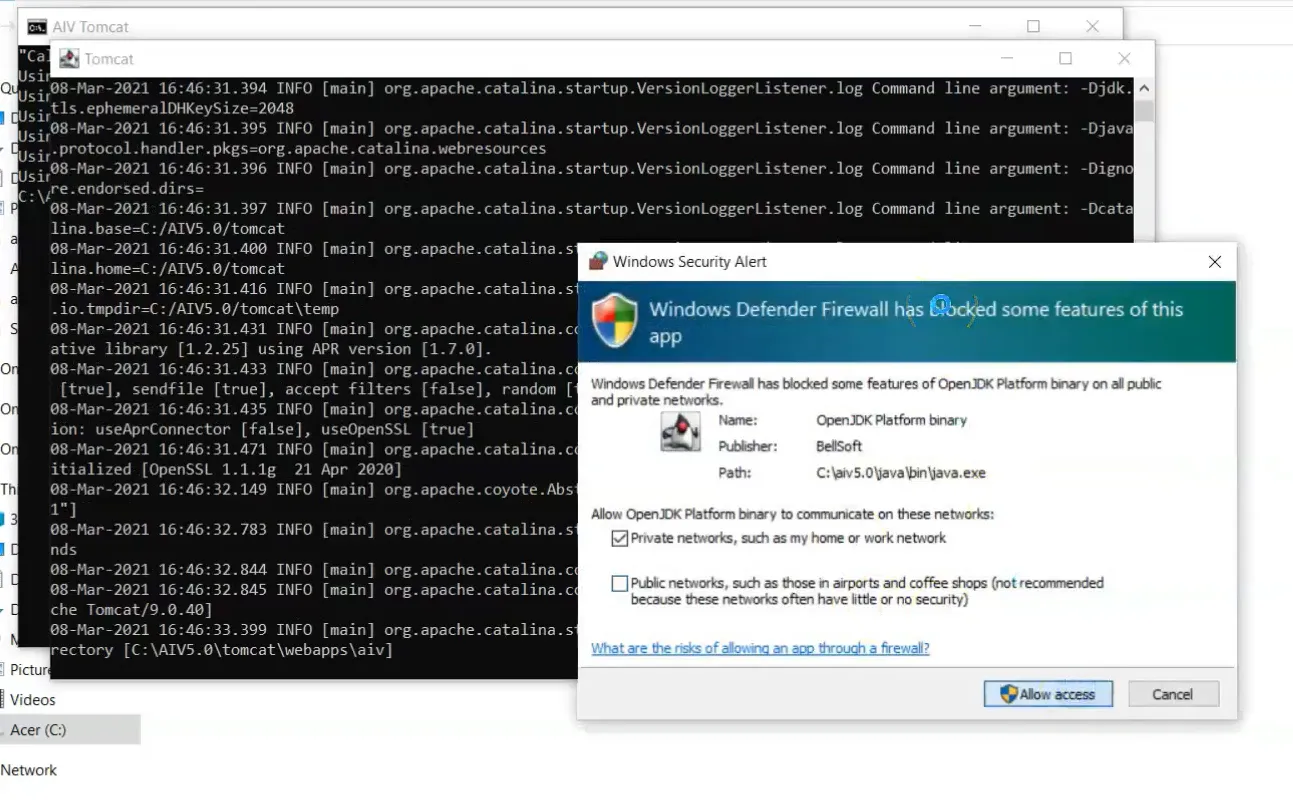
-
Click on Allow Access button. & Application Server will start in minutes.
-
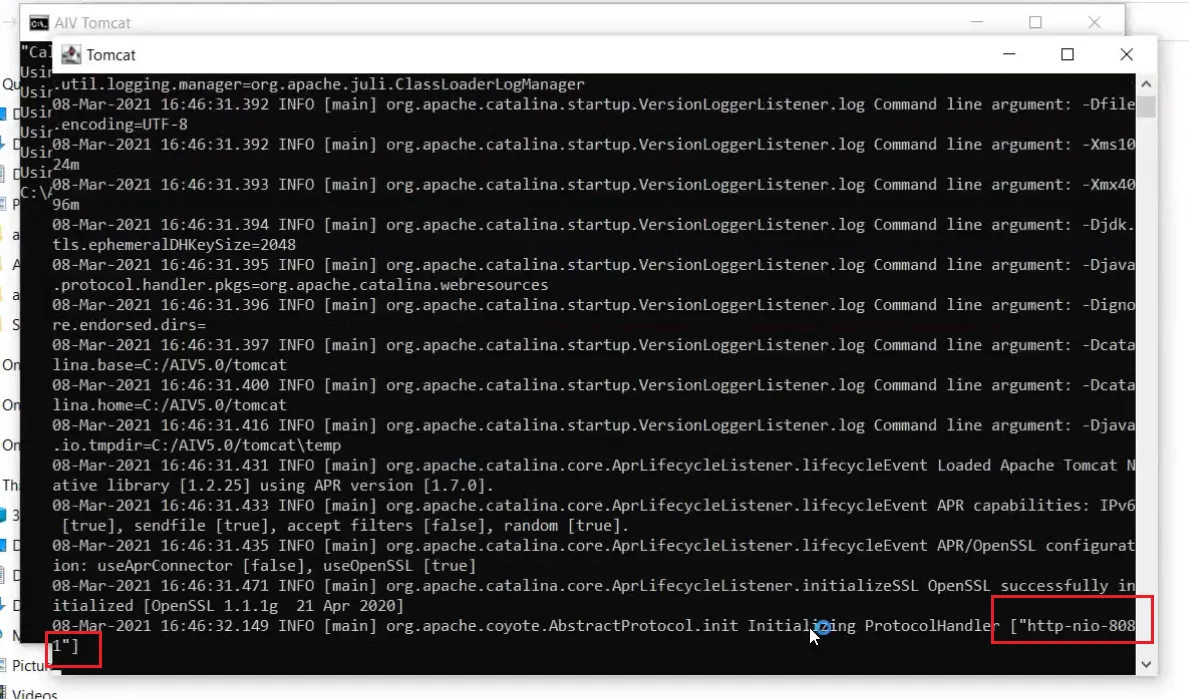
User can see the port number in server
["http-nio-8081"]as shown above: -
Here
8081is the port number of the server. -
Go to the browser & paste
http://localhost:8081/aiv/. -
Wait for a few minutes & AIV Login screen will appear as below:
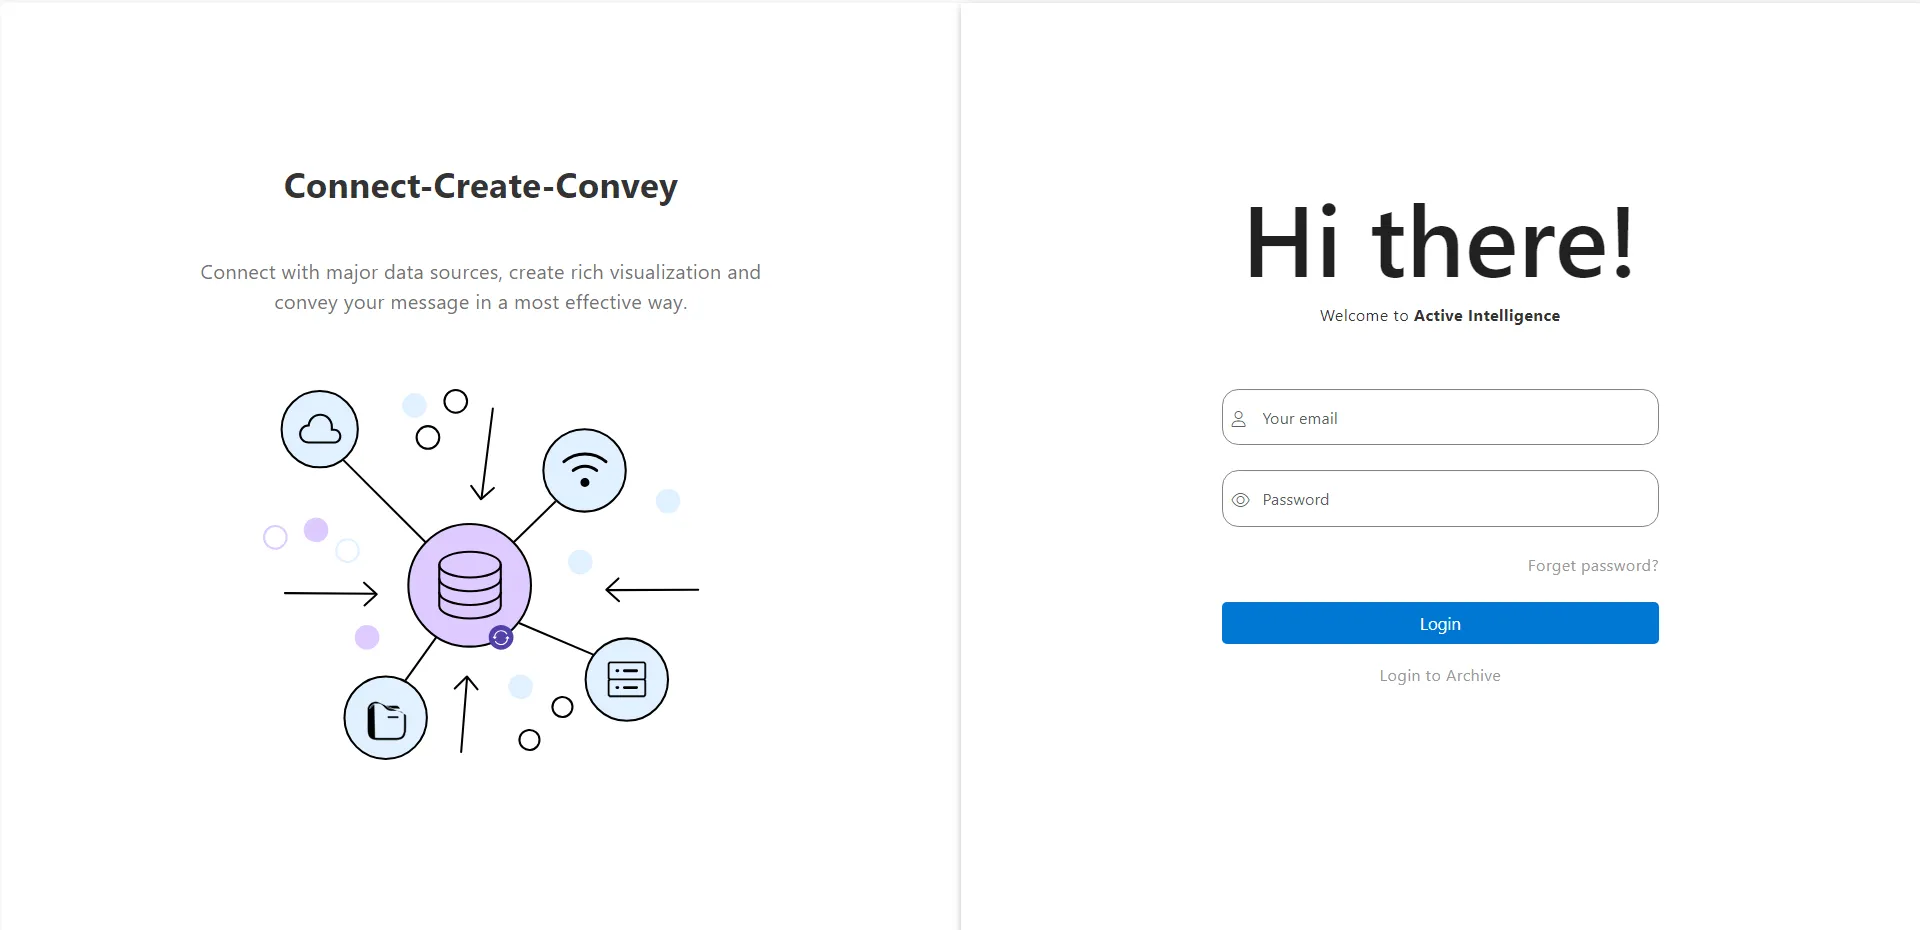
-
Enter your respective Id & Password & below screen will appear:
-
Fill in the Request License details & click on the Online Request button.
-
One Registration Confirmation mail will appear in your mailbox.
-
Click on the following link & Confirm your Registration.
-
After a couple of minutes user will get a license file in the mail.
-
Download the License file & save it in your directory.
-
After getting the license file Click on the Upload License button, Select the License file & Click on the Open button.
-
License will be uploaded & one pop-up message showing
License Uploaded Successfullywill be shown at the top of the screen. -
Now, AIV is ready to use. when you log in again, you will see a default dashboard page provided by AIV.