Preview Tab Terminology
The Preview Tab lets you review, validate, and refine dataset results before saving. You can view records, apply column filters, and then save or discard your configuration.
What you can do in the Preview tab
- Review query results and column structure before saving the dataset
- Validate that data and data types match your expectations
- Filter the preview grid by column to focus on specific records
- Save or cancel to finalize or discard your dataset configuration
Refer to Create Dataset for the full workflow, or Dataset Terminology for an overview of all tabs.
1. Viewing More Than 500 Records
Purpose
-
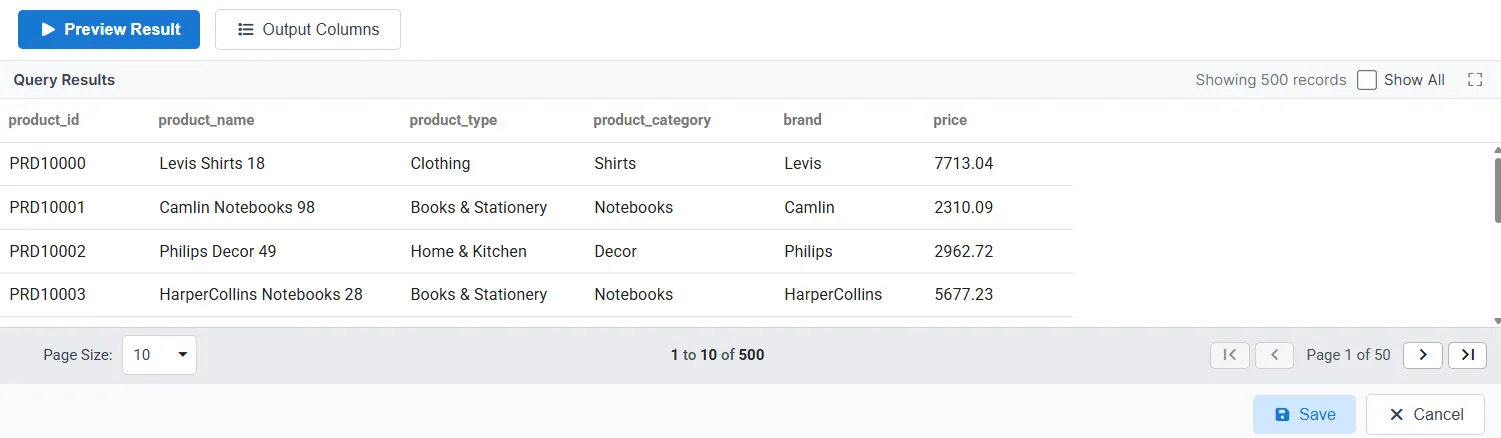
The Preview Results grid shows sample data so you can confirm that the dataset returns the right structure and values before saving.
-
By default, the grid displays up to 500 records. You can optionally load all records for a full review.
Key points
- Default limit is 500 records to keep the preview responsive.
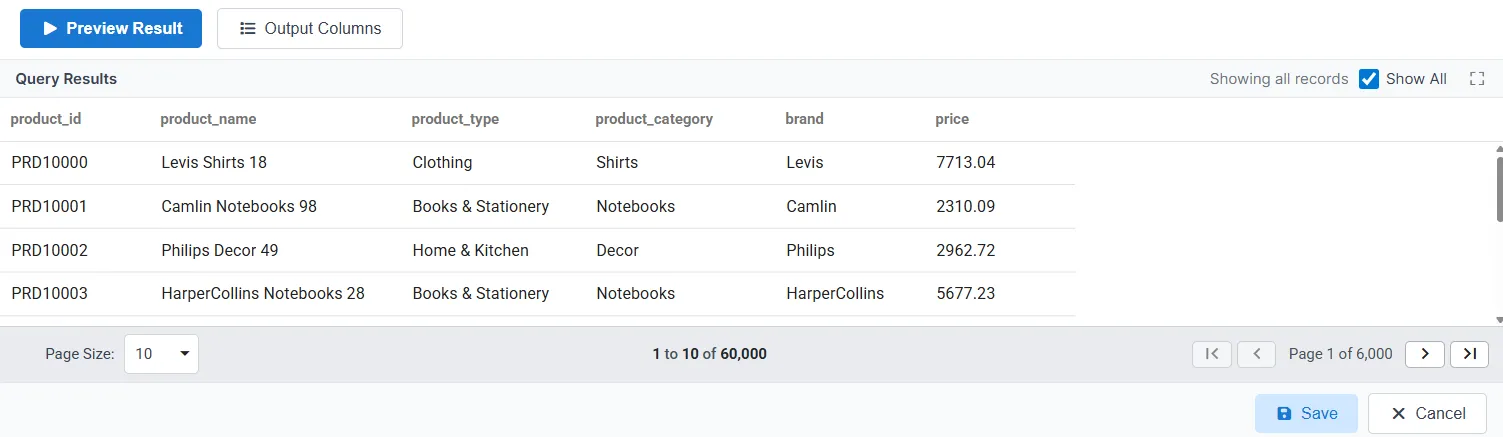
- Use Show All when you need to verify the full result set.
- For very large datasets, showing all records may slow down the preview.
How to view all records
-
Locate the Show All checkbox in the Preview window.
-
Select the checkbox to display all available records.
2. Save and Cancel Options
Purpose
- Save persists your dataset configuration and adds the dataset to the Dataset List View.
- Cancel discards unsaved changes and closes the Preview window without creating the dataset.
Key points
- Both actions are available at the bottom of the Preview window.
- Always confirm your preview results before clicking Save.
- Cancel cannot be undone; all unsaved changes in the current session are lost.
How to save the dataset
- Click Save.
- The dataset configuration is saved.
- The newly created dataset appears in the Dataset List View section.
How to cancel changes
- Click Cancel.
- All unsaved changes are discarded.
- The Preview window closes without creating the dataset.
3. Filter Button
Purpose
- The Filter feature lets you refine the data displayed in the Preview Results grid by column.
- You can apply one or more conditions per column to see only matching records.
Key points
- When you hover over a column header, the Filter icon(
 ) appears.
 - Filters apply only to the preview; they do not change the dataset query or saved configuration.
- A filter indicator appears in the column header when a filter is active.
How to apply a filter
-
Hover over the desired column header (for example, brand).
-
Click the Filter icon.
-
Select a filter condition from the dropdown list (e.g. Begins with, Equals, Contains).
-
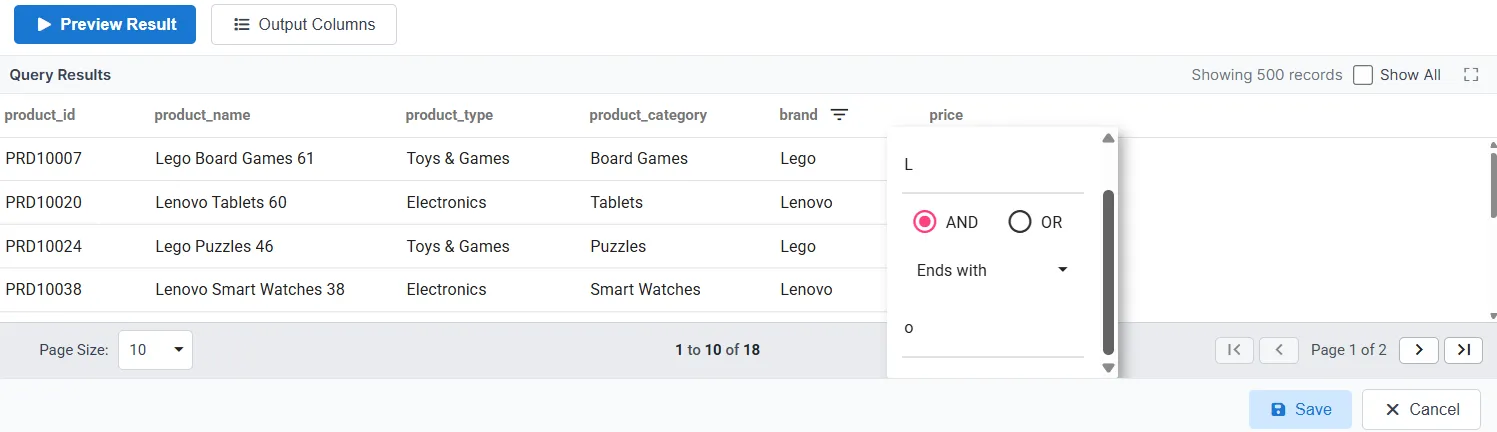
Enter the required filter value (e.g. L to show only brands that begin with “L”).
-
The grid updates automatically to display matching records.

Available filter conditions
Depending on the column type, the following conditions are available:
- Contains
- Does not contain
- Equals
- Does not equal
- Begins with
- Ends with
- Blank
How to apply multiple conditions
-
Add multiple filter conditions within the same column (e.g. Begins with L and Ends with o).
-
Choose a logical operator:
- AND – All conditions must be met.
- OR – At least one condition must be met.
-
The grid updates based on the selected logic (e.g. with AND, only rows where the value starts with L and ends with o are shown).
Column-level filtering summary
Key points
- Filters apply only to the selected column.
- A filter indicator icon appears in the column header when a filter is active.
- Only matching records are displayed in the grid.
Summary
The Preview Tab helps you:
- Confirm that the dataset returns the correct data and structure before saving
- Explore results with optional Show All and column filters
- Decide whether to Save the dataset or Cancel and discard changes
Use the Preview tab to validate your configuration so that saved datasets are accurate and ready for use in dashboards and reports. For the full creation workflow, see Create Dataset.