Data
Introduction
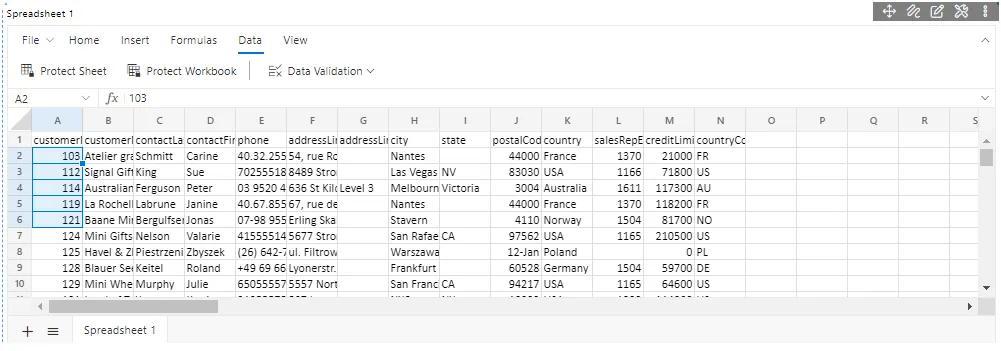
Data Tab helps you to Protect the Sheet, Protect Workbook, and Data Validation in the spreadsheet.
Prerequisite
Users will require to follow the dataset to understand edit spreadsheet scenarios.
Customers.cds dataset
Download Customers.zip file-click here
Insert Tab has three Functionalities:
-
Protect Sheet
-
Protect Workbook
-
Data Validation
1. Protect Sheet
Sheet protection helps you to prevent the users from modifying the data in the spreadsheet. Protect sheet feature helps you to prevent other users from accidentally or deliberately changing, moving, or deleting data in a worksheet, you can lock the cells on your Excel worksheet and then protect the sheet with a password.
In the active Spreadsheet, the sheet protection can be done in any of the following ways:
Select the Protect Sheet item in the Ribbon toolbar under the Data Tab, and then select your desired options.
Right-click the sheet tab, select the Protect Sheet item in the context menu and then select your desired options.
Open the existing Spreadsheet which you already created.
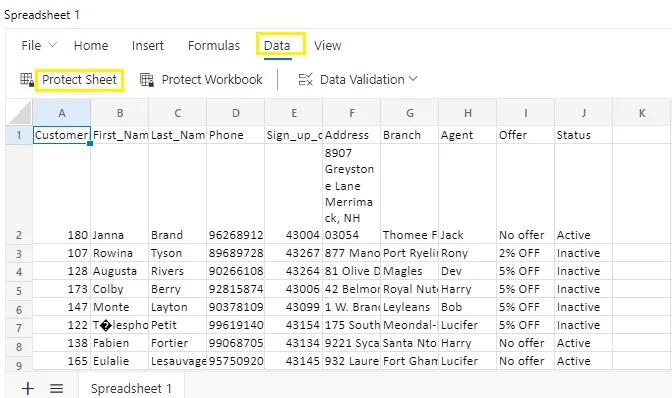
For demonstration, we are using a customer spreadsheet that I already have created. Go to the Data menu and select the Protect Sheet feature, as shown in the figure below:
When you click on Protect Sheet feature the Unprotect sheet pop-up will display and ask you to enter the password, as shown in the figure below:
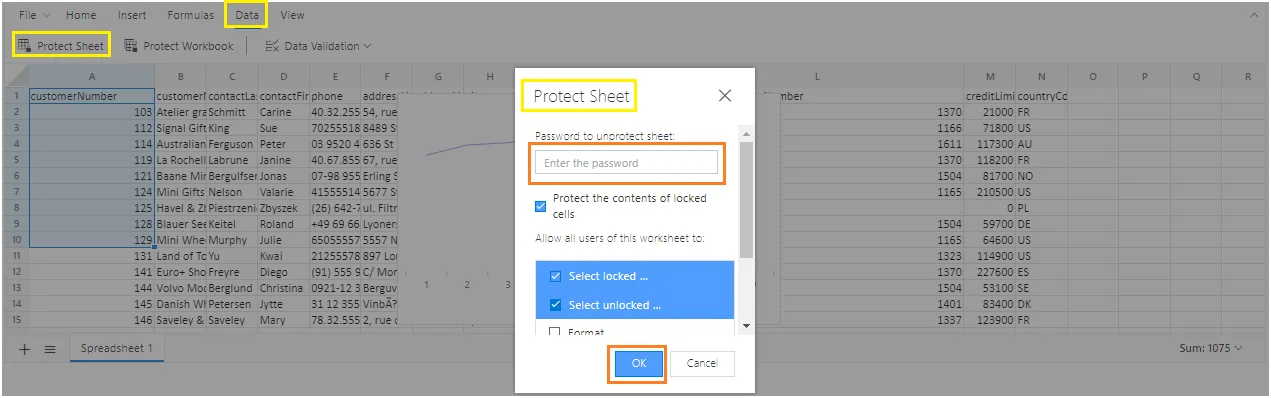
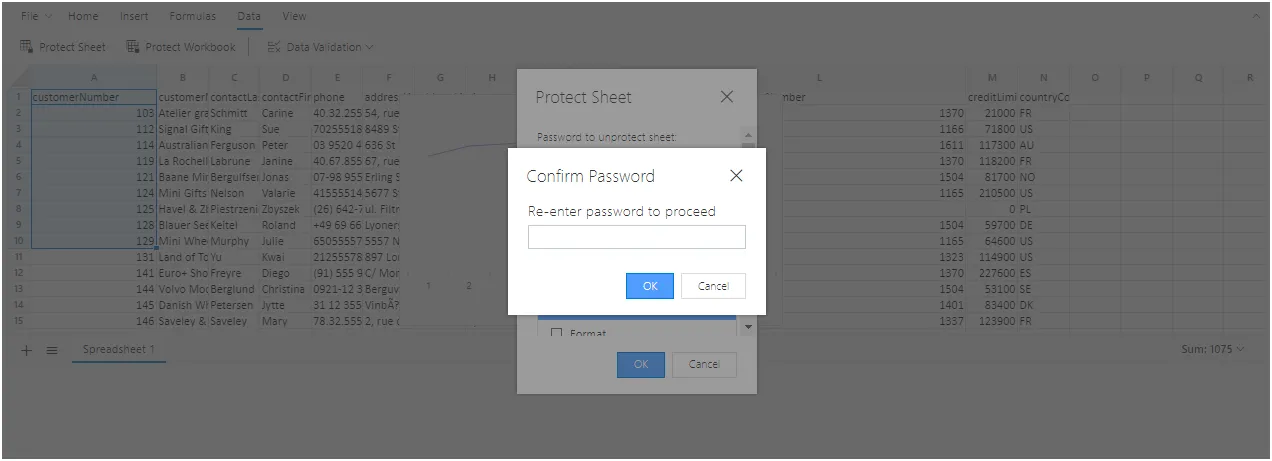
Enter the Password and click on the Ok button it will ask to Re-Enter the password for confirmation click on the Ok button.
When you edit the Spread sheet it will display a Popup message, as shown in the figure below:
Unprotect Sheet: Unprotect sheet is used to enable all the functionalities that are already disabled in a protected spreadsheet.
In the active Spreadsheet, the sheet Unprotection can be done in any of the following ways:
Select the Unprotect Sheet item in the Ribbon toolbar under the Data Tab. Right-click the sheet tab, and select the Unprotect Sheet item in the context menu.
2. Protect Workbook
Protect workbook feature helps you to protect the workbook so that users cannot insert, delete, rename, or hide the sheets in the spreadsheet. You can use the password property to protect the workbook with a password.
In the active Spreadsheet, you can protect the worksheet by selecting the Data tab in the Ribbon toolbar and choosing the Protect Workbook item. Then, enter the password and confirm it and click on OK.
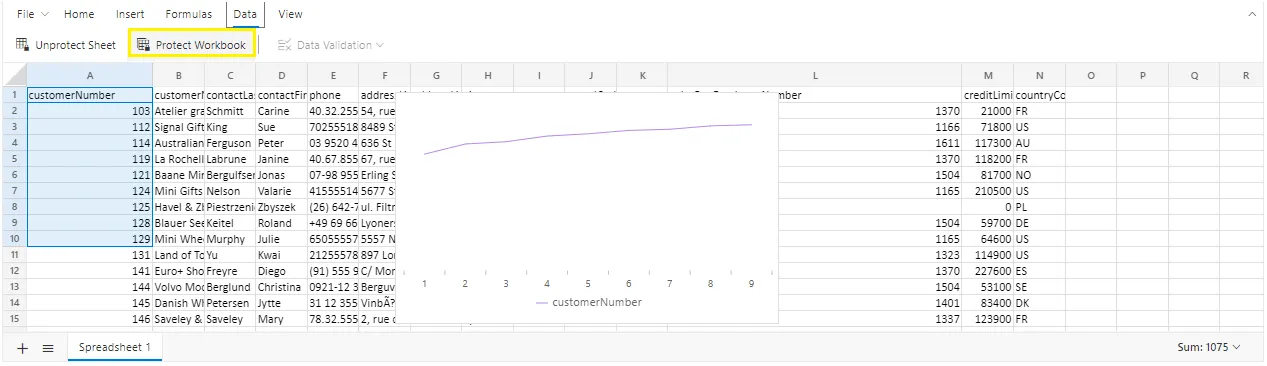
For demonstration, we are using a customer spreadsheet that I already have created. Go to the Data menu and select the Protect Workbook feature, as shown in the figure below:
When you click on Protect Workbook feature the Protect Workbook pop-up will display and ask you to enter and Re-enter the password, as shown in the figure below:
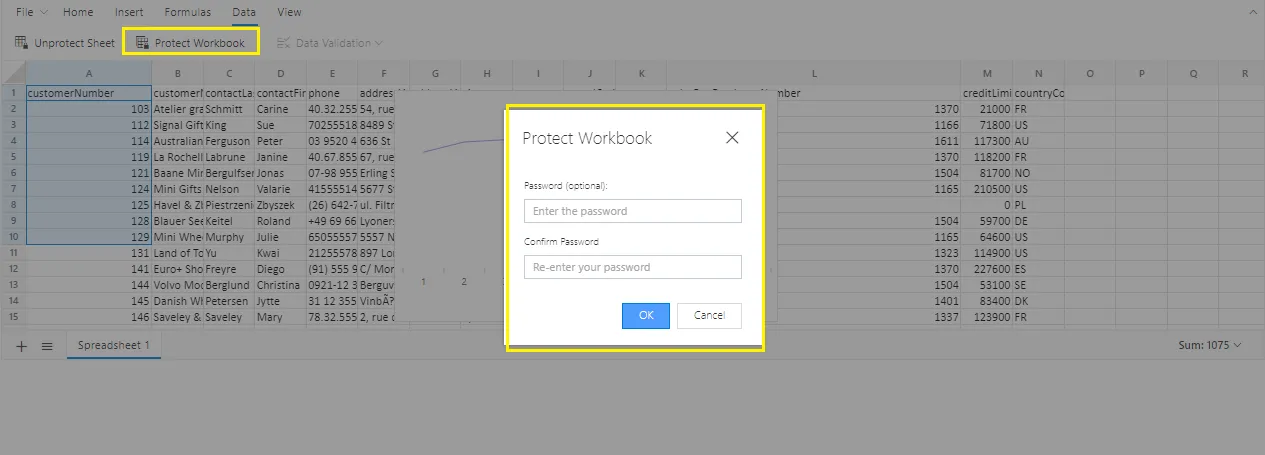
Click on Ok Button.
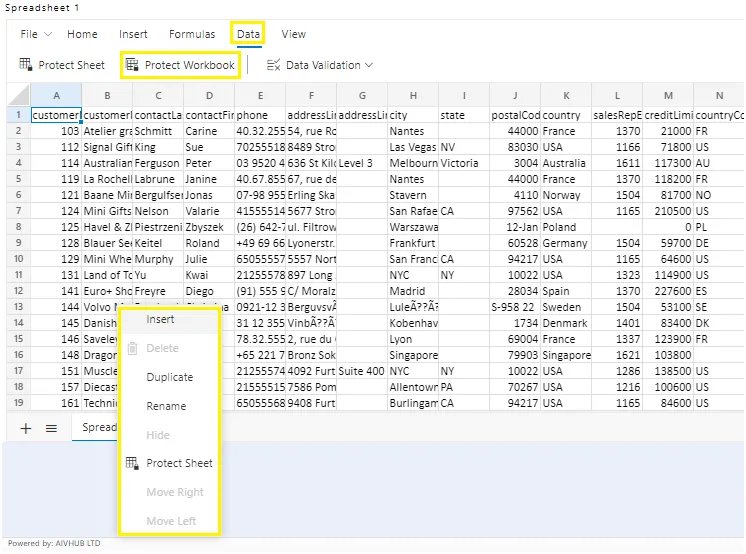
It will hide the features of the workbook like Inset, Delete, Move, Duplicate, Rename, and Hide as shown in the figure below:
Unprotect Workbook: Unprotect Workbook is used to enable the insert, delete, rename, move, copy, hide or unhide sheets feature in the spreadsheet.
In the active Spreadsheet, the workbook Unprotection can be done by Selecting the Unprotect Workbook item in the Ribbon toolbar under the Data Tab and providing the valid password in the dialog box.
3. Data Validation
Data Validation is used to restrict the user from entering invalid data. You can apply data validation to restrict the type of data or the values that users enter into a cell.
You can apply data validation by Selecting the Data tab in the Ribbon toolbar and then choosing the Data Validation item.
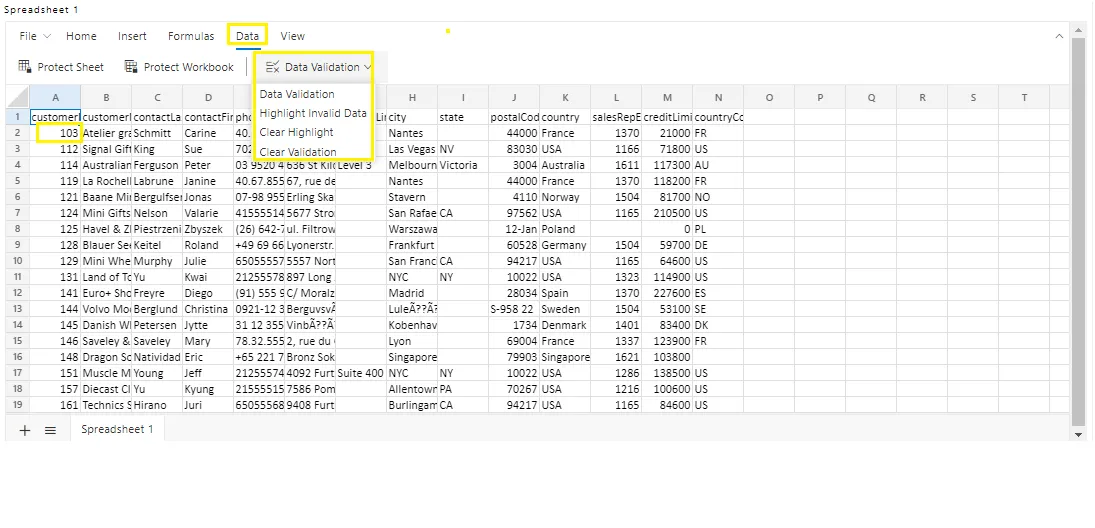
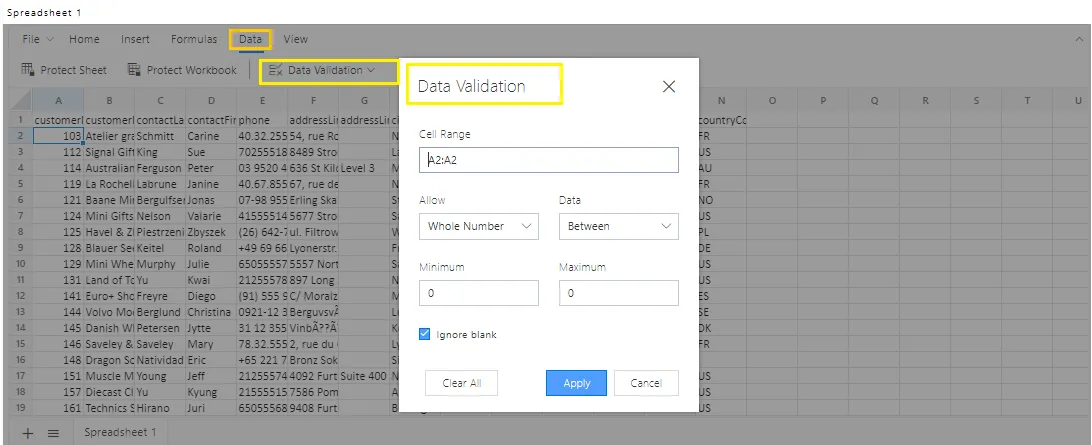
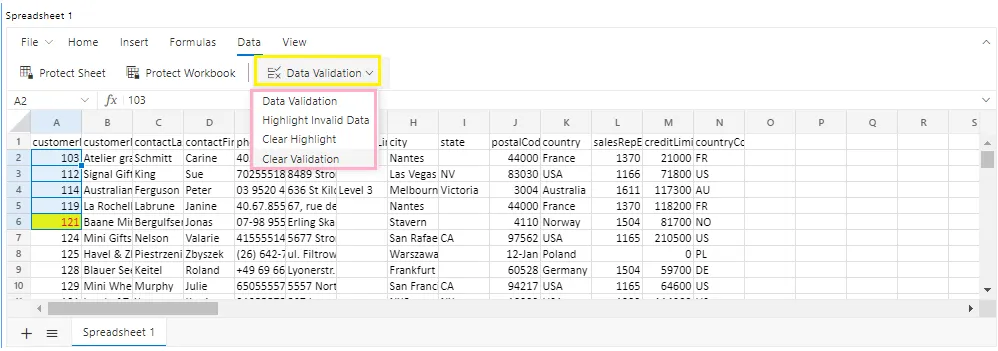
we are using a customer spreadsheet that I already have created. Select the cell(s) you want to create a rule for, Go to the Data menu and select the Data Validation drop-down feature, as shown in the figure below:
When you click on Data Validation the Data Validation pop-up will be displayed, as shown in the figure below:
Under Allow following option will be displayed:
-
Whole Number: to restrict the cell to accept only whole numbers.
-
Decimal: to restrict the cell to accept only decimal numbers.
-
List: to pick data from the drop-down list.
-
Date: to restrict the cell to accept the only date.
-
Time: to restrict the cell to accept only time.
-
Text Length: to restrict the length of the text.
Under Data, select a condition, Set the other required values based on what you chose for Allow and Data.
Enter the following details in Data Validation Pop-up:
-
Cell Range: A2
-
Allow: Whole Number
-
Data: Between
-
Minimum: 100
-
Maximum: 500
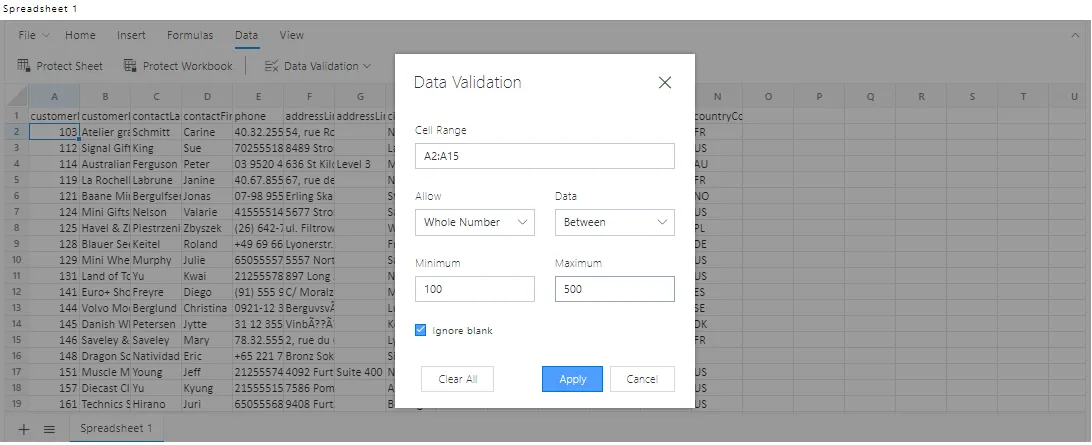
Click on Apply.
When you enter any invalid number it will display the pop-up message, as shown in the figure below:
Clear Validation: Clear validation feature is used to remove data validations from the specified ranges or the whole worksheet.
You can clear the data validation rule by Selecting the Data tab in the Ribbon toolbar, and then choosing the Clear Validation item.
Highlight Invalid Data: Highlight invalid data feature is used to highlight the previously entered invalid values.
You can highlight invalid data by Selecting the Data tab in the Ribbon toolbar, and then choosing the Highlight Invalid Data item.
Go to the Data menu and select the Data Validation drop-down feature, In Data Validation enter the property below:
-
Cell Range: A1
-
Allow: Whole Number
-
Data: Between
-
Minimum: 100
-
Maximum: 120
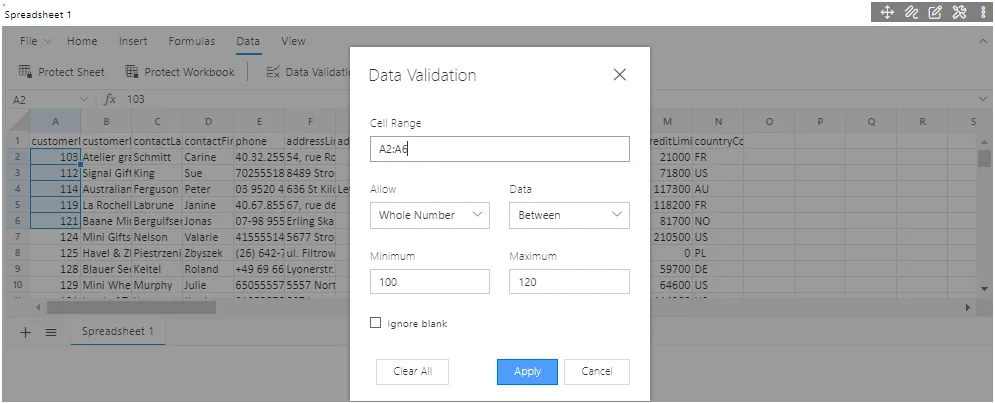
Click on Apply.
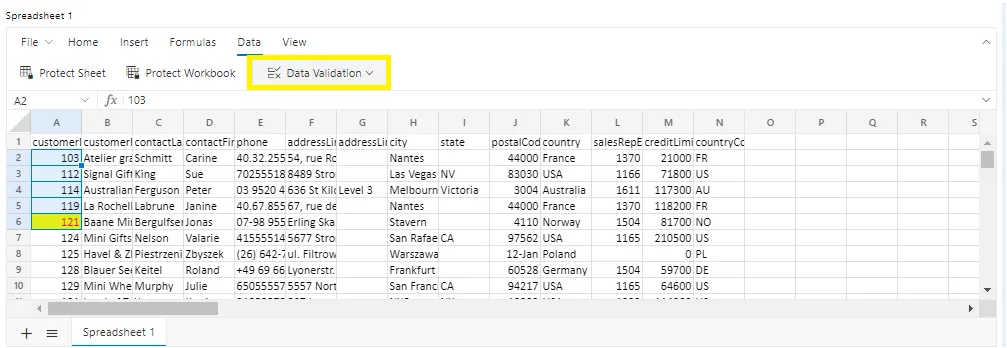
Now go to the Data >> Data Validation >> Highlight Invalid Data.
It will display the number which is greater than 120 as an Invalid number, as shown in the figure below:
Clear Highlighted: Clear highlight feature is used to remove the highlight from invalid cells.
You can clear the highlighted invalid data by Selecting the Data tab in the Ribbon toolbar, and then choosing the Clear Highlight item.
Clear Validation: Clear validation feature is used to remove data validations from the specified ranges or the whole worksheet.
You can clear the data validation rule by Selecting the Data tab in the Ribbon toolbar, and then choosing the Clear Validation item.
Select the data or worksheet then go to the Data >> Data Validation >> Clear Validation, as shown in the figure below:
It will clear all the validation, as shown in the figure below: