Image
Ad-hoc reporting refers to the on-the-spot creation of reports that are not pre-built, generated based on the client’s requirements by connecting directly to the live environment. You can also insert an image if needed.
Objective
Create Adhoc Report using Image.
Prerequisite
The adhoc_chart_demo.png is used for this example.
Download adhoc_image.zip file.
Adhoc Report - Image: This video contains information regarding How to Create Adhoc Report using Image in AIV.
Steps to Create Adhoc Report using Image
-
Login to AIV using your credentials.
-
There are three ways to add an Ad-hoc Report in the application:
-
From the Hamburger menu
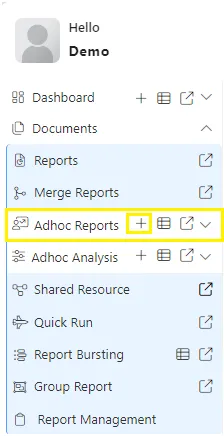
 , navigate to Documents > Adhoc Reports. Then, click the (+) icon next to “Adhoc Reports”, as illustrated in the figure below:
-
Click on the Adhoc Reports grid, as shown in the figure below:

- Right-click on any empty area in the list view and choose Create Adhoc from the context menu.
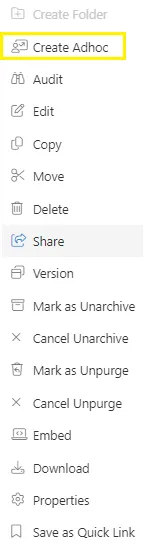
- Right-click on any empty area in the list view and choose Create Adhoc from the context menu.
-
Click the Create Adhoc button located in the bottom horizontal menu bar, as shown in the figure below:

-
-
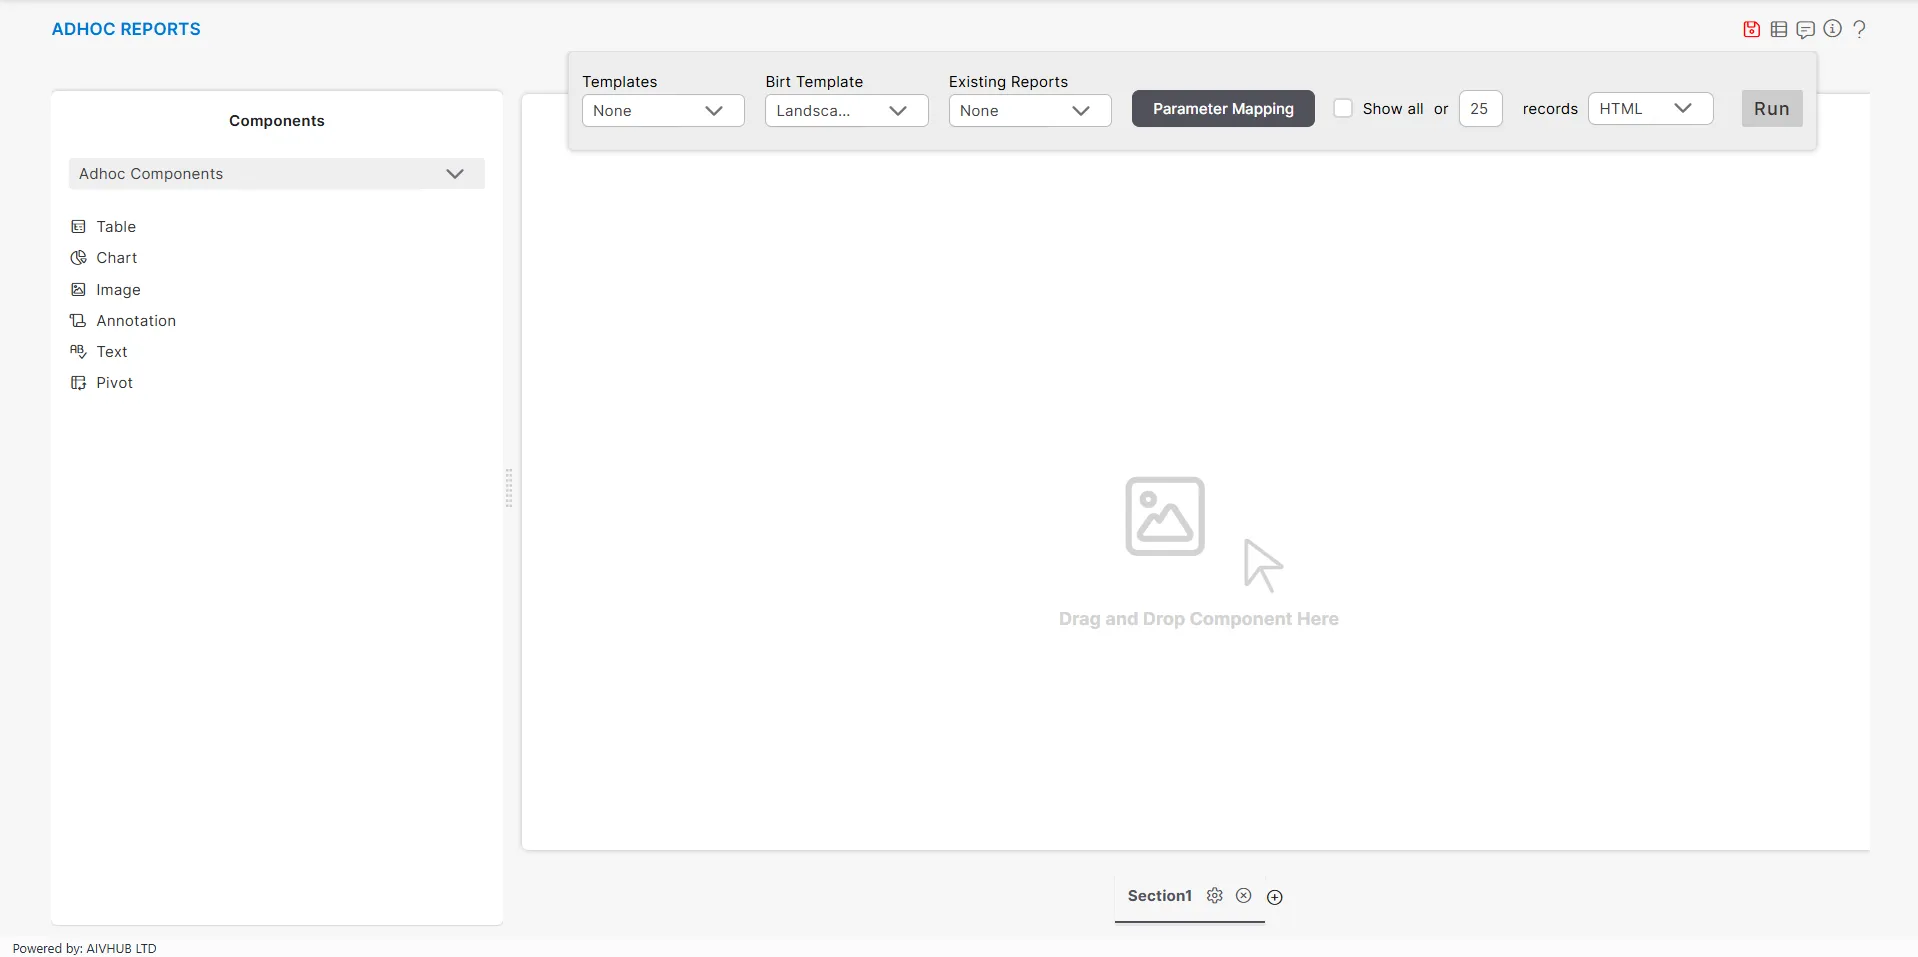
On clicking the Create Adhoc option, from one of the methods mentioned above user will see the window as below:
-
Drag and drop the Image component into the empty area as shown below:
-
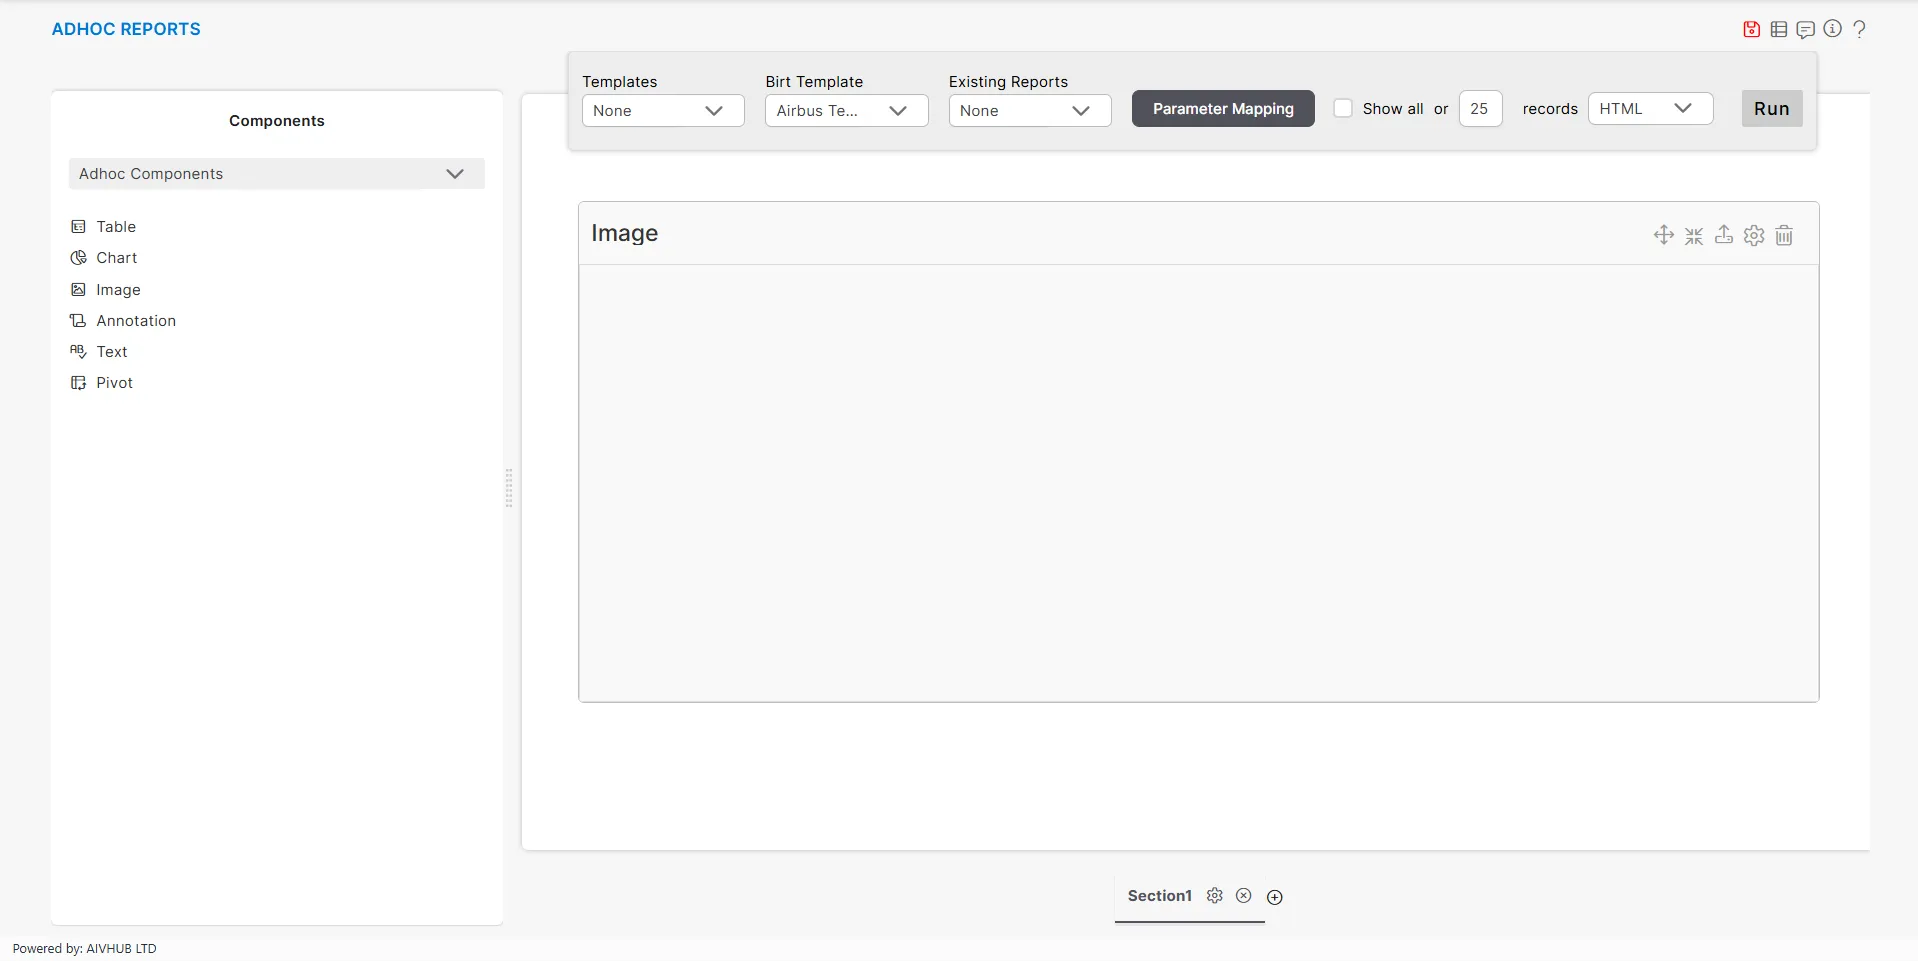
Click on Upload
 icon from the top right corner as shown in the image above.
 -
After you click the Upload
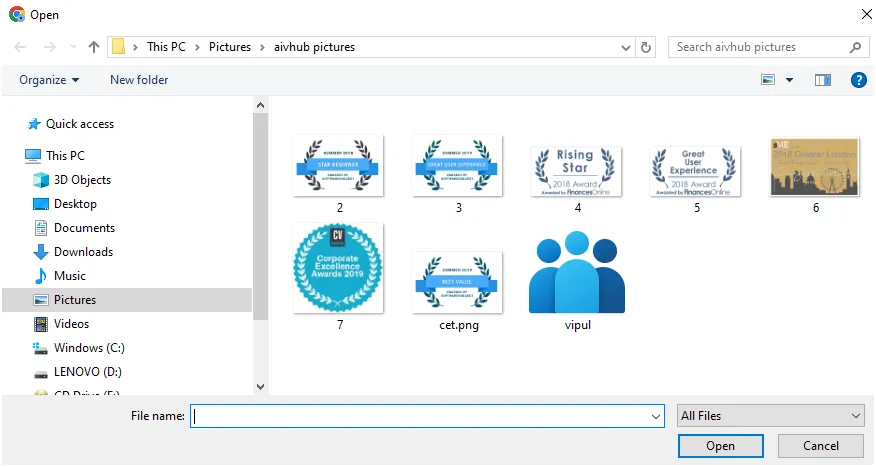
icon, a dialog box appears where you can use the Open icon next to the empty field to select .jpg, .png, or .svg files to upload.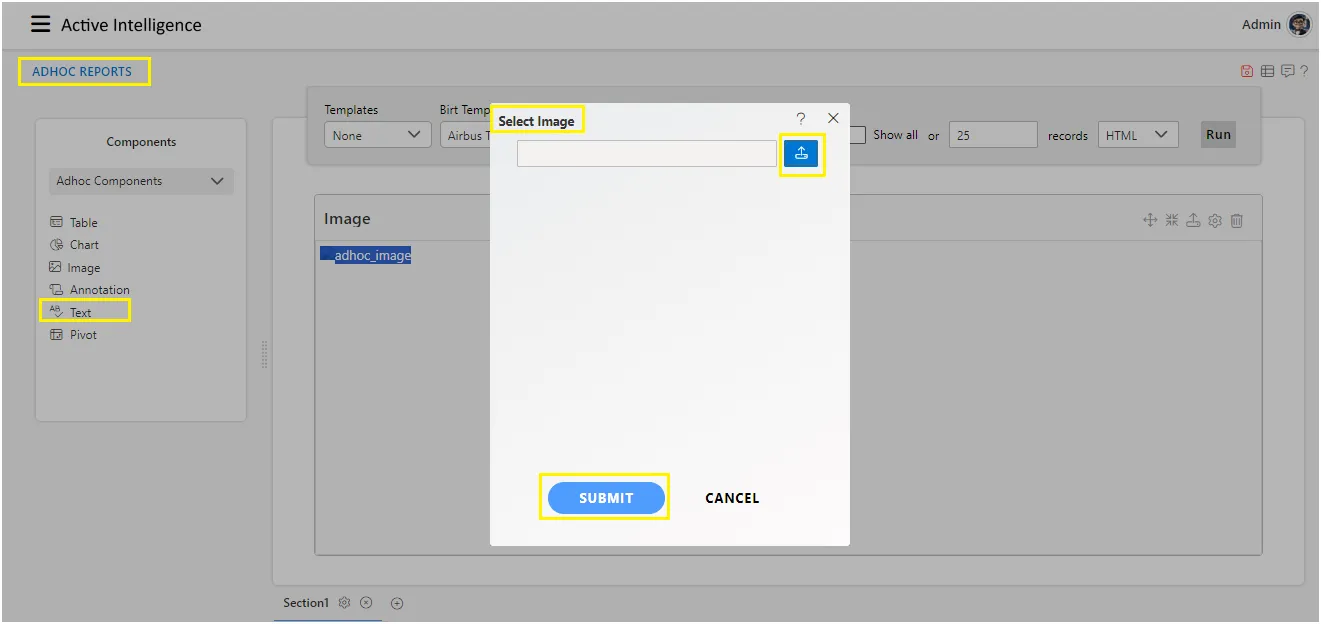
-
After selecting the required image, click the Open button to add and open it on the Ad-hoc Report main screen.
-
In the Select Image window, click the Submit
 button. The selected image is then inserted into the report, as shown below:
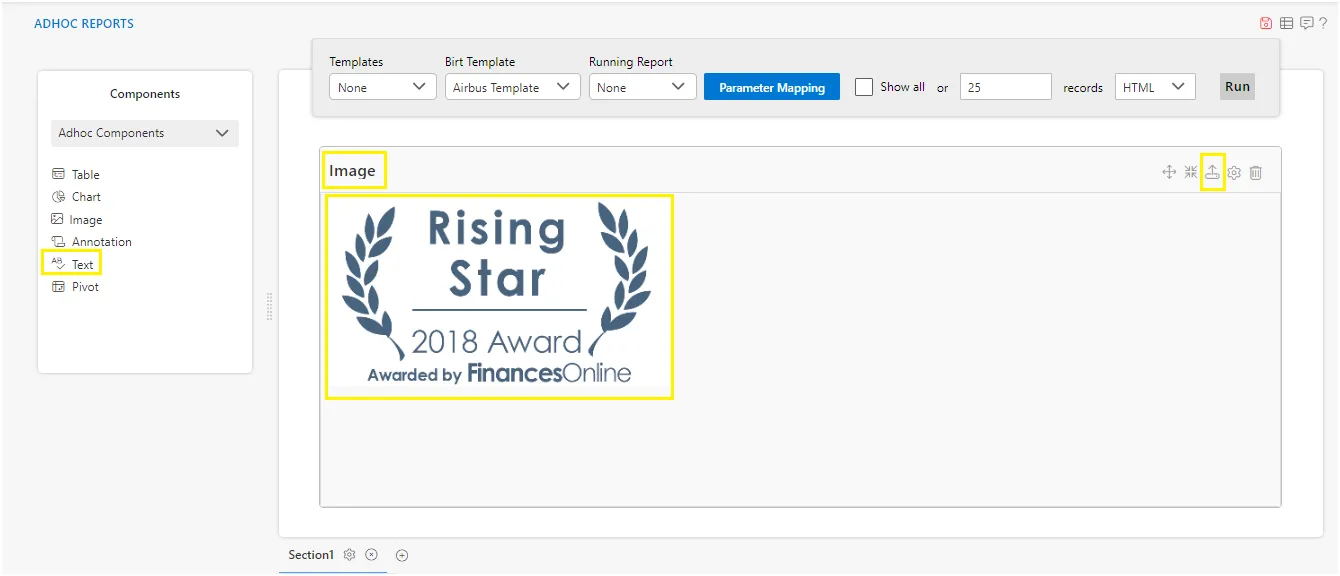
-
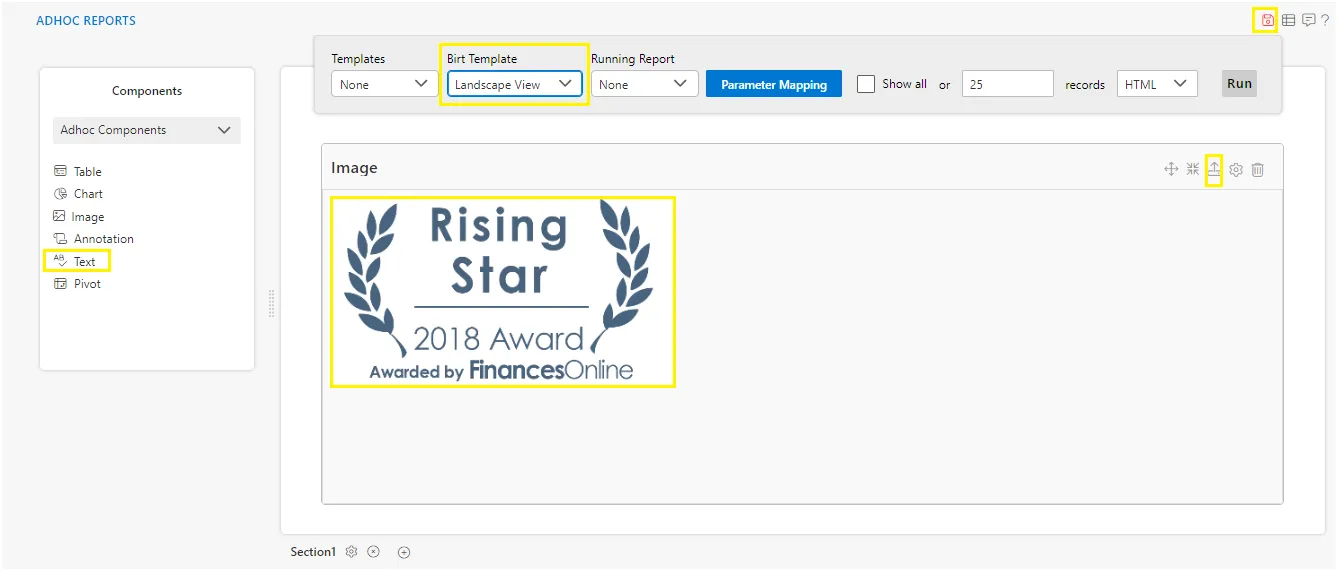
Select Landscape View from the Birt Template drop-down as shown.
-
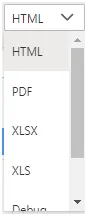
Users can select the format in which they want to run the report from the drop-down next to the Run button.
-
For this example, we select HTML as the output format.
-
To run the Adhoc Report using the Image Component, click the Run button located at the top-right corner, as shown below:

-
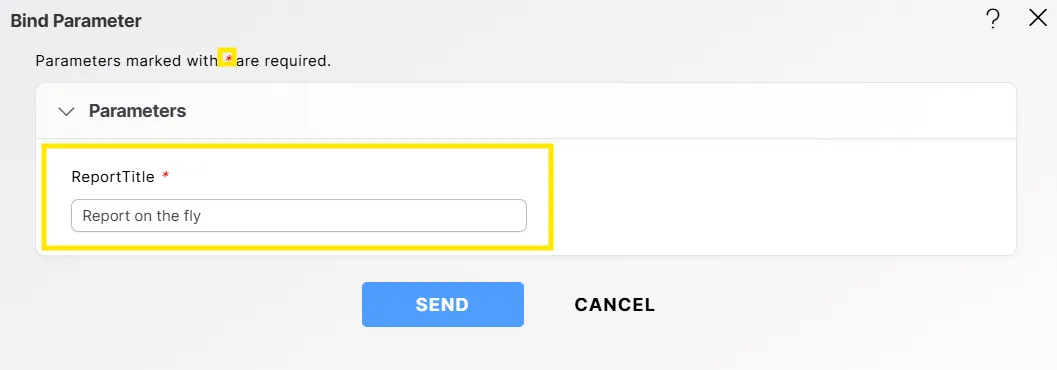
Clicking on the Run button opens the following dialog box:
-
Since the datset has no parameters, the user clicks the SEND button, and it redirects them to a new tab in the browser.
-
The Adhoc Report using Image component will be generated in HTML.

-
If you want to save the image, click the save
 icon located at the top-right corner. This will open the following dialog box:
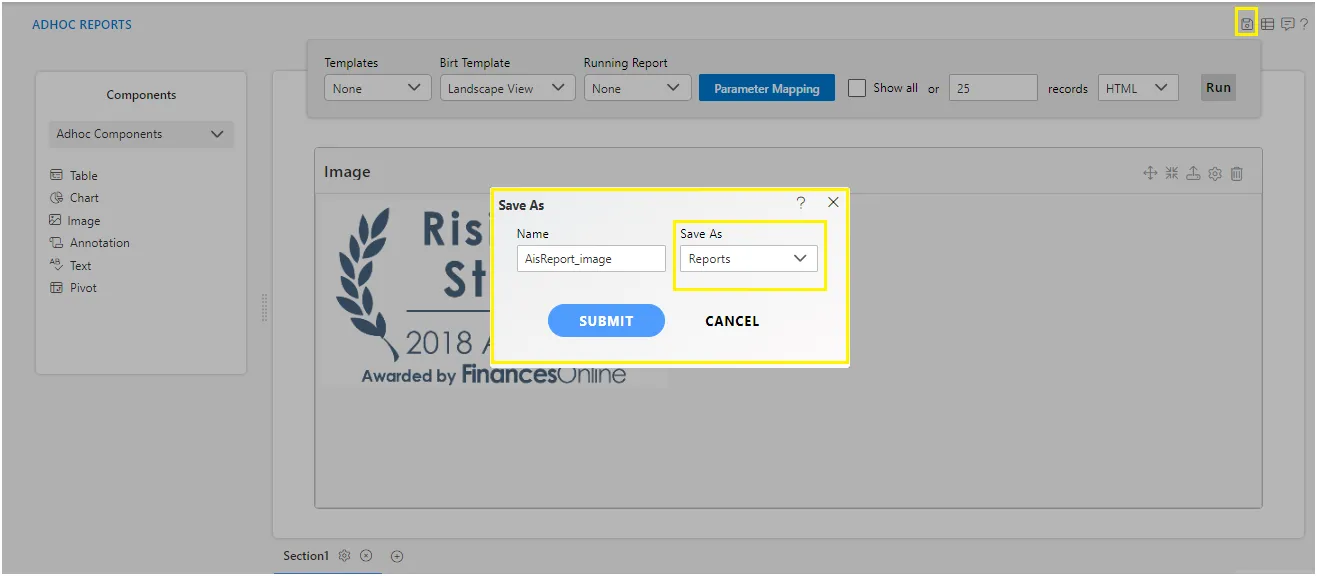
-
You can enter a custom name and choose either Save As Reports / Template.
-
For this example; give Name: AisReport_image & Select Save As: Reports and click on
to perform the save operation. -
If you want to change the settings of a component click on Setting
 icon below Run which will open the following dialog box:
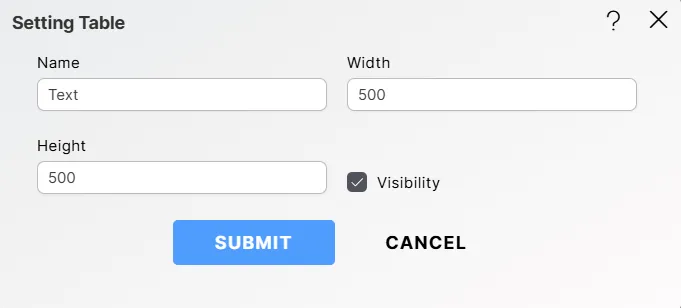
-
Here you are changing the Name, Width, Height, Visibility, and then clicking on the
to save the changes. -
Similarly, click the Delete
 icon to remove the Image component.
The following graphical elements are available in Adhoc reports:
Adhoc Table
Adhoc Chart
Adhoc Annotation
Adhoc Text
Adhoc Pivot
Adhoc Pre-defined Components
Bind Parameters
Adhoc Embed Link