Event Schedule
This document will instruct users on how to schedule datasets using events.
When users want to schedule their dataset following a specific event, event-based scheduling becomes relevant. This approach involves executing events and tasks at designated times triggered by specific events.
Schedule Dataset using Event: This video contains how to Schedule Dataset using Event in AIV.
Scheduling Dataset in AIV on trigger of an event
👇 Scheduling Dataset in AIV based on Event.
Event-based dataset scheduling in AIV involves triggering dataset execution based on specific events. This allows users to automate dataset tasks to run when certain conditions or events occur within the system. Users can define triggers for events such as data arrival, system events, or custom events, and configure datasets to execute accordingly. Event-based scheduling enhances automation capabilities in AIV, ensuring timely data processing and enabling efficient workflows.
Steps to schedule the dataset based on an event:
-
Sign in to AIV with your provided credentials.
-
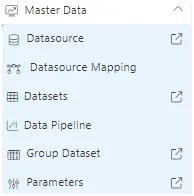
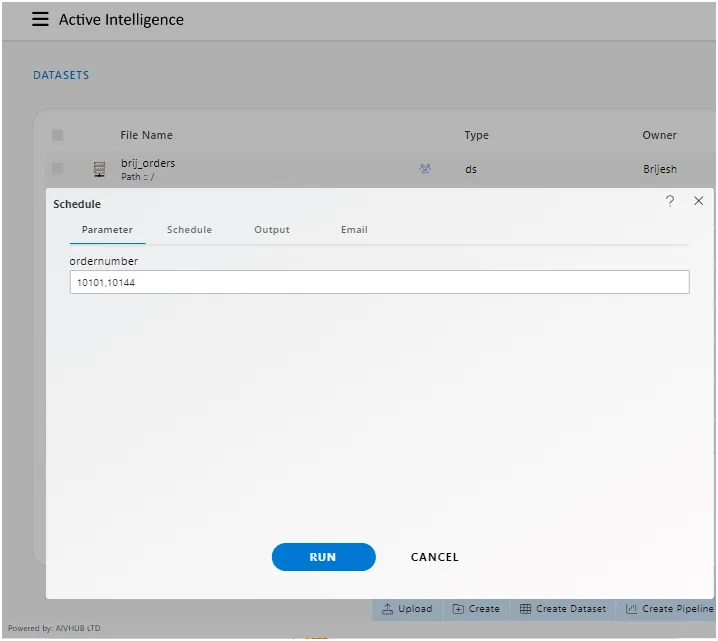
Navigate to the Dataset section by clicking on the Hamburger Menu, then selecting MasterData, and finally Dataset.

-
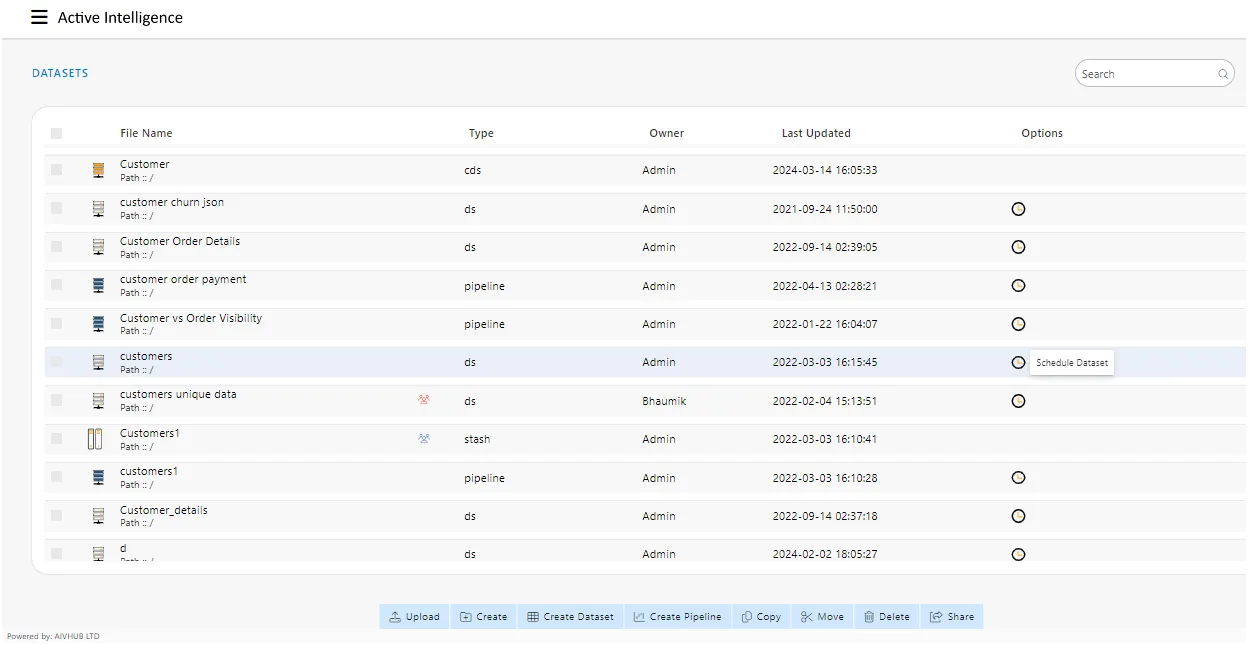
User will see the window as below:
-
We’ll utilize “customers.ds” in the dataset section for comprehension.
-
You can download “schedule.zip” from the provided link by clicking on it or copying the link into your web browser’s address bar and pressing Enter. If you have any further questions or need assistance, feel free to ask.
schedule.zip. -
Follow this link & upload the downloaded zip into AIV as shown.
-
Schedule your dataset by clicking on the scheduler icon, which will open the following dialog box.

-
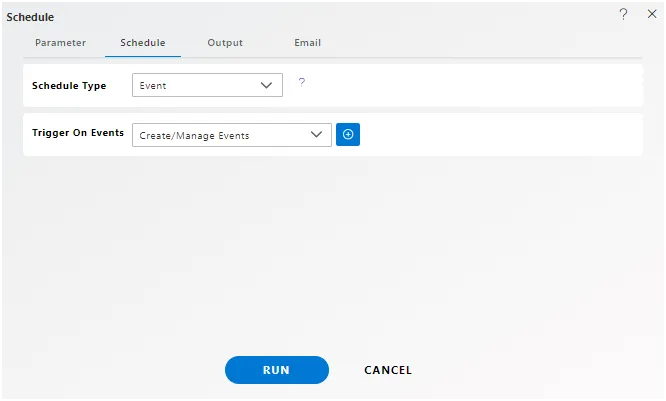
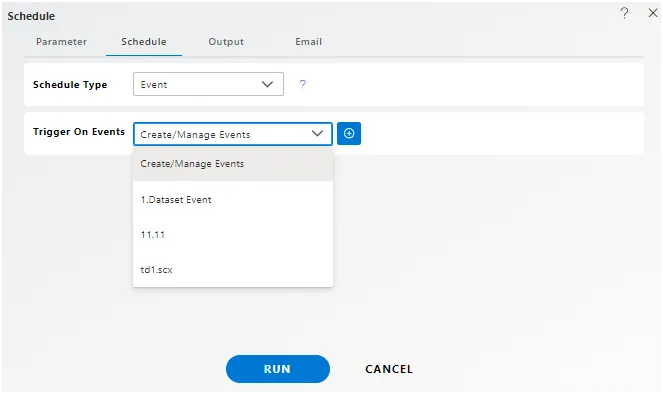
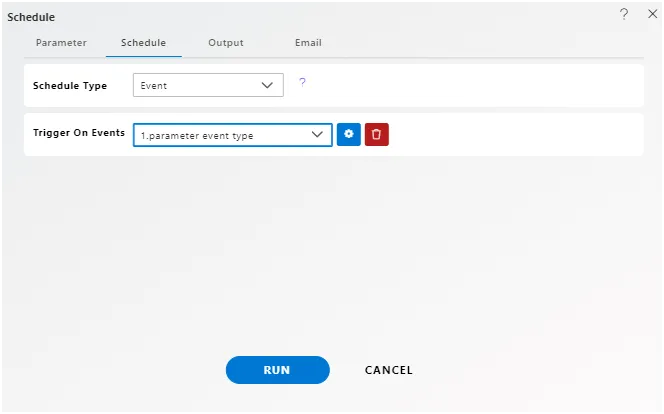
Navigate to the schedule tab as shown. By default, the Schedule Type will be set to Time. Now, change it to Event from the drop-down menu.
-
“Trigger on Events” defines events upon which the dataset will be scheduled to run.
-
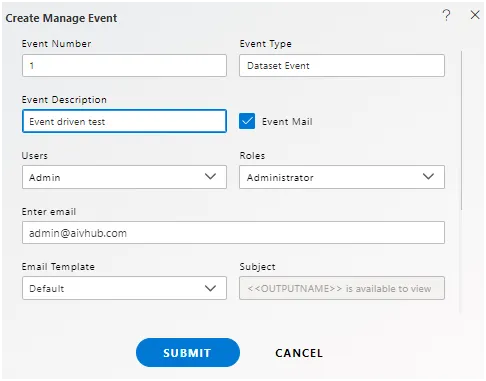
Currently, “Event 1” has been created for this example. You can create your own event by clicking on the plus icon, which will open the following dialog box.

-
Here, we have created event number one, which is related to the dataset, as mentioned in the Event Type.
-
Check Event mail and enter appropriate details.
-
If you want an external event to trigger, click on the question icon, which will guide you through the necessary steps to perform the same.

-
You have successfully created an event, which will be visible in the dropdown menu as follows.
-
We will use predefined event 1 for our example, so select event 1.

-
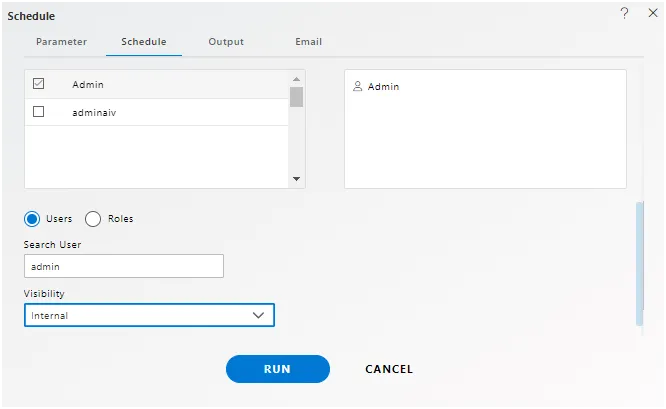
Click on Share if you want to share the dataset with other users/user roles.
-
The Visibility is kept Internal for this example.
-
If you want your dataset to be approved before sending it to other users, check Approval Required. Send Reminder specifies how many reminders should be sent.
-
After Days specifies after how many days the Reminder should be sent again.
-
Approved by specifies the user name, which is Admin in our case.
-
Specify how many times the dataset should re-execute in case of failure and the interval from the drop-down menu. For instance, in our case, the dataset will be executed twice in case of failure within a duration of 5 minutes.
-
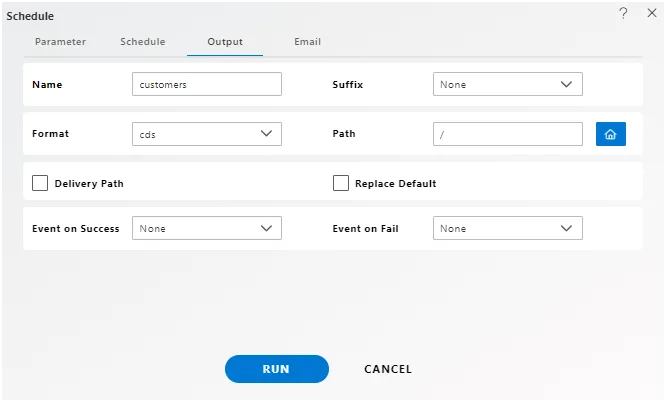
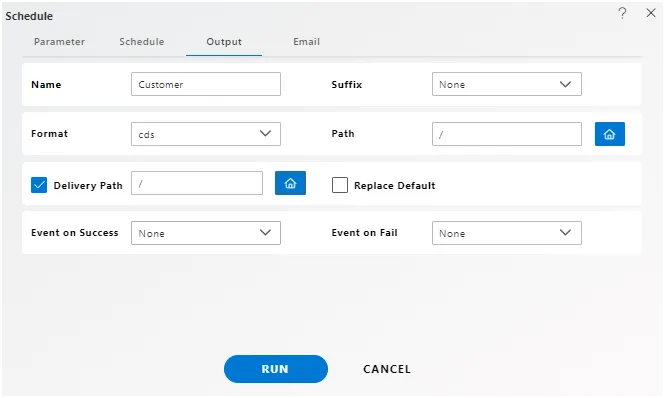
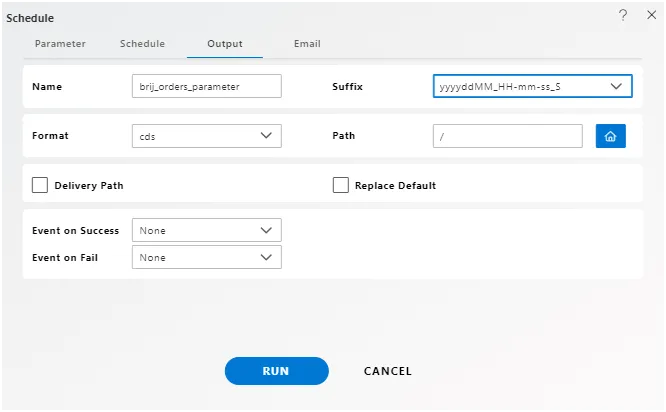
To specify the output, go to the Output tab as follows.
-
Enter the desired name for scheduling the dataset in the “Name” text area, and optionally provide a suffix if required.
-
Select the format in which you want to generate the output from the dropdown menu. For our example, we have selected cds.
-
You can also specify an event for the success or failure of the dataset, which will trigger an event and execute all waiting-for-event datasets.
-
Specify the delivery path on your computer where the dataset will be downloaded, as follows.
-
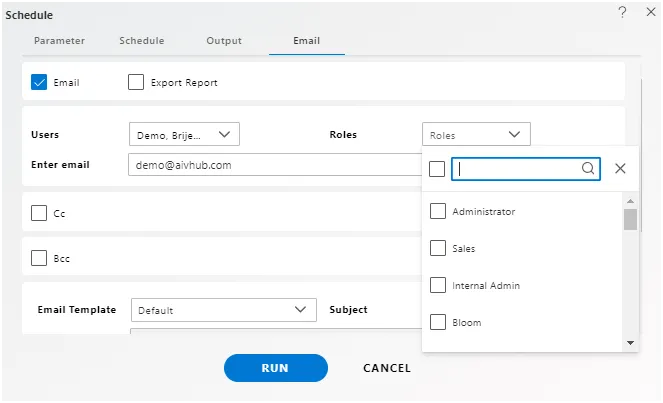
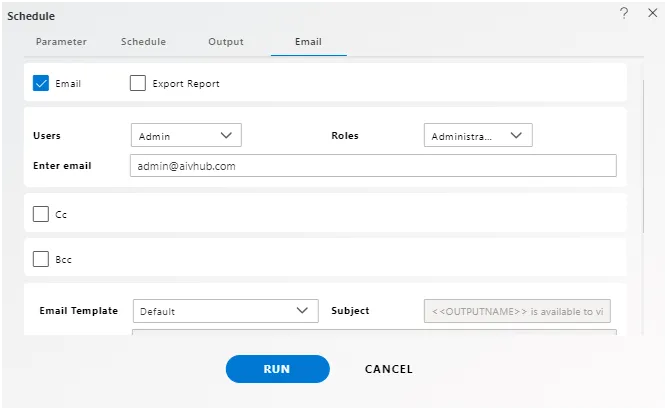
The user can also send the file as an email to other users using the following steps:
-
Select the users and roles from the drop-down menu.
-
Enter your email address(es) to which you want to send the cds file via email.
-
Select a template from the dropdown menu. For our example, we have chosen the Default template.
-
Click on the Run button to schedule the dataset.

-
For additional help, the user can click on the help icon to access the AIV HUB help documents.

-
If the user wants to cancel the schedule request, they can do so by clicking on the Cancel button next to Help or by clicking on the cancel button next to the icon.

-
The dataset is scheduled, and you can check that in the “Requests” section under the Requests tab. Navigate to Waiting for Event, which shows where the dataset is waiting for the event to trigger.
-
You can trigger an event with another dataset as follows.
-
In this example, we schedule a dataset named brij_orders_parameter, which will trigger Event 1. After this event is triggered, our brij_orders_parameter.cds dataset will be executed.
-
In this manner, you can schedule your dataset based on the trigger of events, which can be seen in the Request Notification section.
