Airbyte Local Deployment
Docker installation
-
Install Docker on your workstation and ensure that you have the latest version of Docker Compose. Download Docker from the following link: Docker Desktop.
-
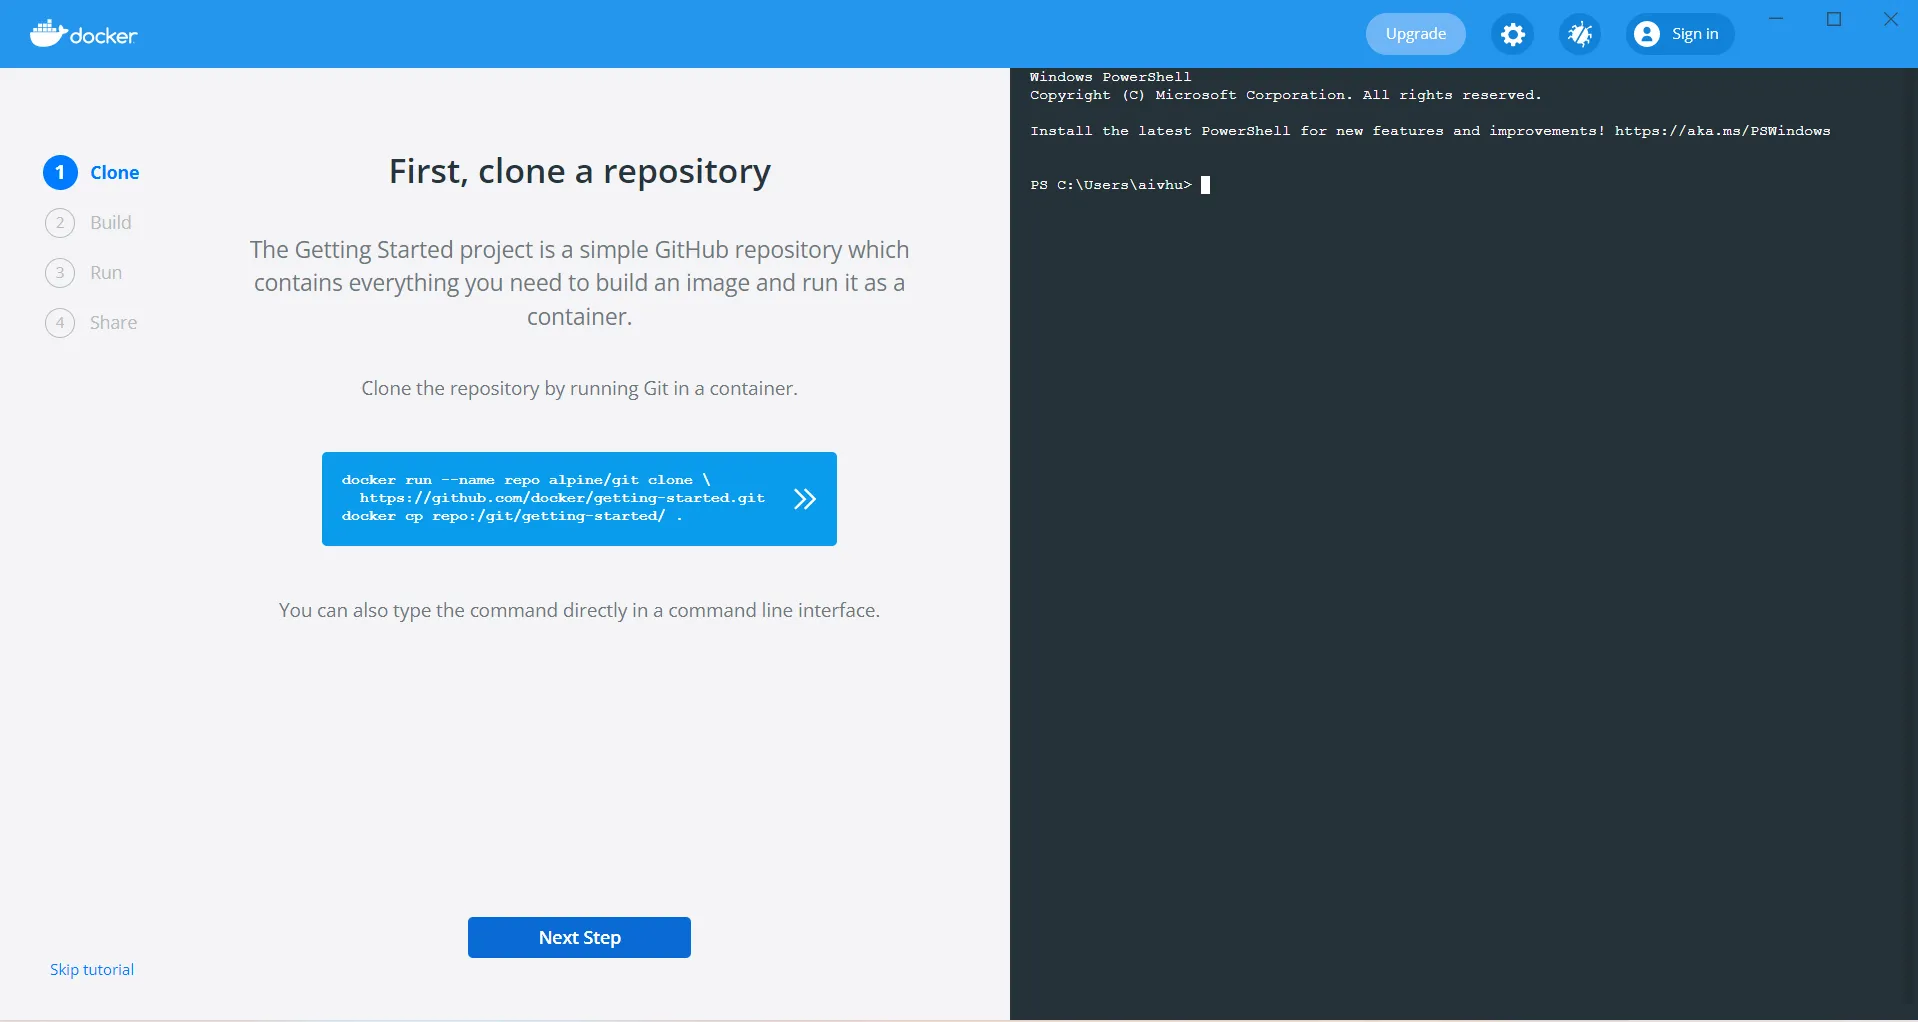
Download and install Docker. Once the installation is complete, click the Start button to initiate Docker.

-
After clicking the Start button, no data entry is required at this stage. Simply click the Next Step button to proceed.
-
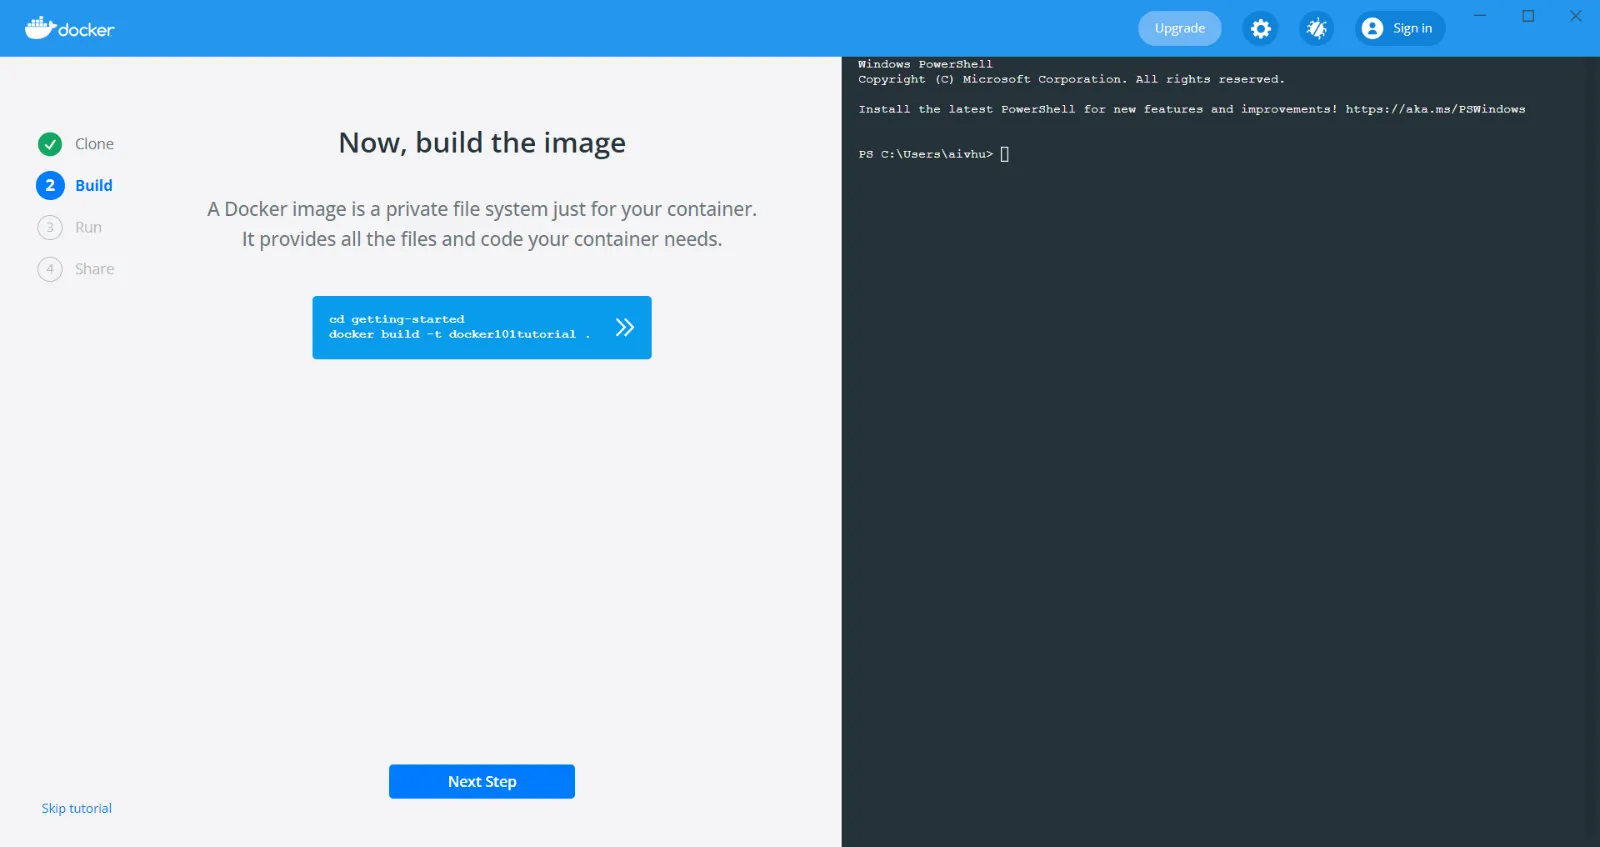
Click the Next Step button to proceed further.
-
Click the Next Step button to proceed further.

-
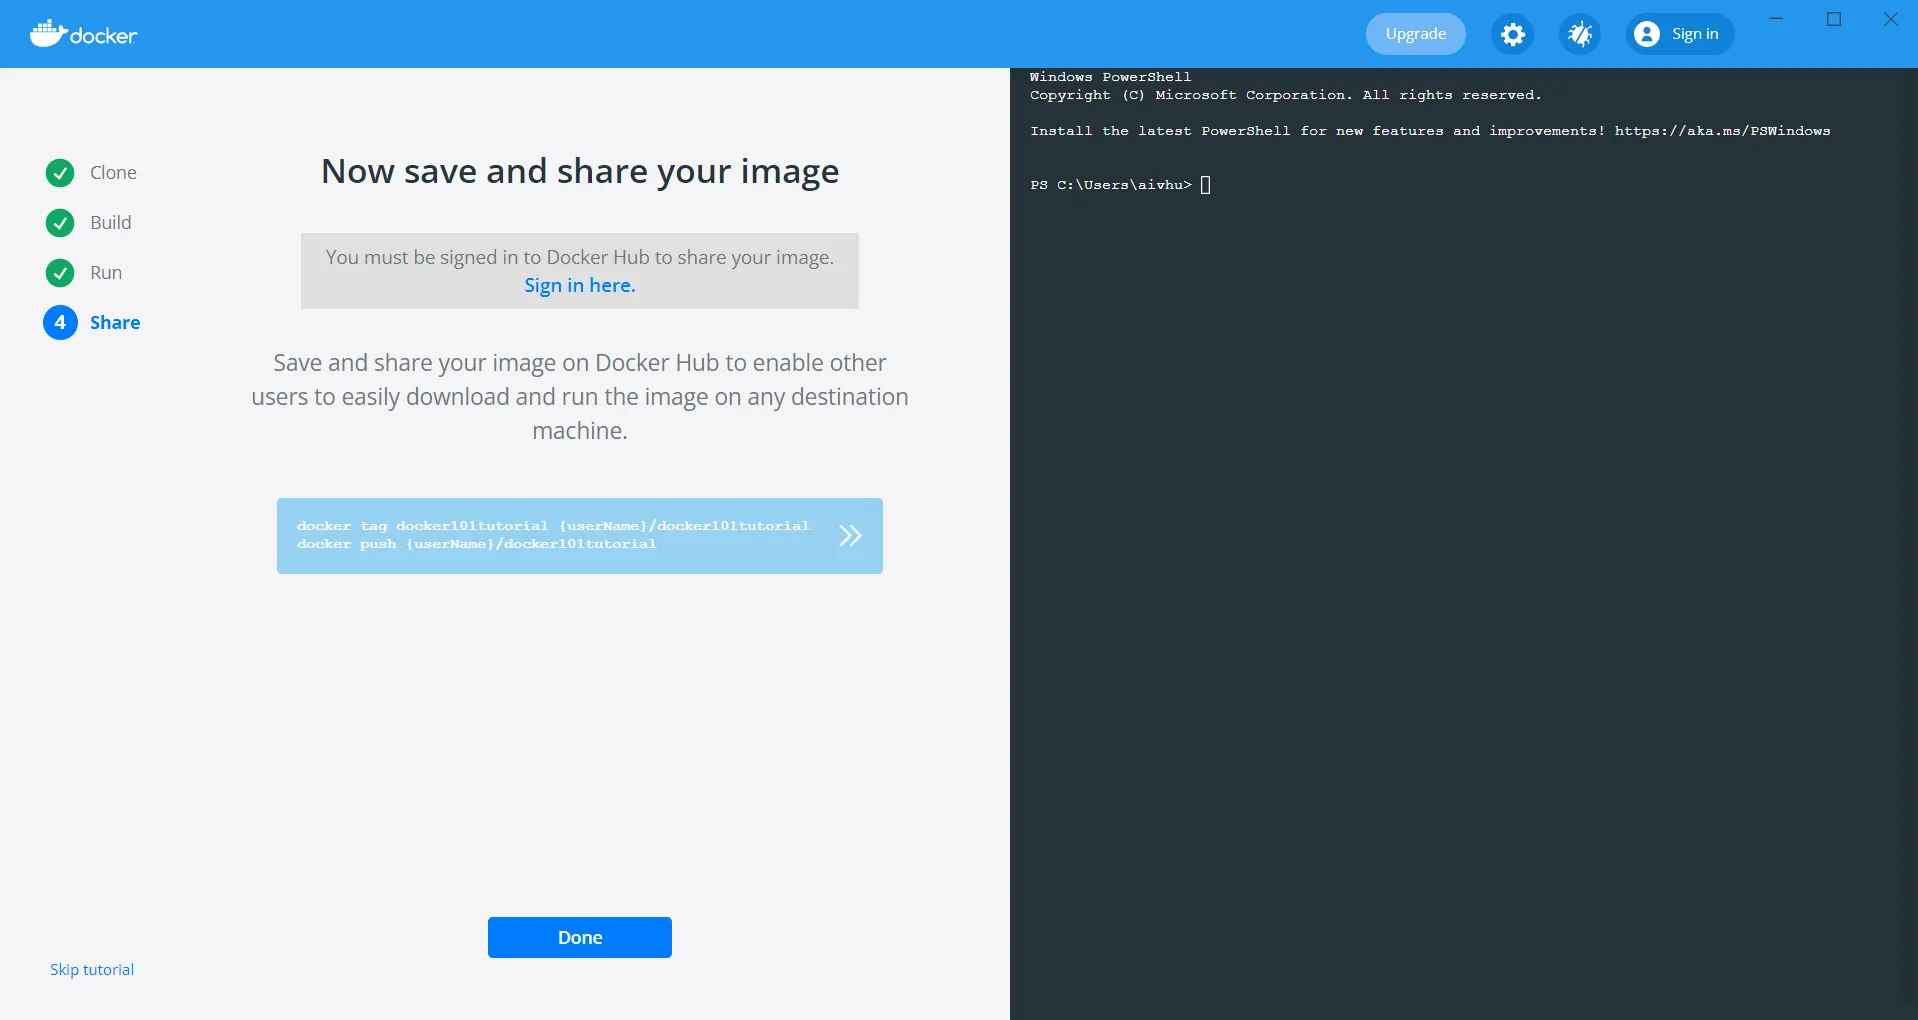
Click the Done button to complete the installation.
-
After Docker is installed, you can immediately get started locally by running:
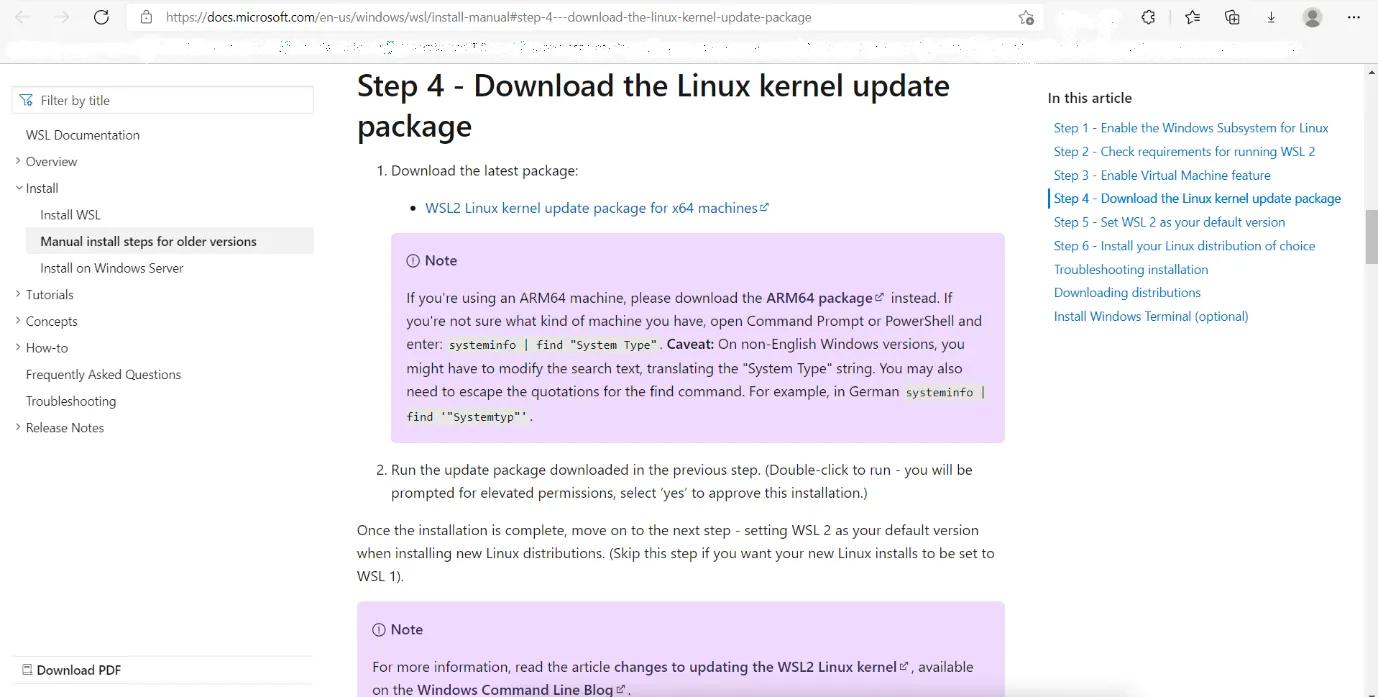
WSL 2 Linux Kernel Update Package
-
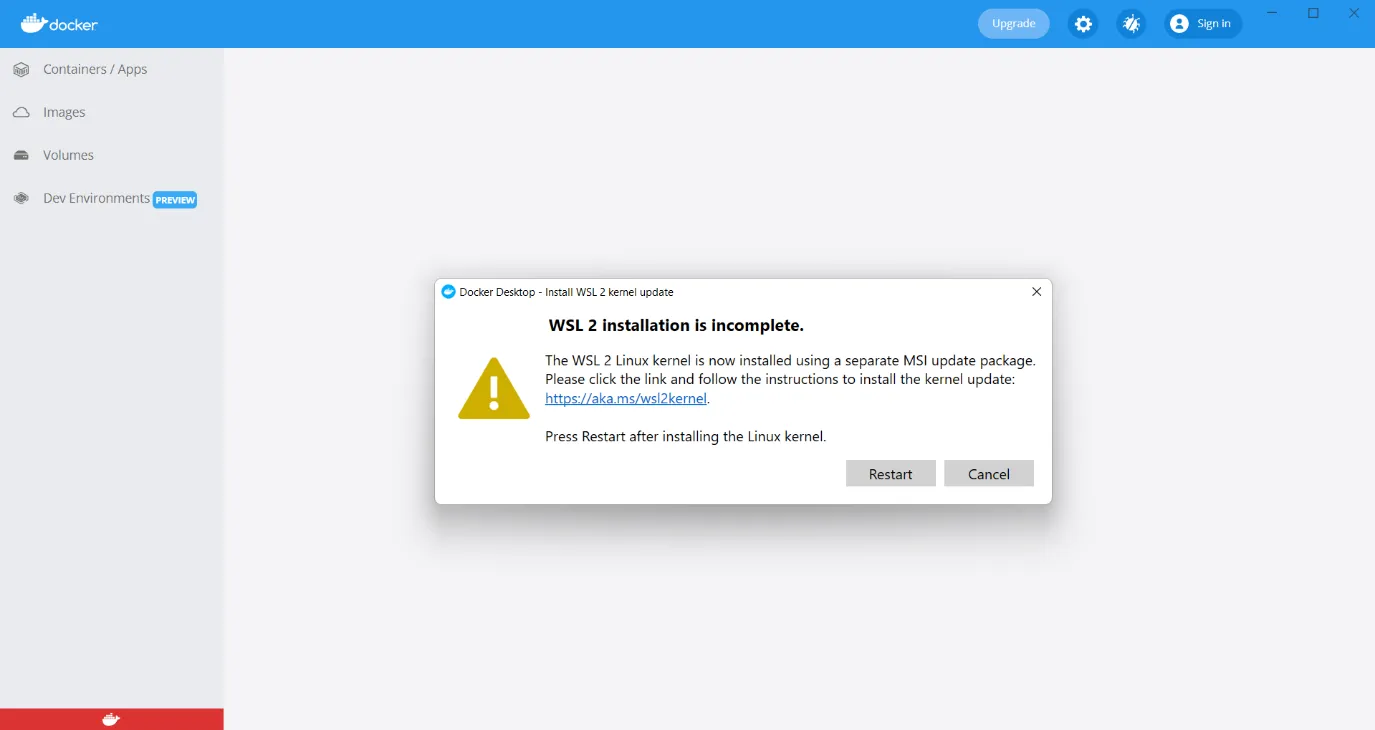
Once on the WSL installation page, click the download link for the WSL 2 Linux Kernel update package. You can use the following URL to download the update: WSL Installation Guide.
-
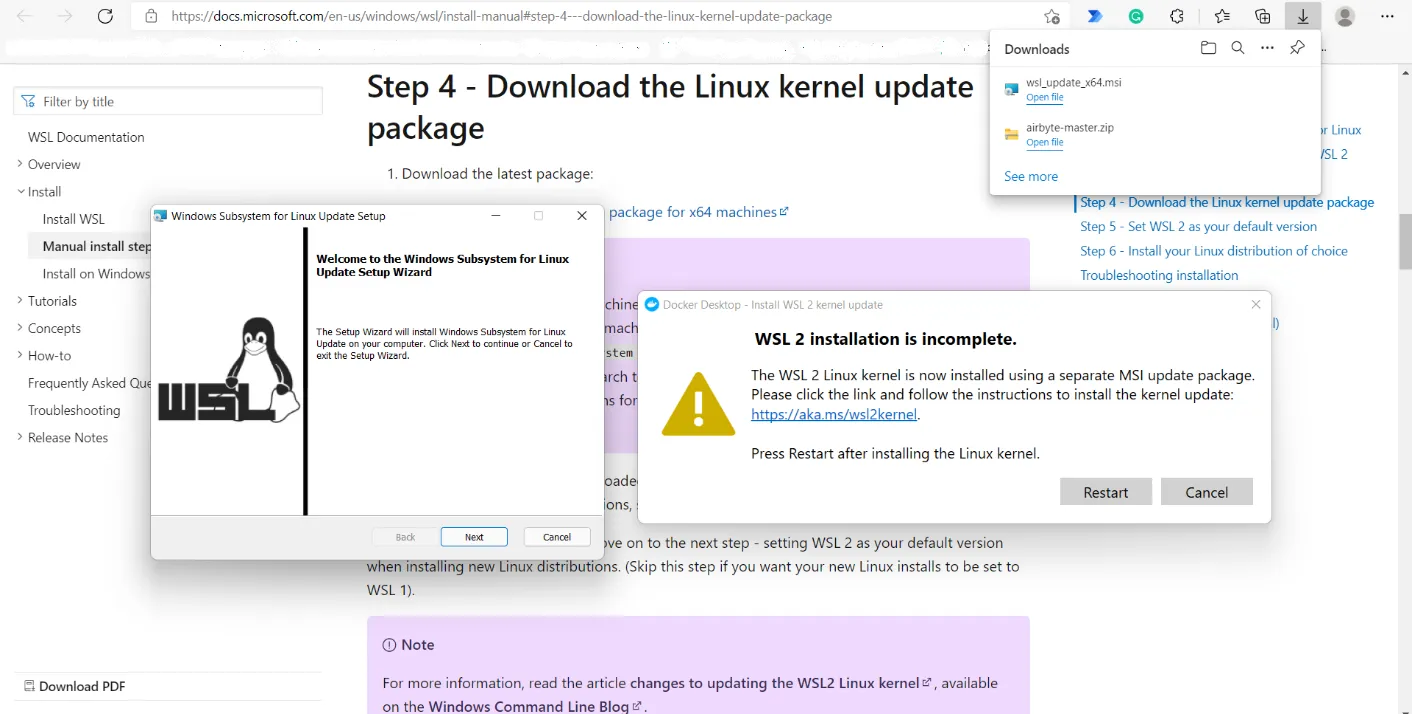
After downloading, double-click the package to begin the installation on your machine.
-
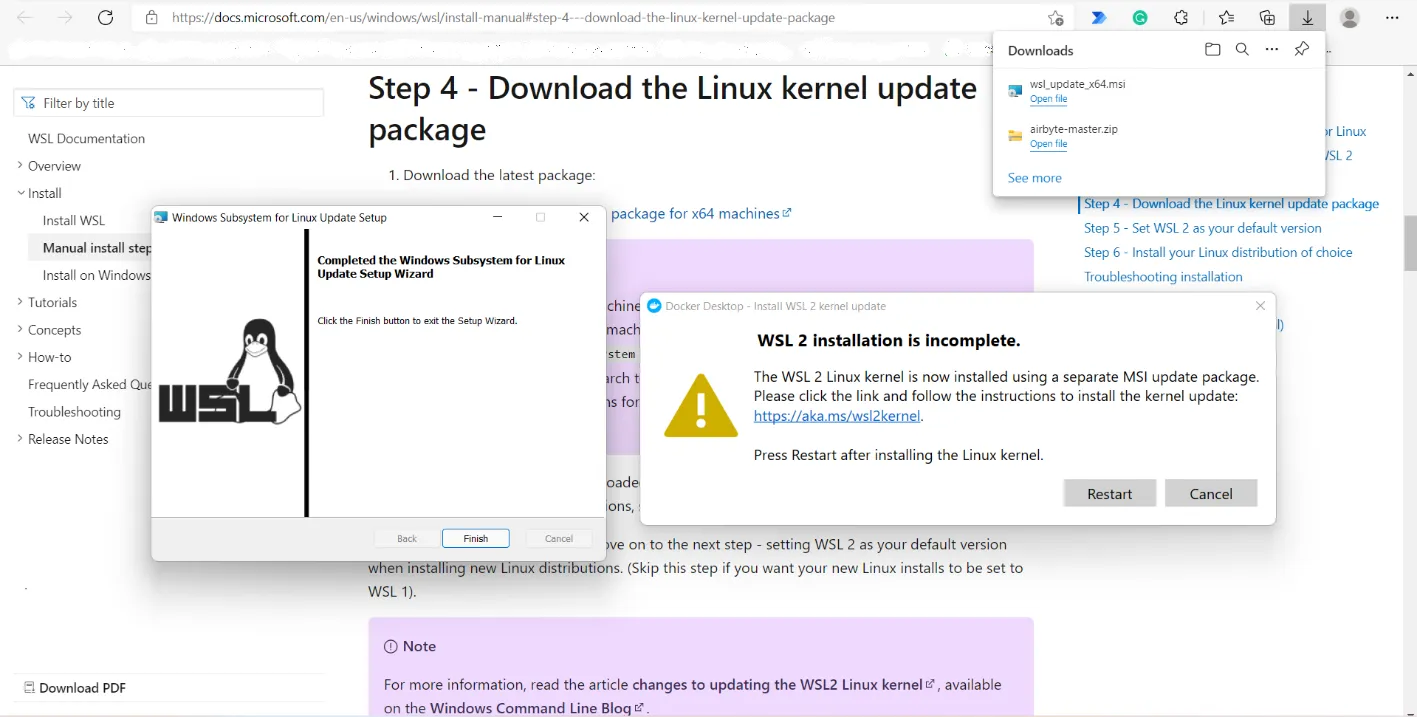
During the Windows Subsystem for Linux Update Setup, click the Next button multiple times. No additional data input is required during the installation.
-
After completing the WSL package installation, restart Docker on your machine.
-
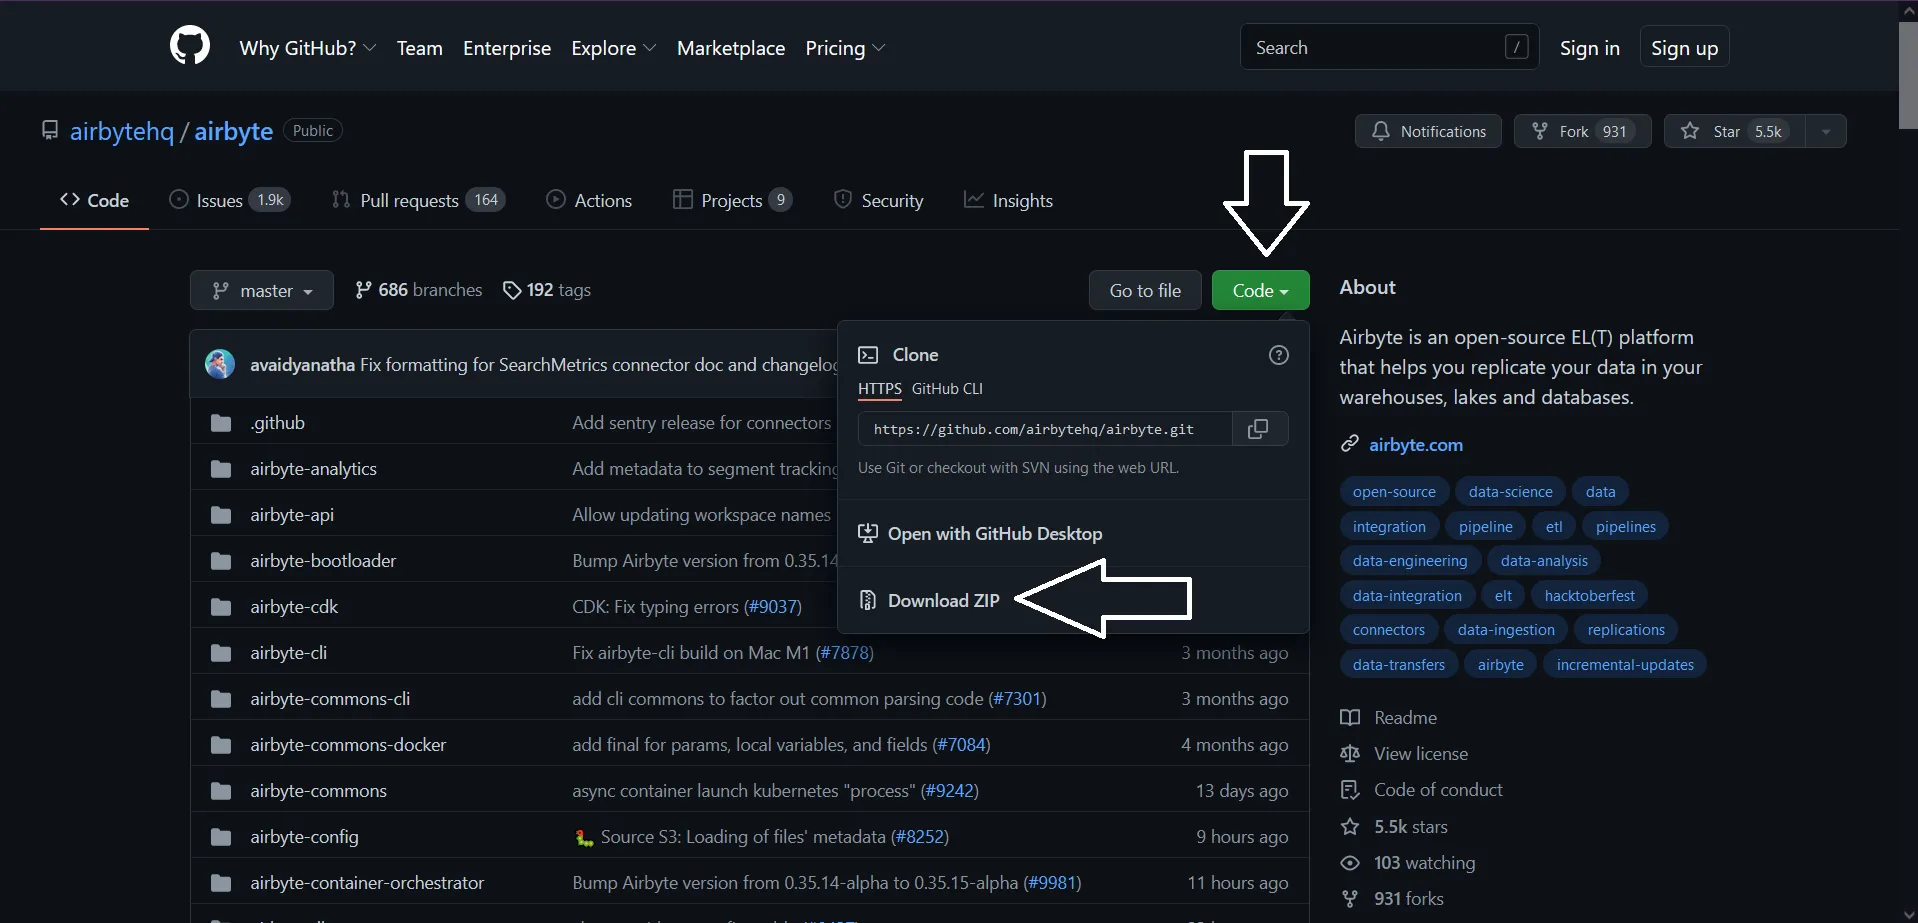
Next, download Airbyte from the official, Airbyte GitHub repository. Once the download is complete, open the airbyte-master folder in the Command Prompt (CMD).
-
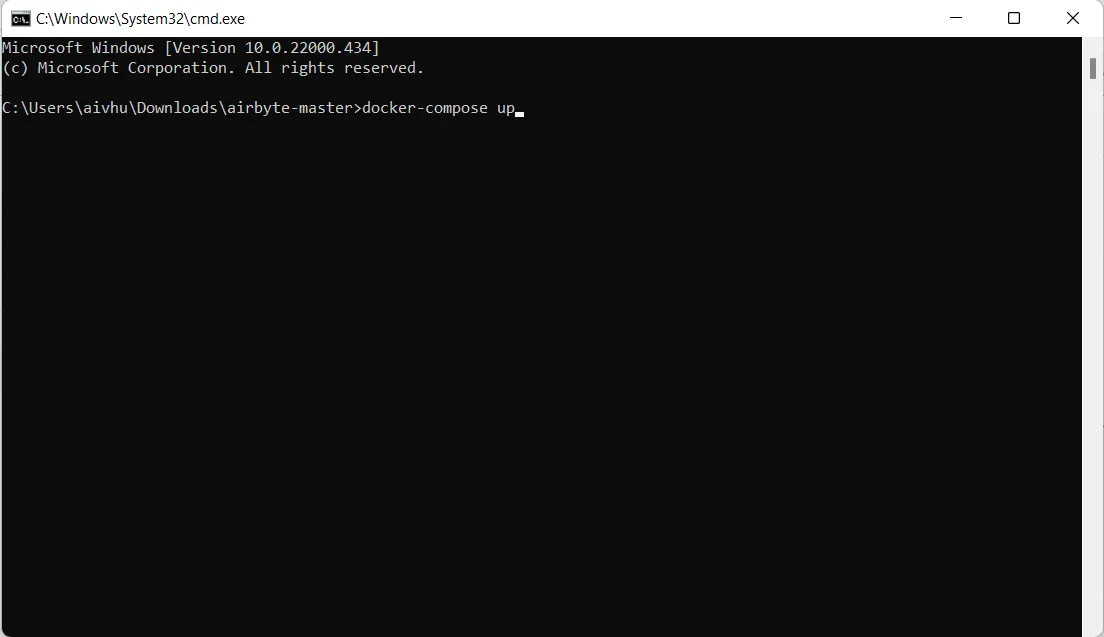
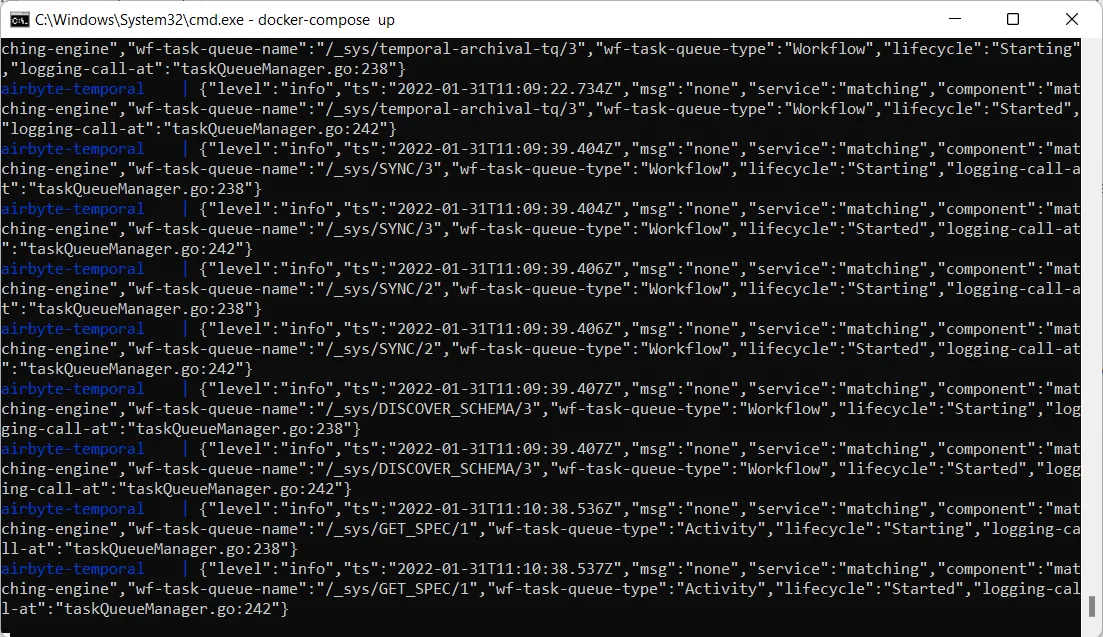
Open the folder in CMD and run the following command to deploy it with Docker: docker-compose up as shown below:
-
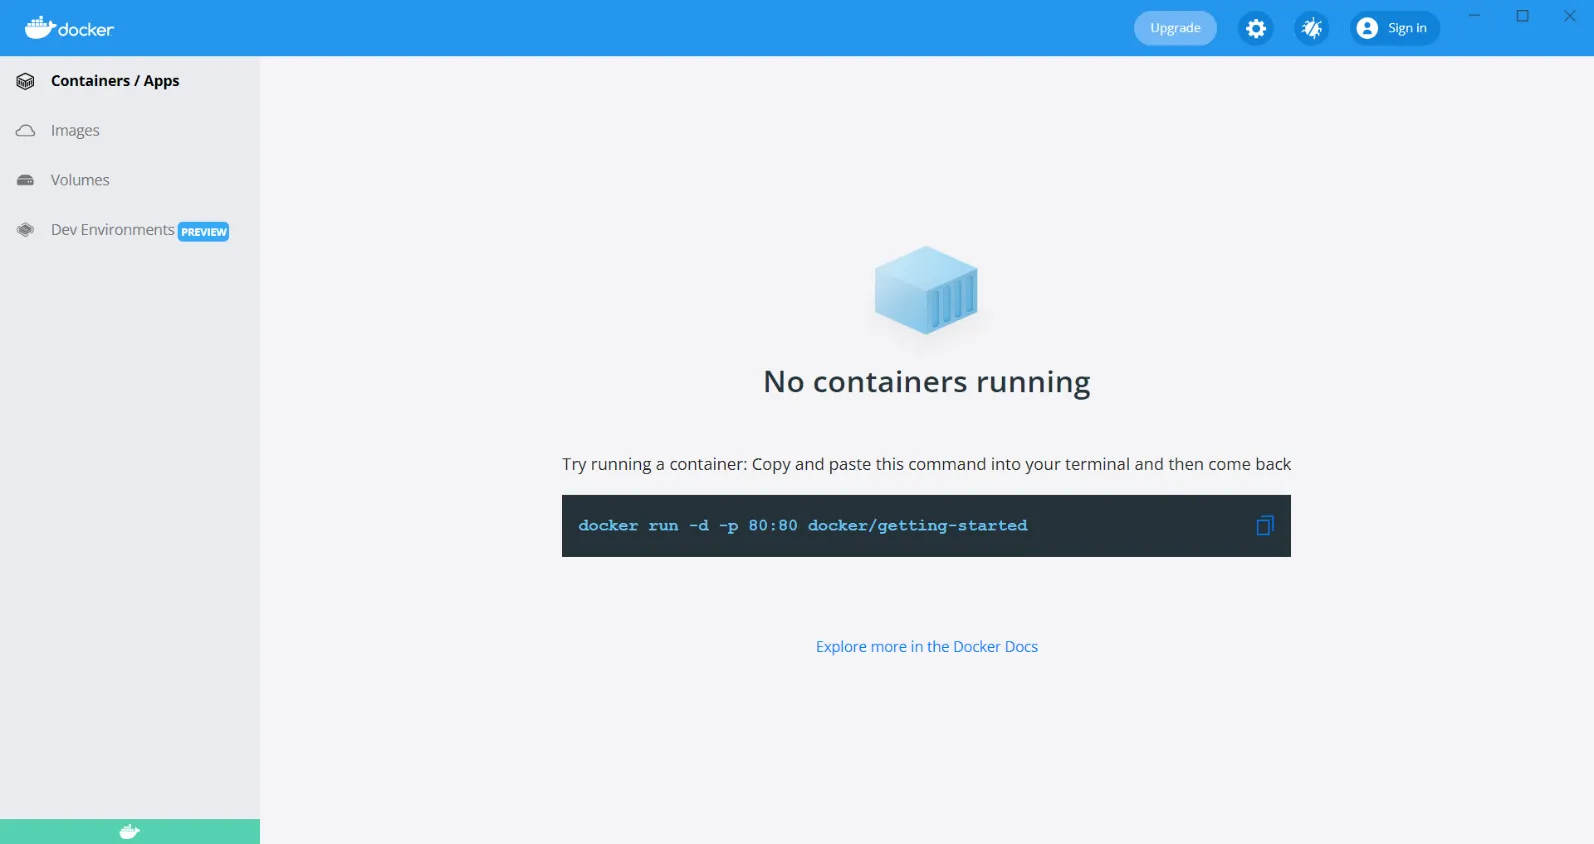
Once the Airbyte Docker container setup is complete, navigate to the Docker Containers/Apps page, as shown below:
Add Source in Airbyte
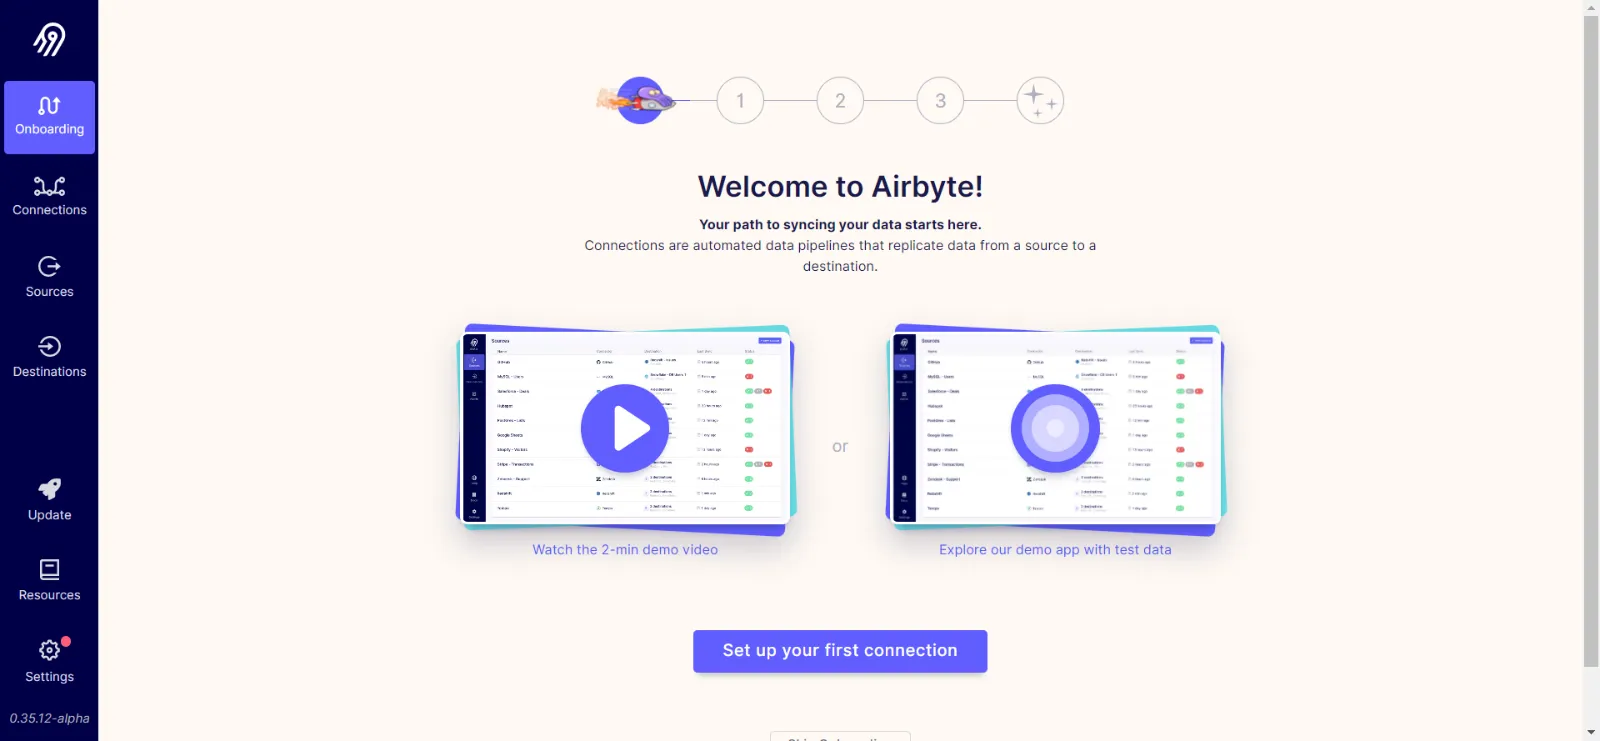
- Now, open any browser and visit the local Airbyte instance by navigating to localhost. Airbyte should be reflected in the browser, as shown below:
-
To begin connecting a source to the Airbyte instance installed on your machine, click on Set up your first connection as shown above.
-
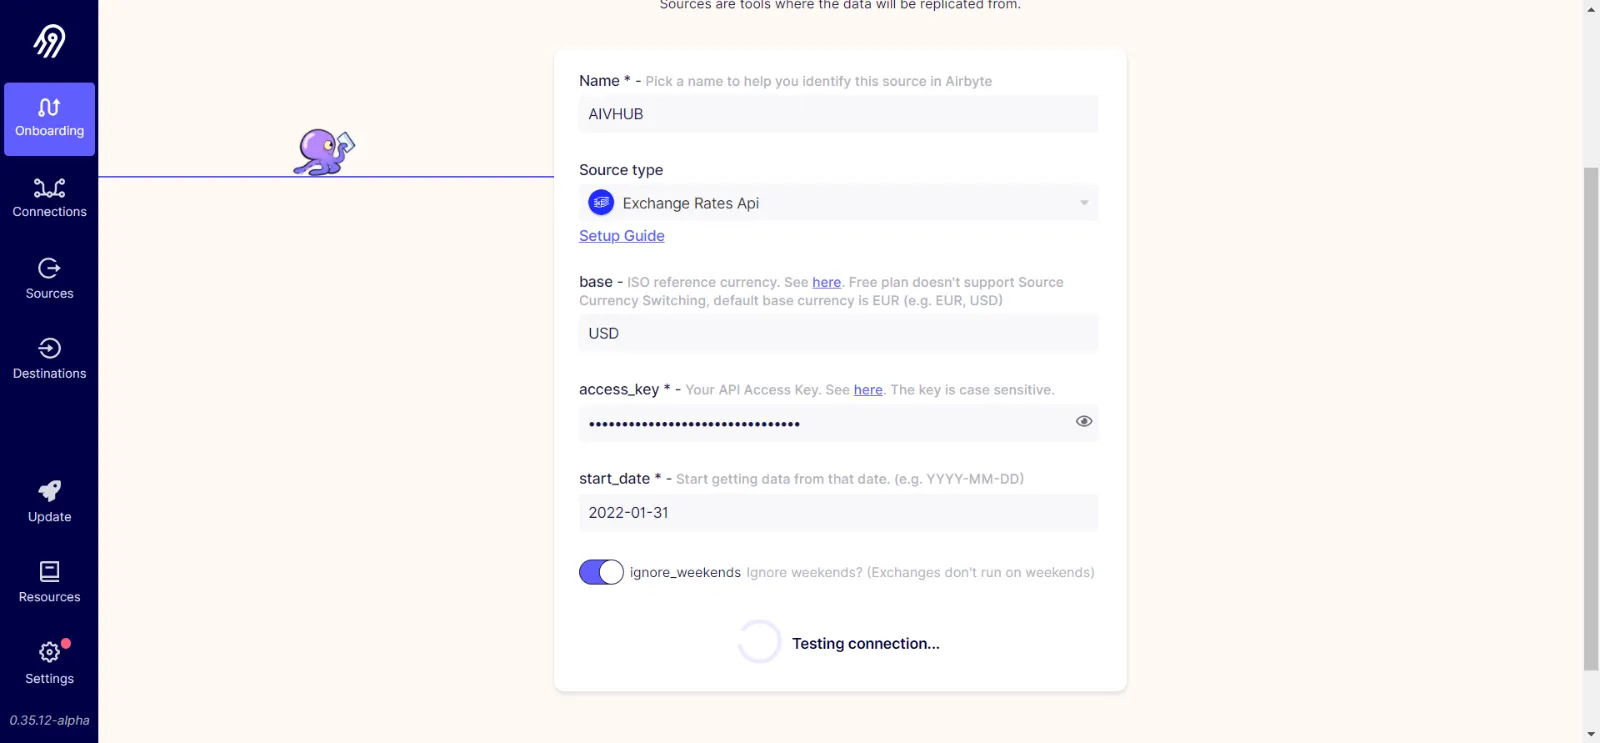
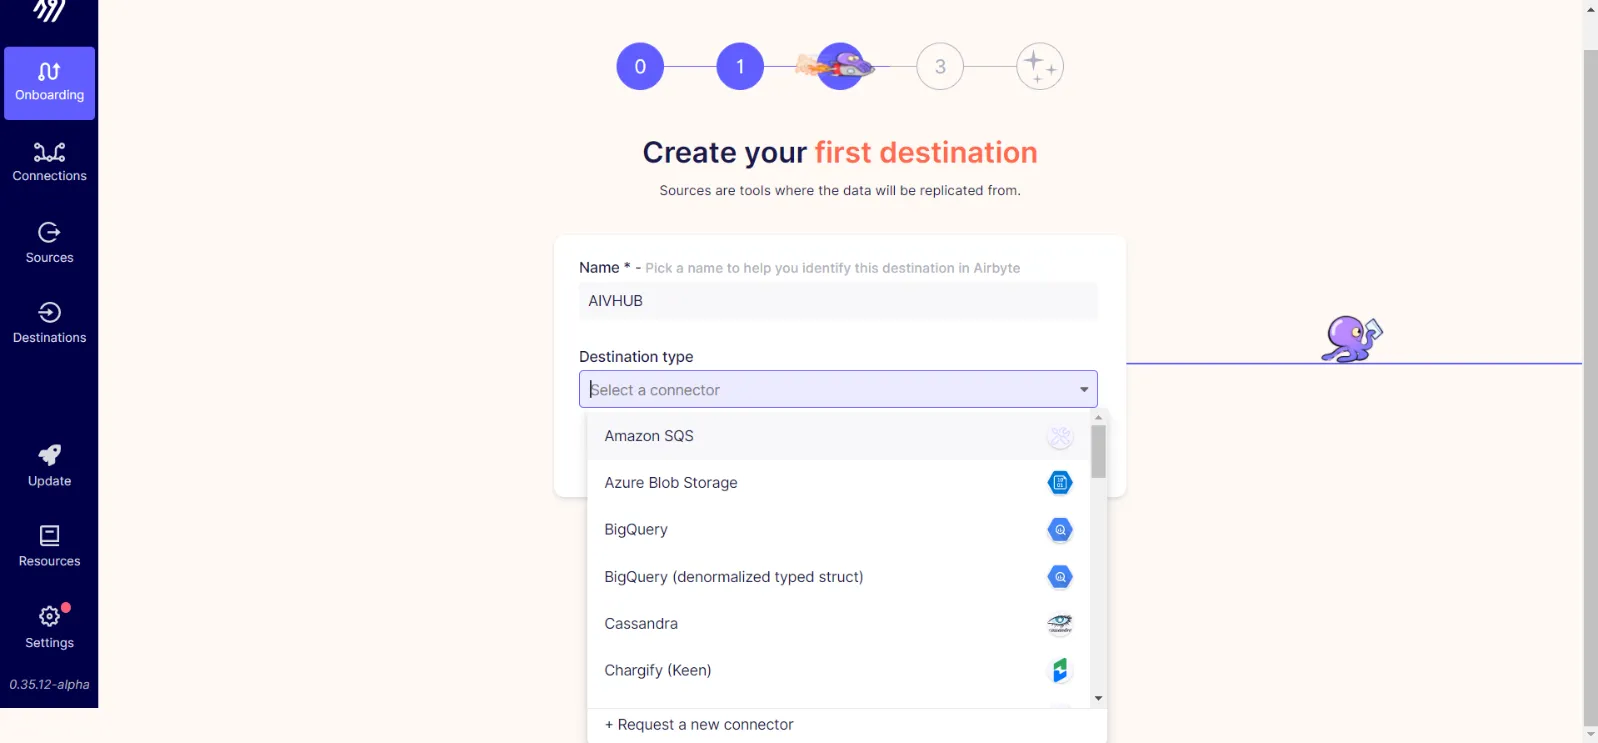
Fill in the required details in the form. To add a source, provide a name and select the source type, as shown below:
-
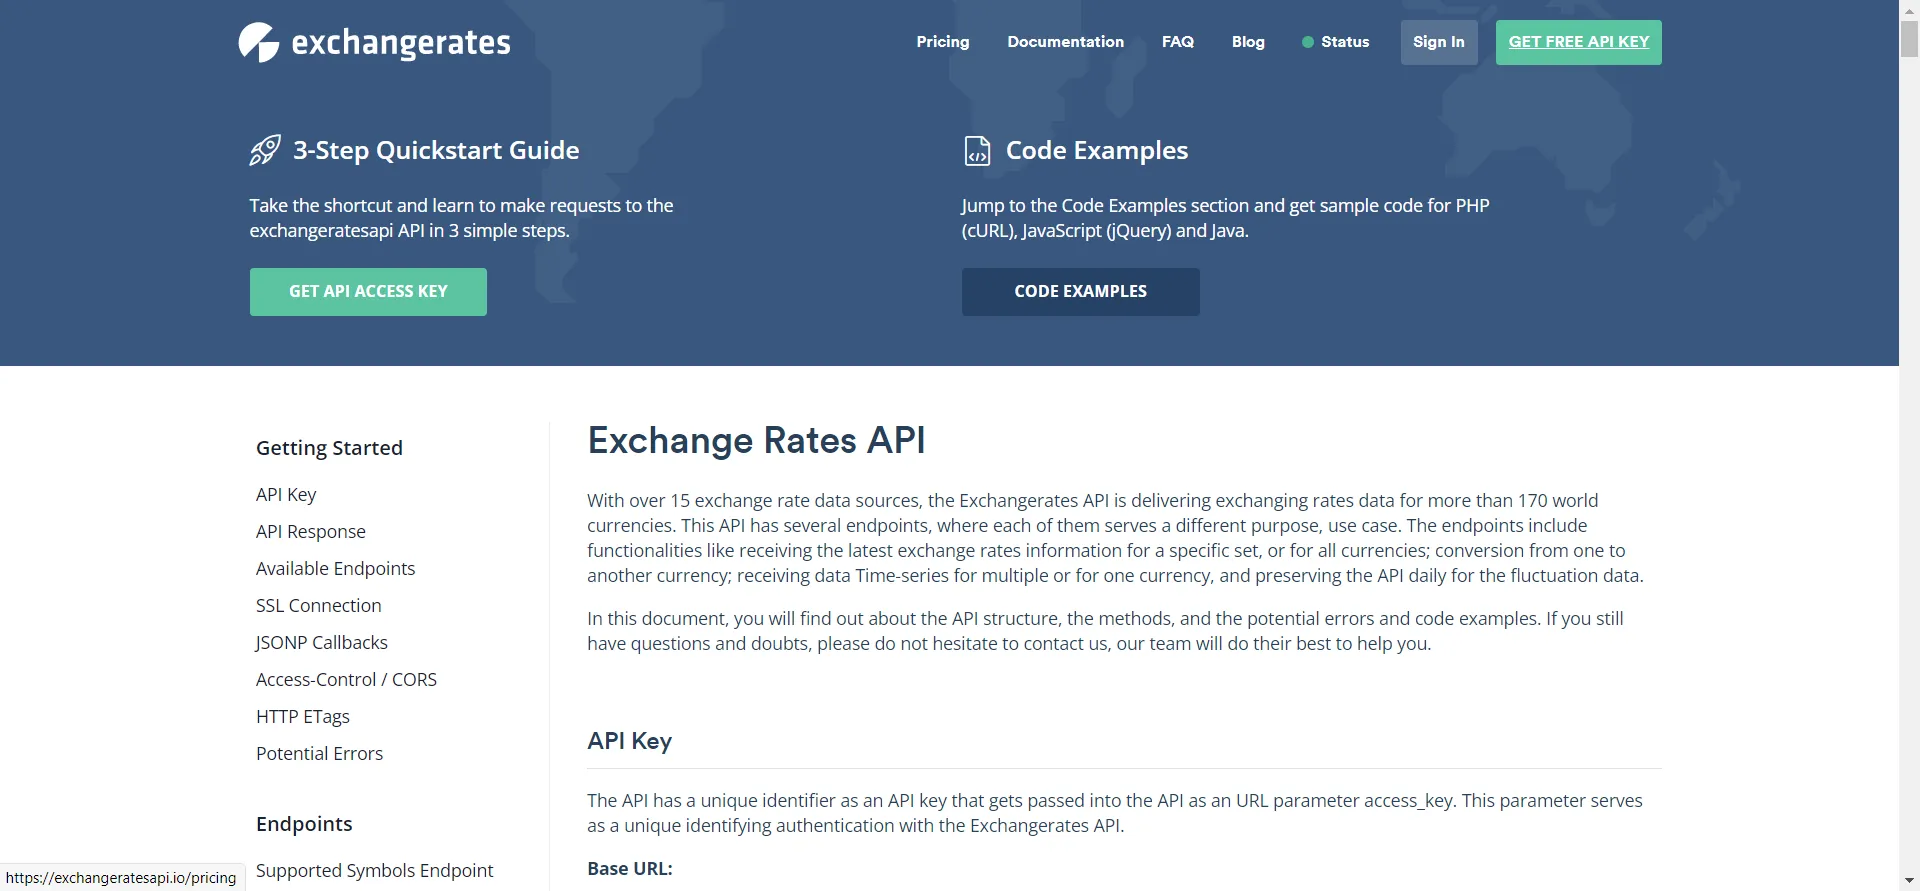
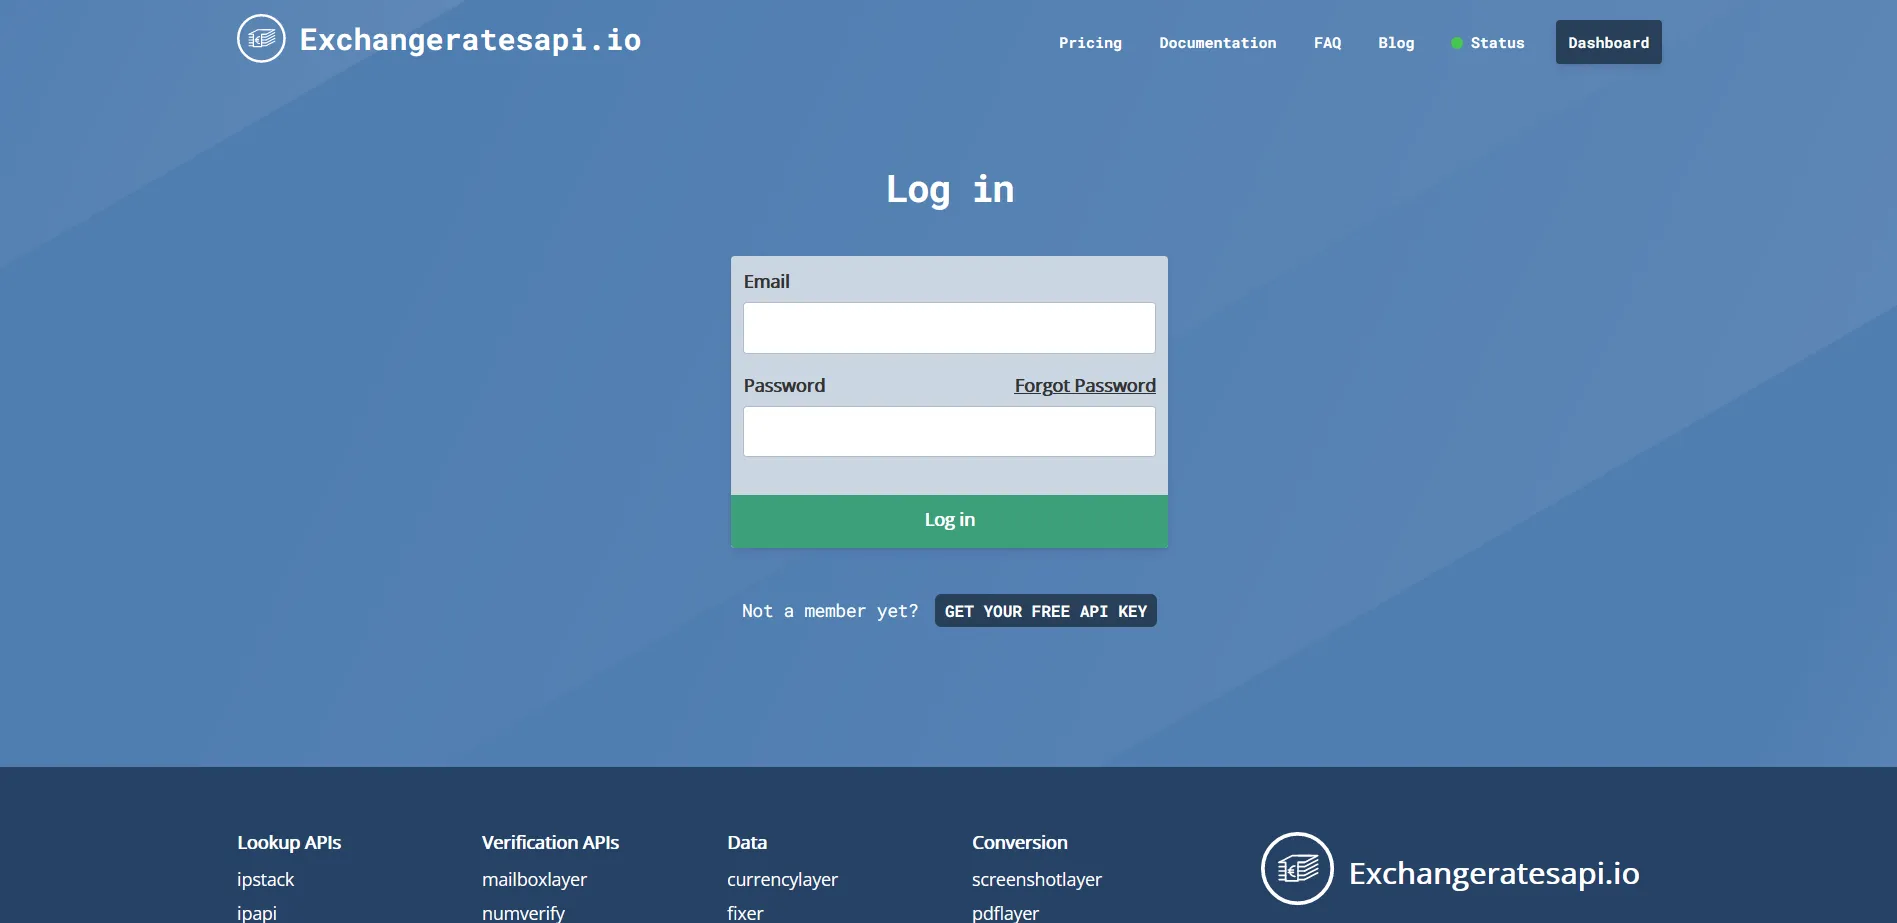
In this example, we have selected the source type as Exchange Rates API. Once a source type is selected, the required connection properties will be displayed in the form. To connect to the Exchange Rates API, you will need an access key. To obtain the access key, log in to the vendor’s website at Exchange Rates API Login
-
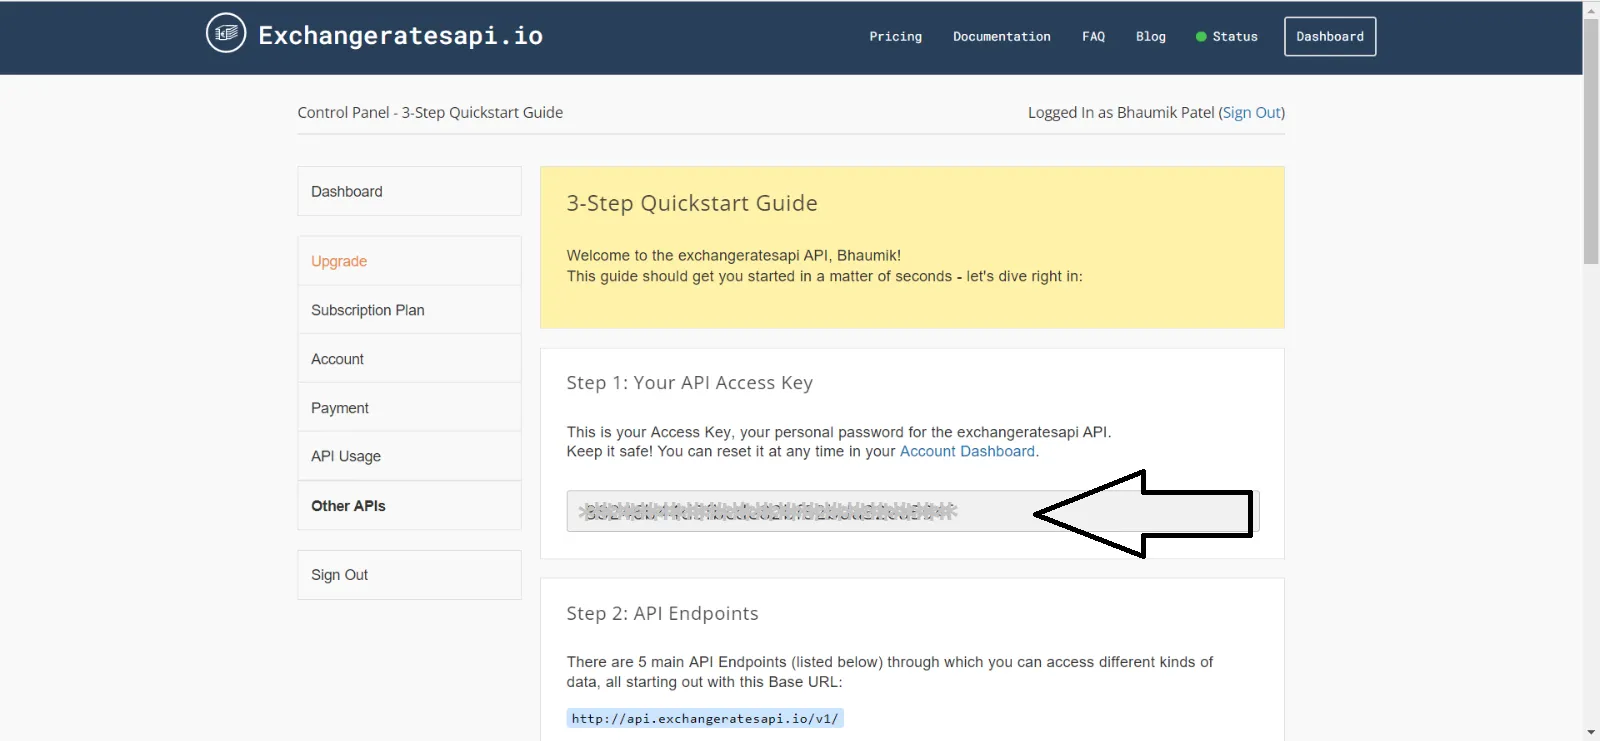
As you login to the Exchange Rates API the API shows up on the screen, as shown below:
-
Copy the API key and paste it into the form. To complete the form, add the following details:
- Name: Exchange rates
- Source type: Exchanges Rates API
- Base: USD
- Access key: The Access key is a secret passcode. You can copy it and use it independently in your application.
- Start Date: Add the date in the format of YYYY-MM-DD.
- After adding all the details, click on the Test Connection button. Once the connection test is successful, proceed to add the destination.
Add Destination in Airbyte
-
To add a destination, follow a similar process as with the source. You will need to provide a name for the destination and select from the available destination options. For example, we select MySQL as the destination.
-
After selecting the destination, add its connection properties, such as the port number, username, password, and any other required details.
-
After adding all the details, click the Set up connection button to complete the process.
-
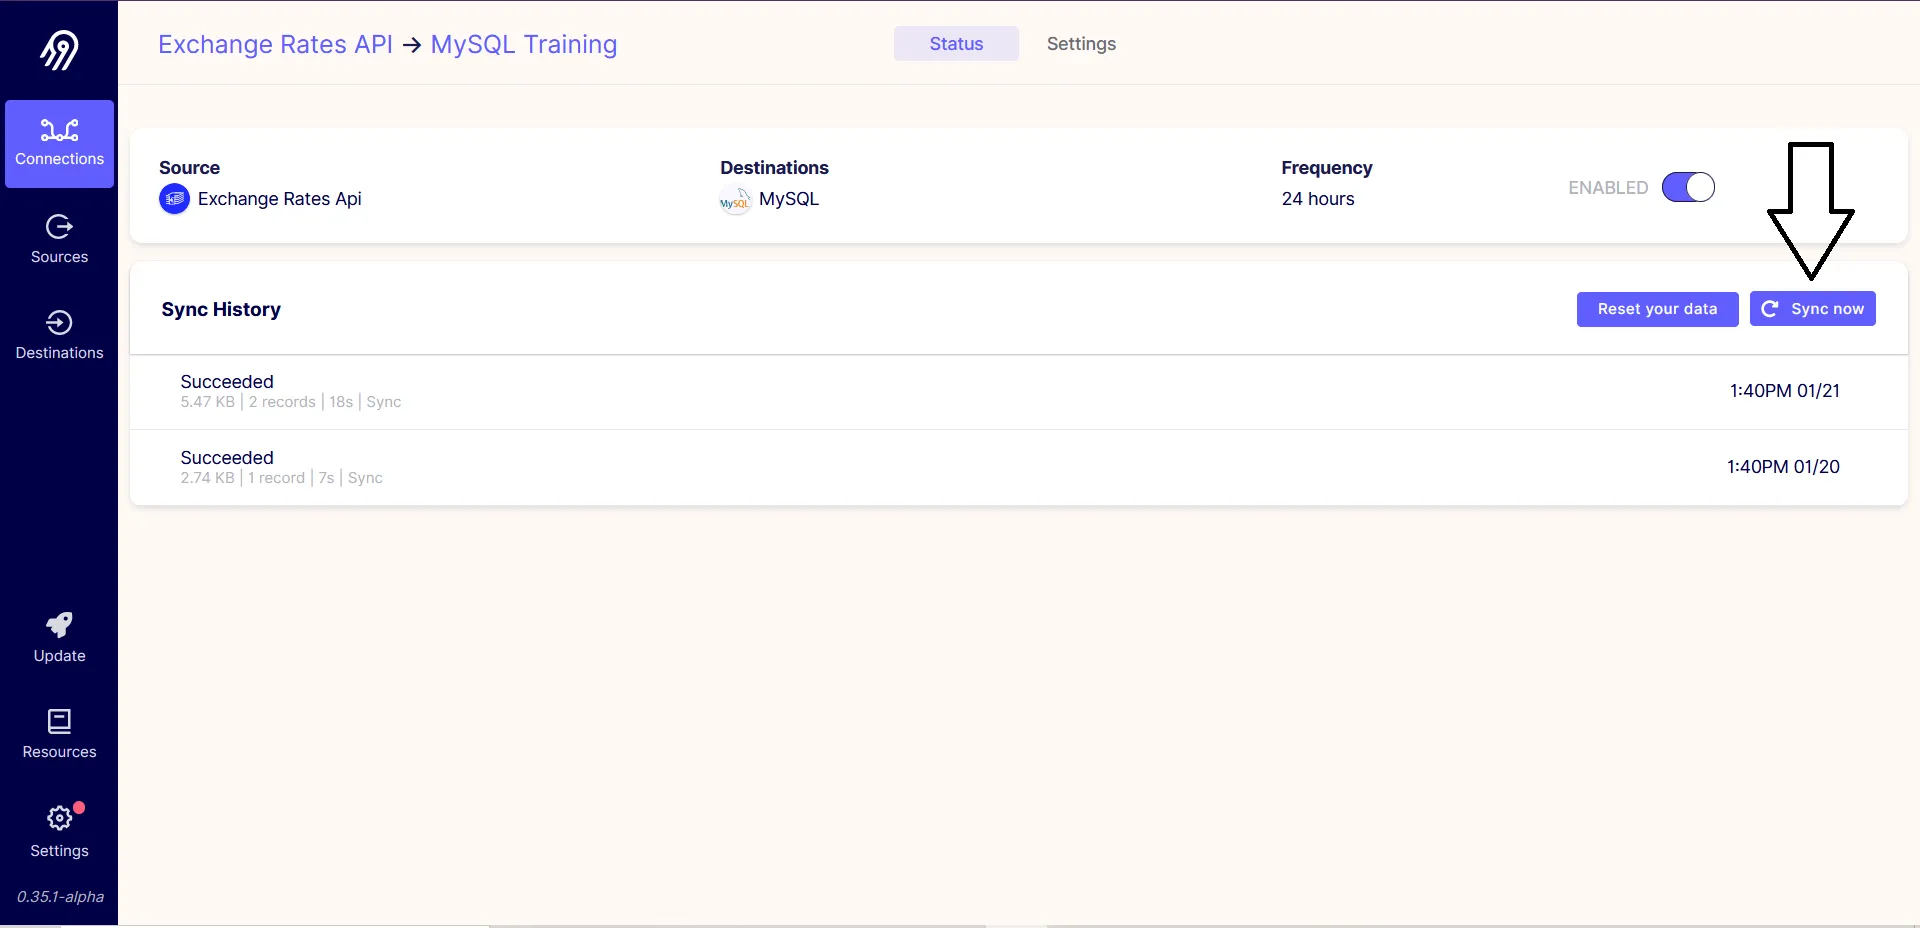
Once the connection is successfully set up, go to the destination window from the left vertical menu and open the destination you named (e.g., Exchange Rates). Please select the name you assigned to the destination.
-
Click on the Sync now button to manually synchronize the data.
-
Once the data is successfully synced, go to AIV to check the transferred data.
-
Log in to AIV and navigate to the Dataset section. Click on the Create Dataset button in the Dataset section.
- To create a dataset:
-
Add the Name: Exchange rates
-
Select Datasource: JDBC.
-
Select Source: aws_rds (Please select the datasource you have added in Airbyte’s destination).
-
Search for the name of the data stream transferred from the vendor.
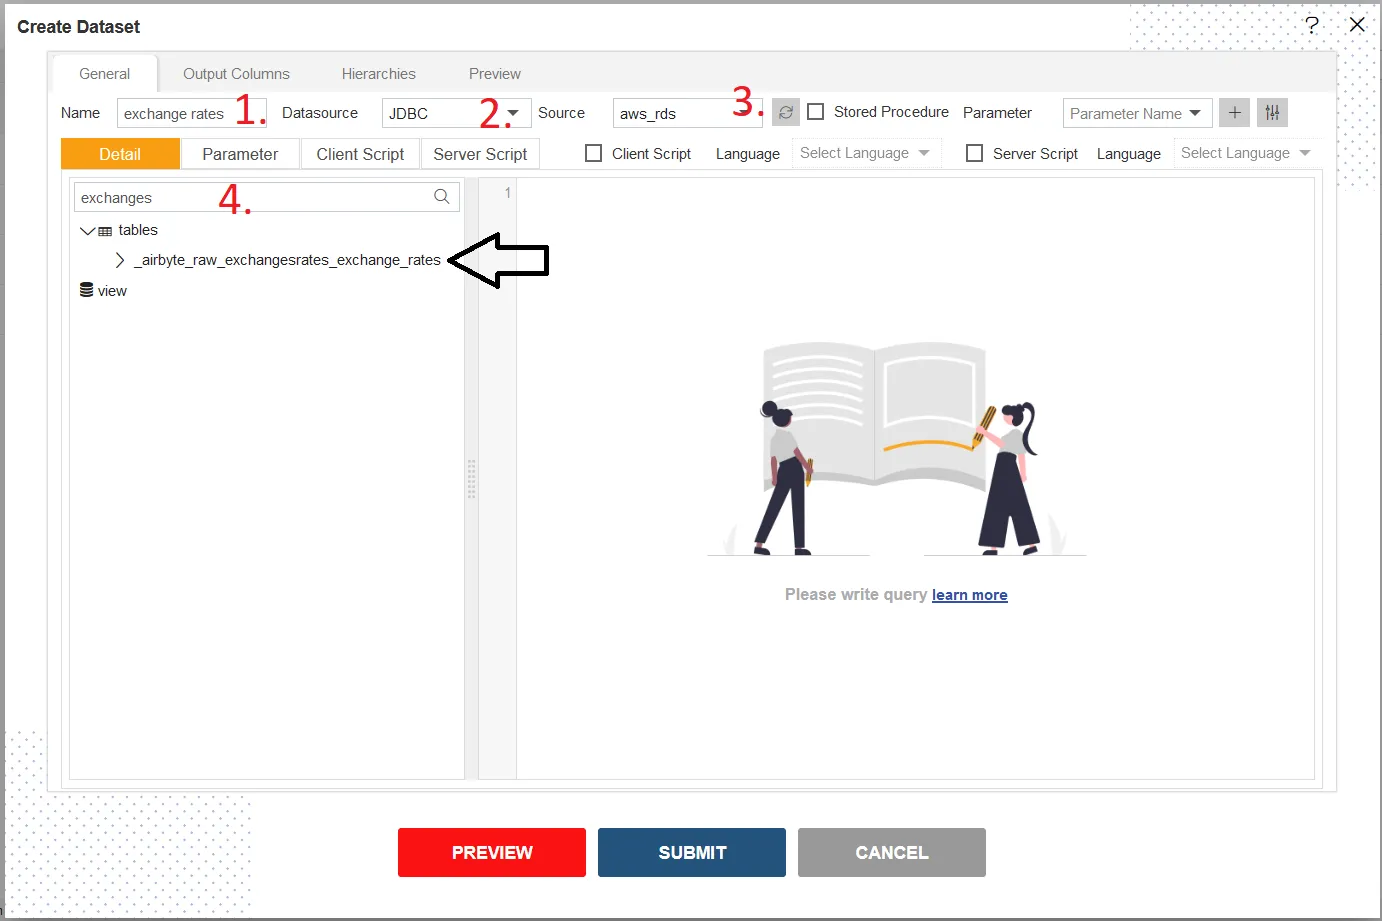
- To preview the data in AIV, drag and drop the data from the left panel to the right panel, then click on the Preview button to view the data.