Notification–Request Approval
Notification–Request Approval : The “approval required” function operates in the report section of AIV. The video likely explains the functionality, steps, and usage of the approval feature within the context of managing reports in the AIV application
The Approval Function in AIV. This feature is used when a user schedules the report using the once or recurring option with Approval Required. The user can send the approval request to the internal user who is using AIV.
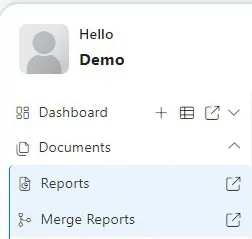
This use case describes a scenario where a user schedules a report using either the “once” or “recurring” option, and the process requires approval. In this situation, a demo user is involved in approving the request. This demonstrates how the approval feature functions in the context of scheduling reports, ensuring that the specified user (in this case, the demo user) approves the scheduled report request.
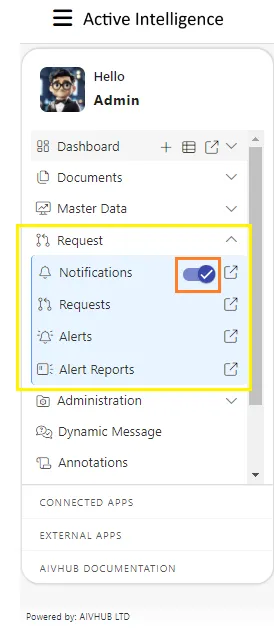
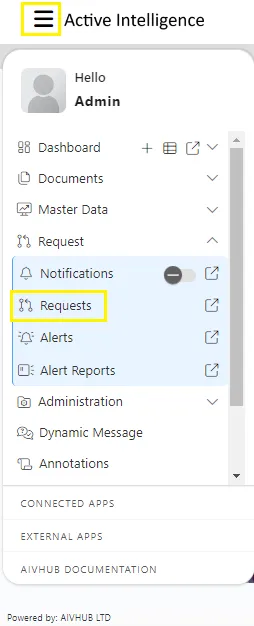
- The user to log in to the AIV application using their credentials and navigate to the Report section. It’s a basic step to access and interact with reports within the AIV application.
-
Select the specific report for which the user want to set up a schedule with an approval requirement. It indicates the initial step in the process of scheduling a report with the added condition of requiring approval.
-
The user should double-click on the report. This action will open the schedule window, where the user can configure the parameters for scheduling the report, including any settings related to approval requirements.
-
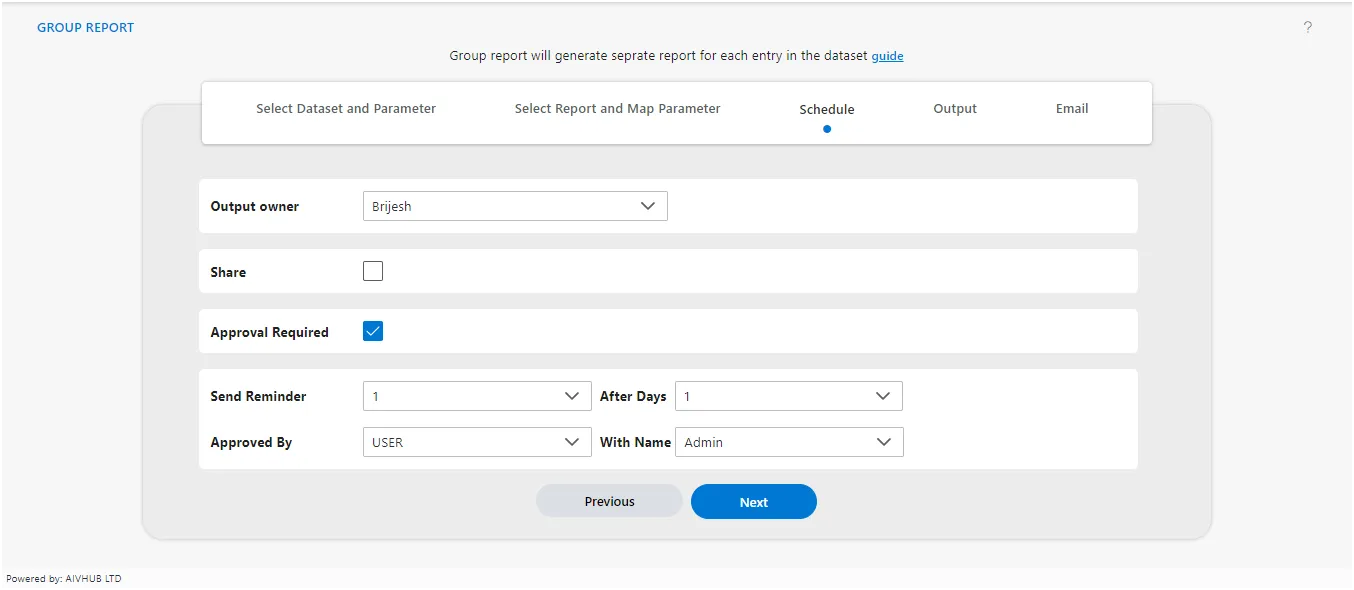
The user to navigate to the “Schedule” tab and select the “Once” option, referring to a specific image for visual reference. This suggests the user is setting up a scheduling frequency for the report, choosing to run it only once.
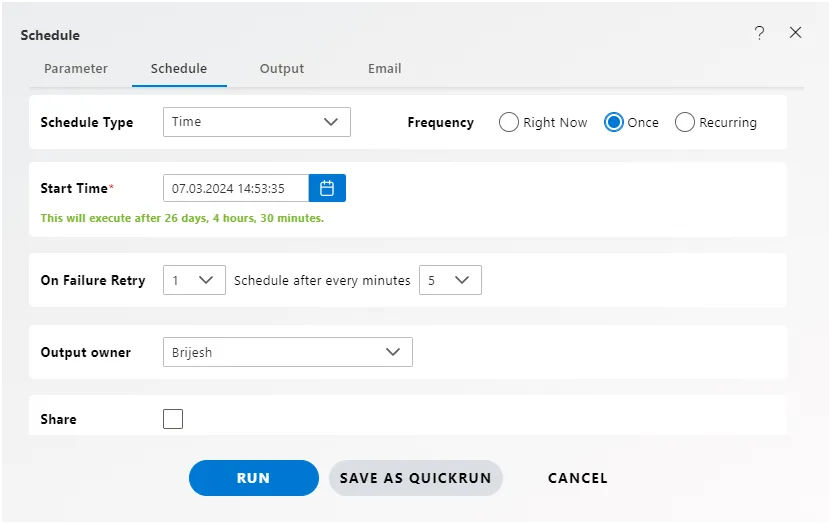
- The user to check the “Approval Required” checkbox. After enabling this setting, the user will encounter additional options, and the specifics of these options are indicated to be visible as per the information provided in a referenced image. This implies that checking the “Approval Required” checkbox triggers the appearance of certain configuration options related to approvals.
-
The “Send Reminder” option allows the user to define the number of reminders sent to the requested user in case the report is not approved on the same day. This feature provides a way to customize and manage reminders for the approval process.
-
The “After Days” option, indicating that the user can specify the number of days after which they want to send a reminder again. This feature allows for automating reminder notifications at a user-defined interval after the initial request, offering flexibility in managing the approval process over time.
-
The “Approved By” option, specifying that the user can select the approval type. There are two available options: “by user” and “by role of users.” This emphasizes the flexibility for the user to determine the approval mechanism, either by individual users or by a designated role of users.
-
The “With Name” option, indicating that users can select the name of the person from whom they seek approval for the execution of the report. This feature allows the user to specify the individual whose approval is required before the report can be executed.
-
The example scenario outlines a situation where a user sends an approval request to the Demo user. The user is scheduling the report to run once, and they have checked the “Approval Required” option. This provides a practical illustration of how the approval process is initiated for a one-time scheduled report.

-
The user to click on the “Run” button. This action is likely performed after the user has configured the scheduling settings, including the approval requirements. Clicking the “Run” button initiates the execution of the report, subject to the specified scheduling parameters and approval conditions.
-
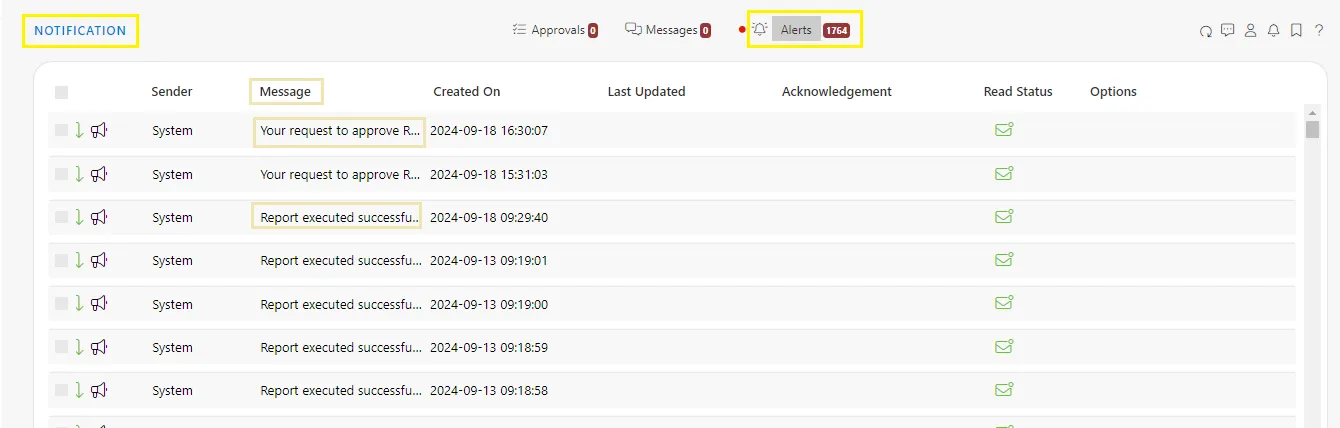
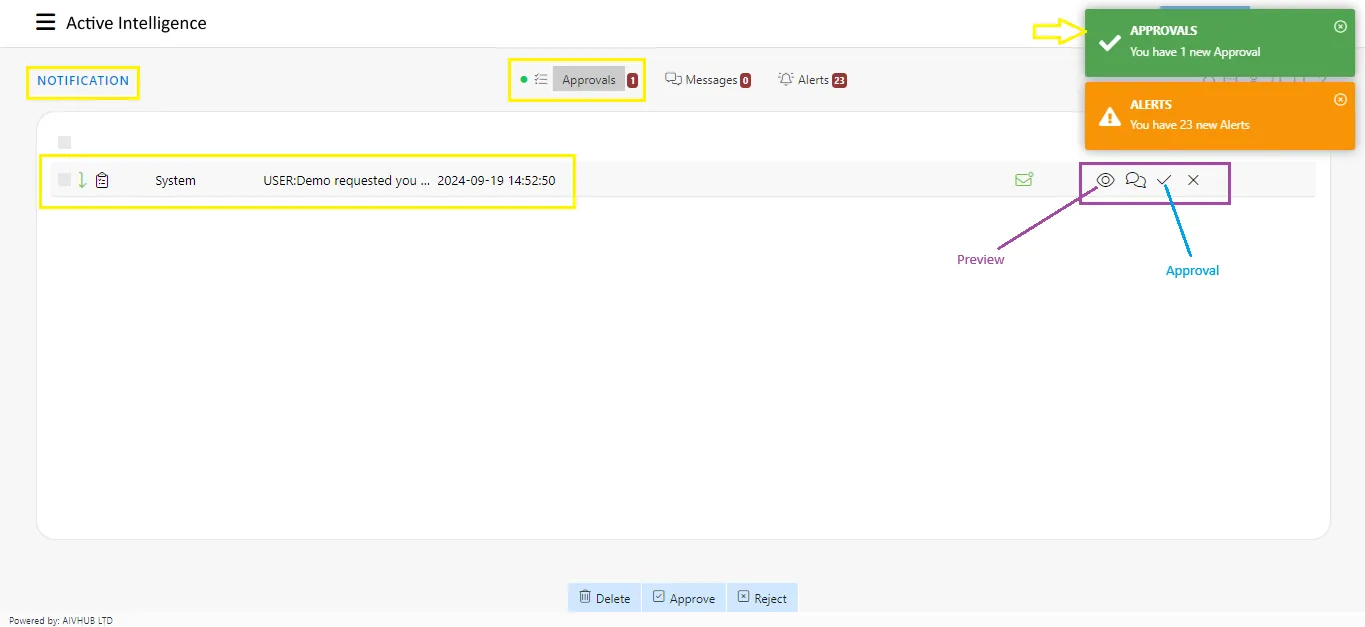
The Demo user will receive an approval message instantly, and it will appear as a pop-up notification at the top right corner of the screen. This confirms that the user has successfully triggered an approval request, and the designated recipient is being notified of the pending approval.
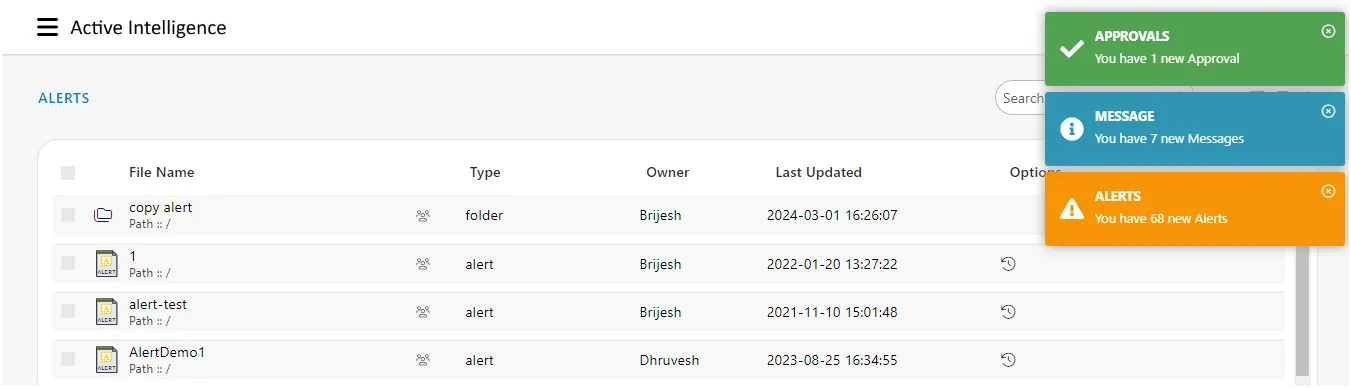
- When the Demo user clicks on that pop-up message it will open the Approval section automatically:
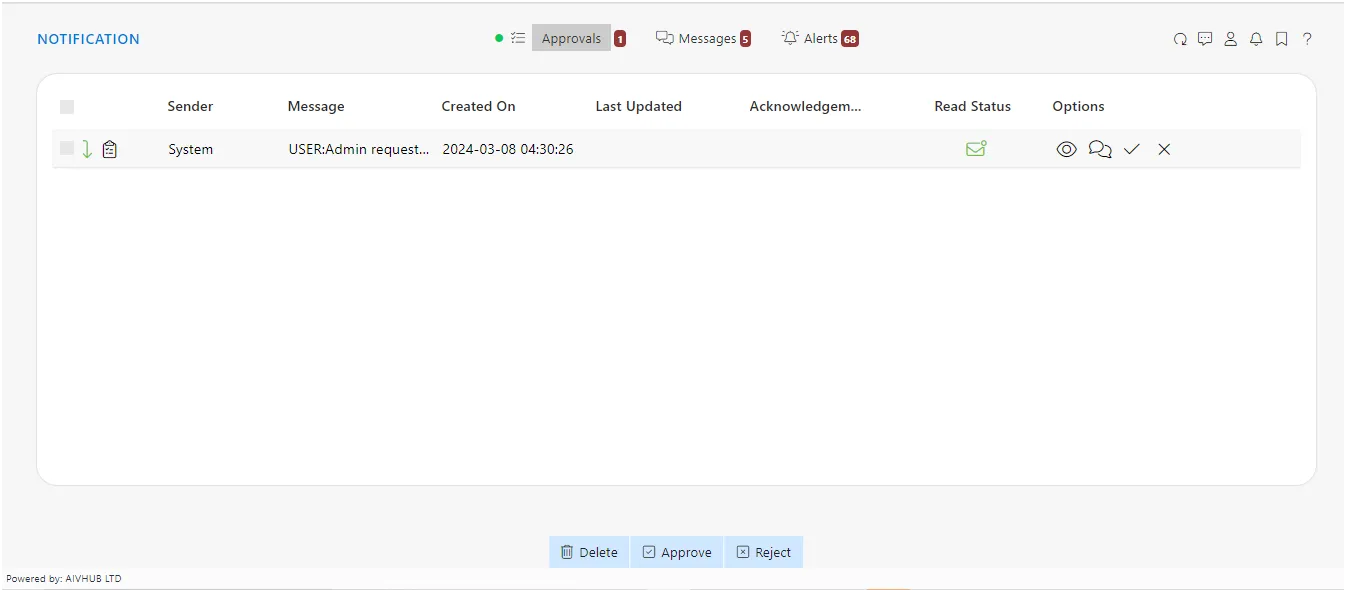
- Demo user will see a request for approval at the top.
- For that Approval Demo user can do the operations as given below:
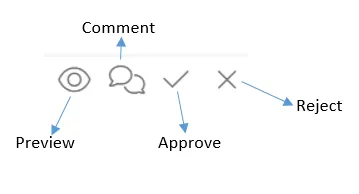
- Preview: By clicking on this option Demo user can preview the report. When the Demo user clicks the preview icon it will open the report in another tab of the browser.
- Comment: By this option, the Demo user can add the required comment to the approval request. (report scheduler can see the comment from the request section.)
- Approve: By clicking on this option Demo user can approve the request.
- Reject: By clicking on this option Demo user can reject the request for approval.
- Right-click on the message, the Demo user will see two options:
- Mark As Read: By clicking on this option Demo user can directly change the status of the approval request without approving it.
- Delete: By clicking on this option Demo user can delete the selected message.
- Now go to the Request section. (the user who scheduled the report)
- The screen will look as per the image below:
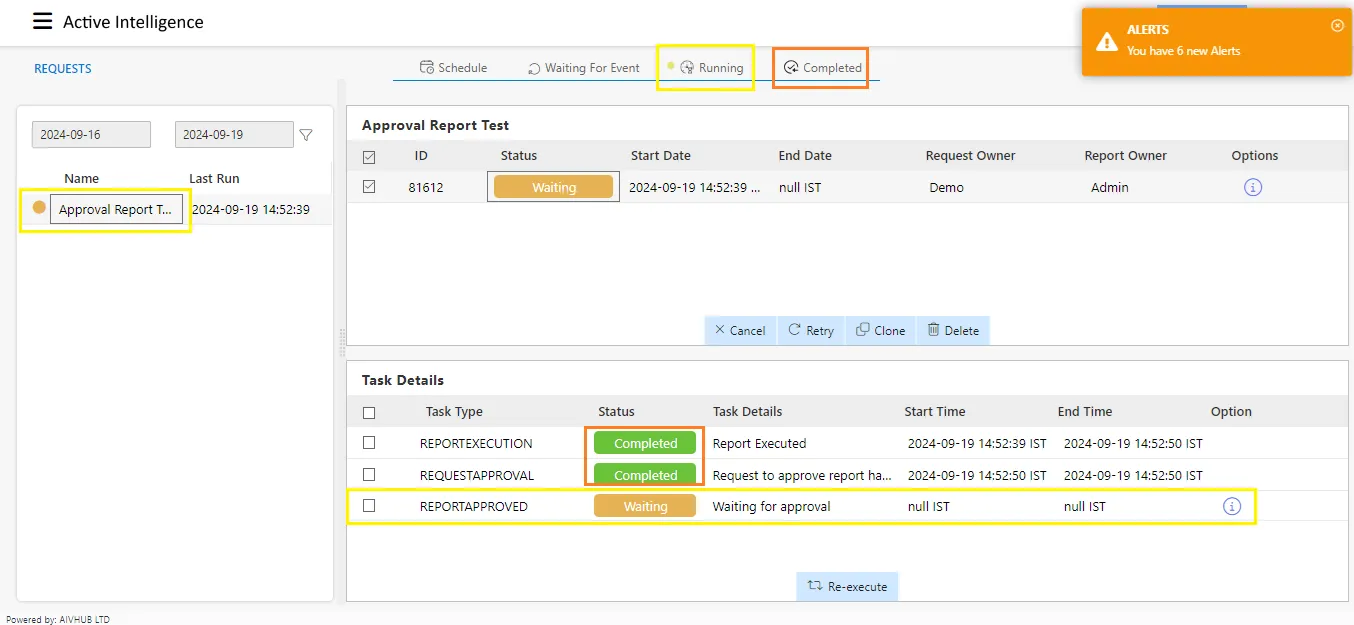
- Go to the Running option from the top of the screen & select Approval of group report from the Report Name, the screen will look as per the above image:
-
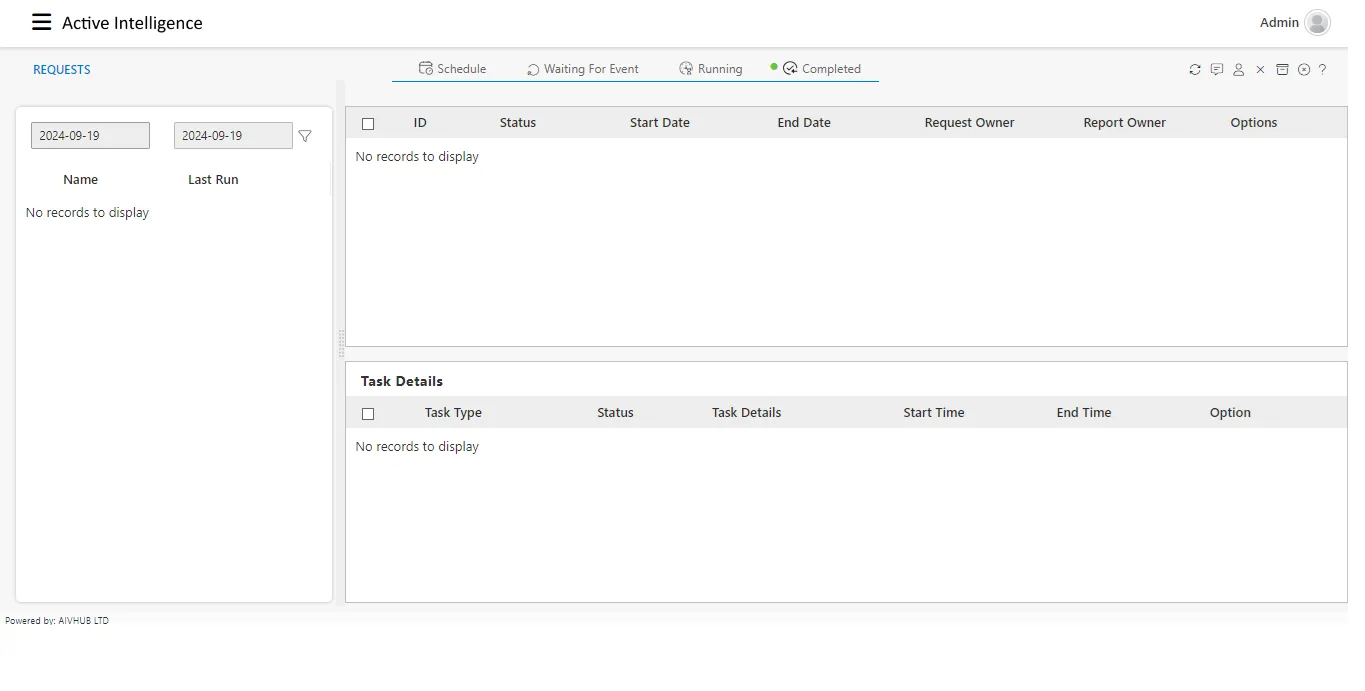
Now go to the Completed section given right next to running.
-
Click on the Approval group report from the Report Name, then the screen will look as per below:
- Once you click on the completed option your screen will look as per below:
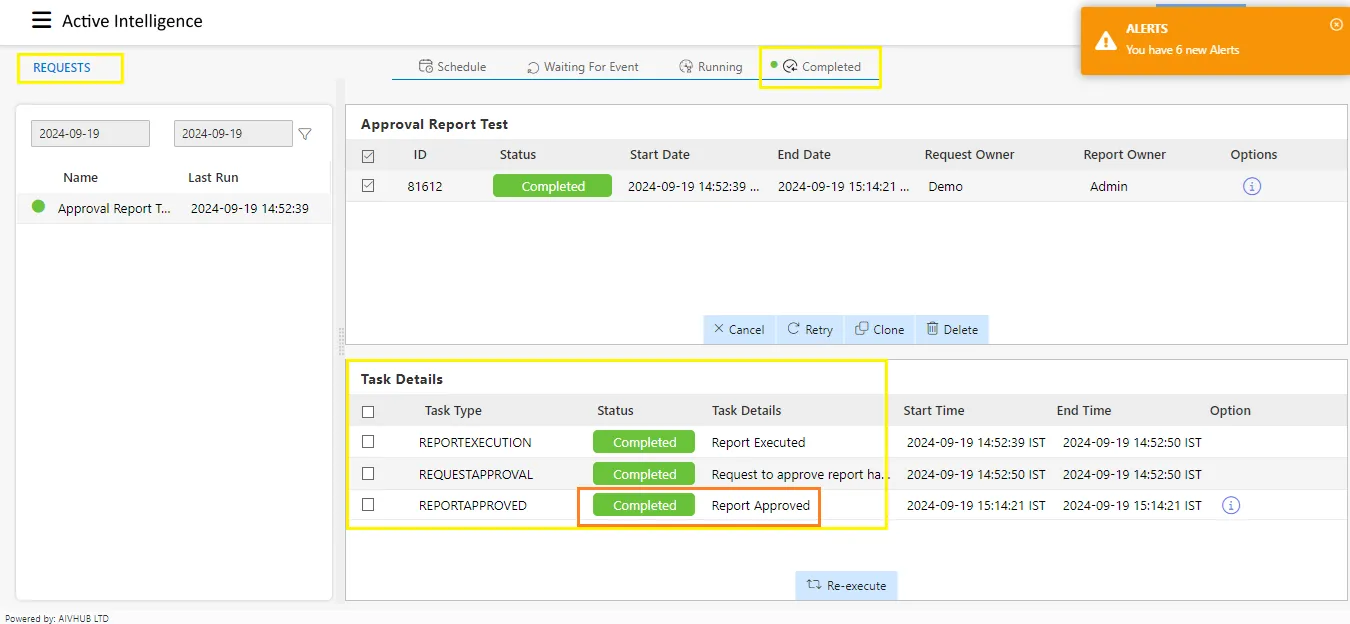
-
User can see the Task Type or Task Details as shown in the image above.
-
By using the options shown below users can make changes to the completed report.
![]()
- Cancel: User can’t able to cancel executed requests or other types of requests.
- Retry: To retry the report request or run the request again at once, right now or at a recurring time with the same user. (if approval was rejected user can again send the request to the demo user)
- Clone: To schedule the request again with the same or another user.
- Delete: To delete the completed report.
- User can able to see all activities while report request is running at the Alert option of the Request section as shown below: