Create Table Widget
Create Table: This video explains how to create a table widget in AIV.
To create a new dashboard, follow these steps:
-
Click the
 menu to navigate to the Dashboard section.
 -
In the Dashboard section, locate the
 icon and click on it. This action will prompt a dialog box, as shown below:
-
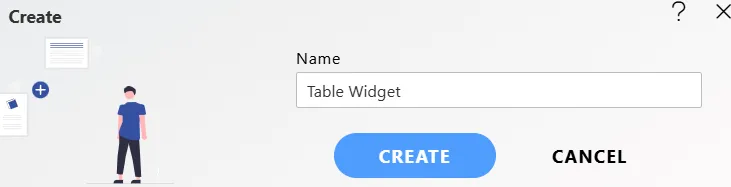
Enter the desired name for your dashboard (e.g., Table Widget).
-
Once you’ve entered the name, click the CREATE button to create your dashboard.
-
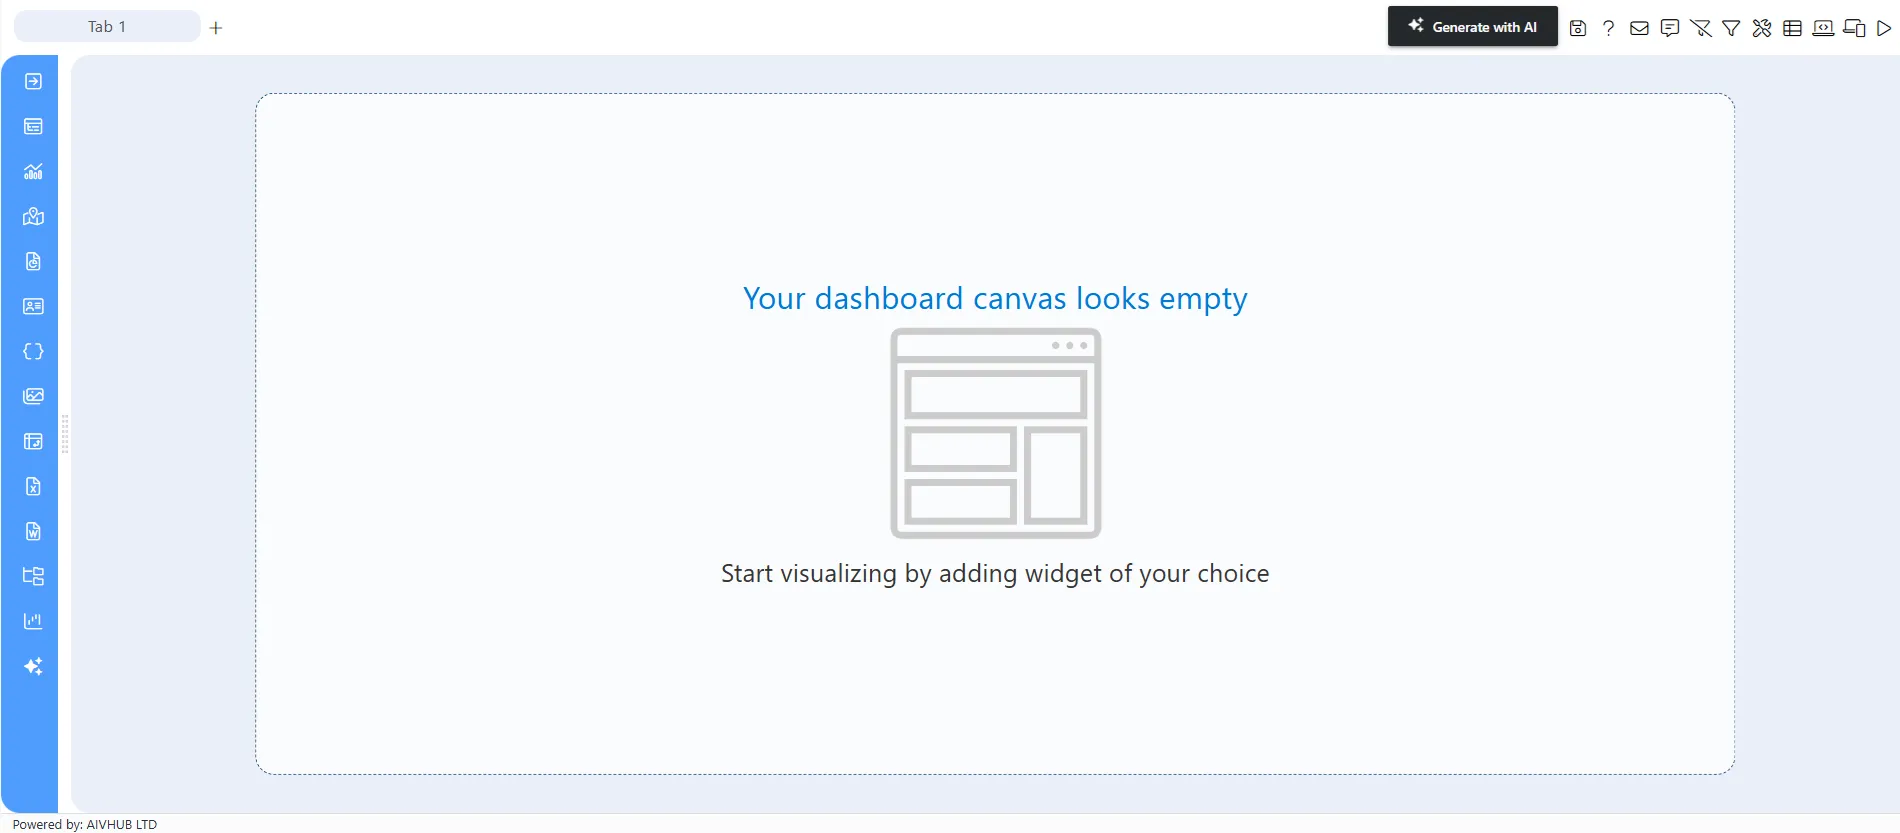
A pop-up notification will confirm the successful creation of the dashboard, and you will be redirected to the newly created dashboard interface, as shown below:
Steps to Create a Table Widget:
-
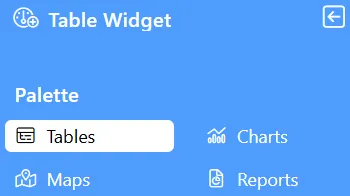
From the Left Vertical menu, click the Table Widget icon. This will open the edit menu.
-
When you click the Table Widget icon, the widget will automatically be added to the content area of your dashboard.
-
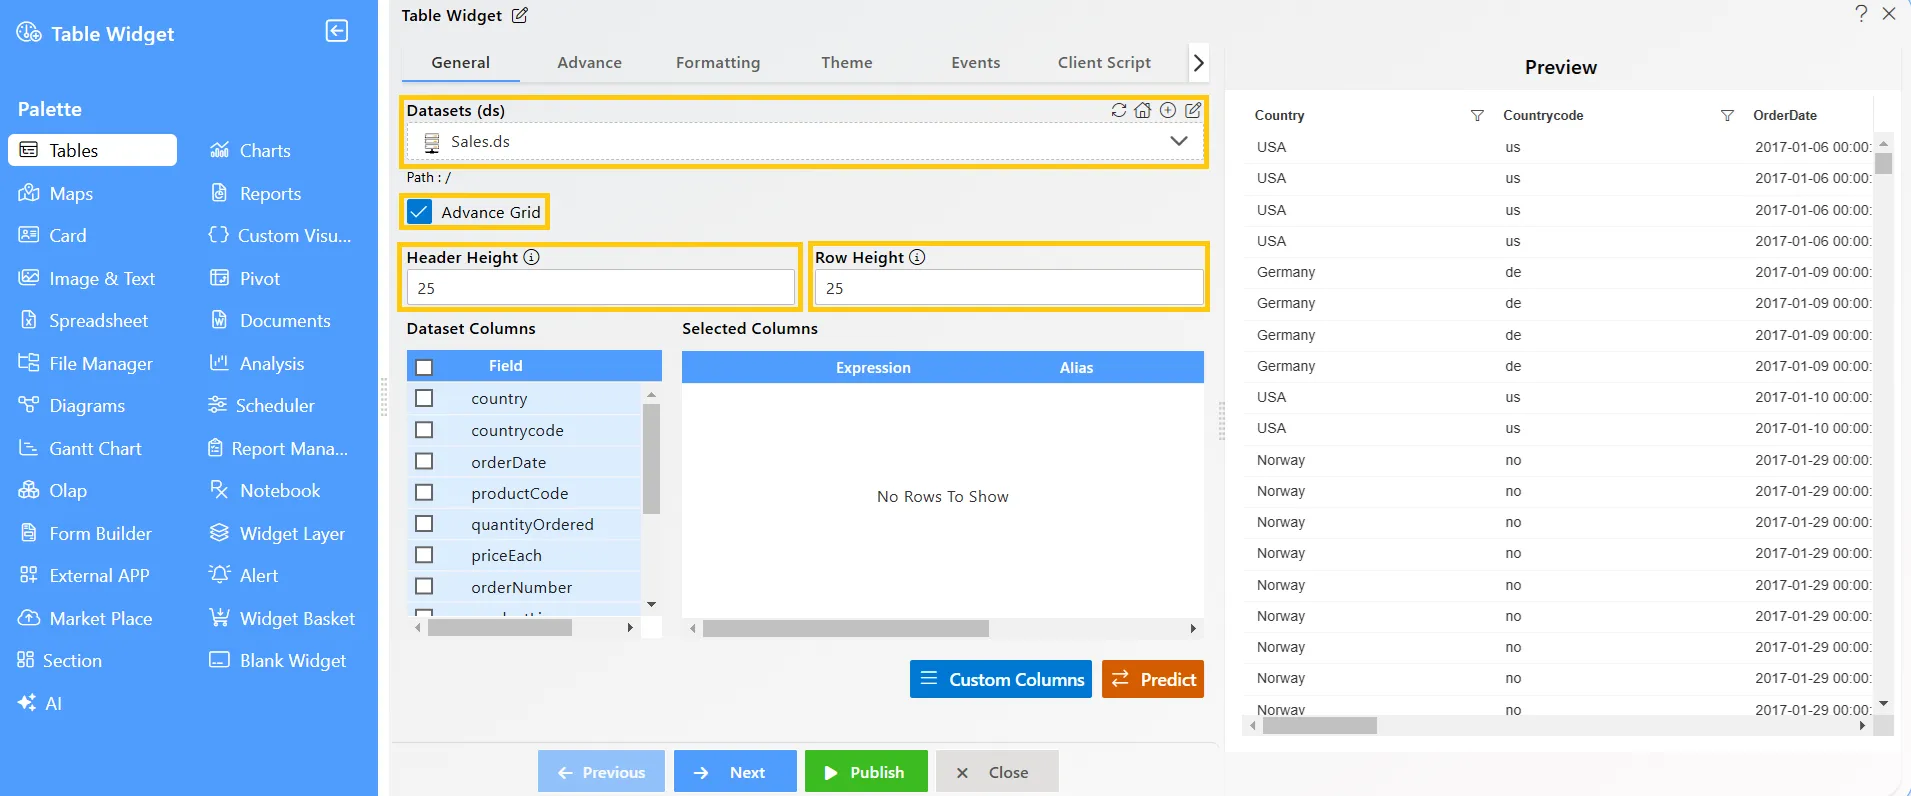
Enter the following details in the Edit menu:
-
Datasets (ds): Select
Sales.ds -
Advance Grid Checkbox: Ensure this option is checked to activate the advanced grid layout.
-
Header Height: Set to 25 for uniformity.
-
Row Height: Set to 25 for consistent row appearance.
-
-
Click the Publish button, then the Preview icon, and finally click on the SAVE AND EXIT button to view the Table Widget.
-
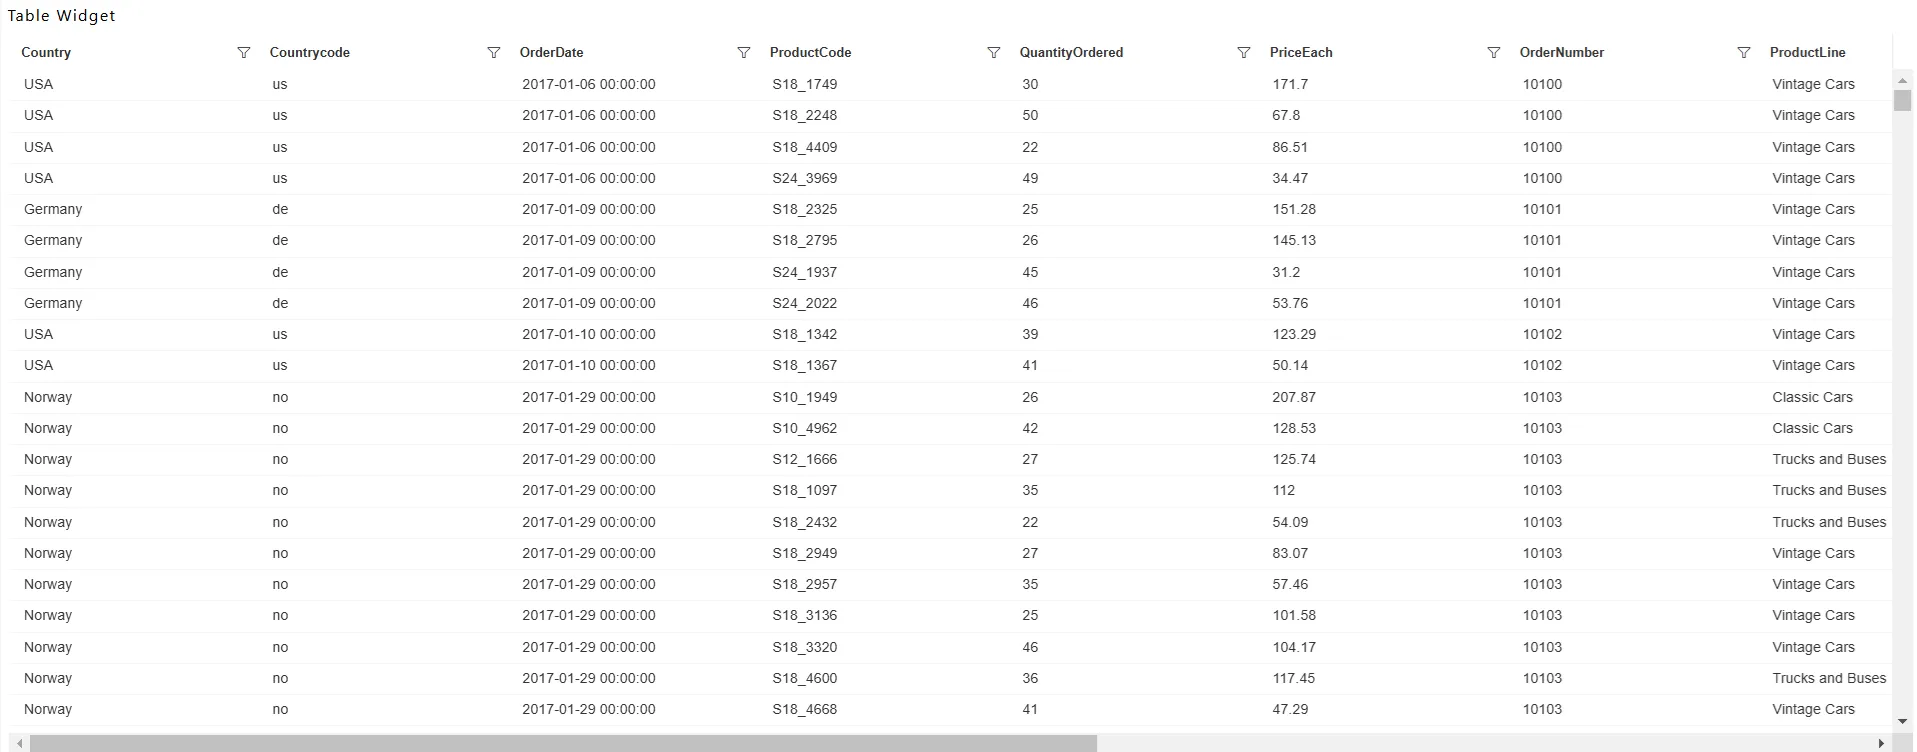
Compare your Table Widget setup with the example shown below to ensure it matches the expected output:
To learn more about the features of the Table Widget, click on the links below:
Advance Tab Table Widget
Formatting Tab Table Widget
Themes Tab Table Widget
Event Tab Table Widget
Annotation Tab Table Widget
Widget Settings
To learn more about the advanced features of the Table Widget, click on the links below:
Custom Column Table Widget
Custom Column Micro Chart
Custom Column Table Widget Icon
Custom Column Table Widget Hyperlink
Skip Widget from Event Filtering