Backup & Restore MySQL DB linux
This document contains steps to perform backup and restore operations of AIV Database with MySQL database in linux platform.
References
Links usefull for backup and restore data are listed here,
-
https://devopsarticle.com/install-create-backup-restore-mysql-on-ubuntu-20-04-lts-6-easy-steps/
-
https://phoenixnap.com/kb/how-to-backup-restore-a-mysql-database
-
https://www.digitalocean.com/community/tutorials/how-to-backup-mysql-databases-on-an-ubuntu-vps
-
https://www.digitalocean.com/community/tutorials/how-to-install-mysql-on-ubuntu-20-04
There are 2 ways we can perform this,
-
Using terminal
-
MySQL Workbench application
1. Using terminal
Backup
List of commands used to perform backup and restore operation are listed below,
-
Install MySQL by executing this command:
sudo apt install mysql-client
-
Check Installed MySQL version by running this command:
mysql -V
-
Install MySQL server by executing this command
sudo apt install mysql-server
-
In Ubuntu systems running MySQL 5.7 (and later versions), the root MySQL user is set to authenticate using the auth_socket plugin by default rather than with a password. This plugin requires that the name of the operating system user that invokes the MySQL client matches the name of the MySQL user specified in the command, so you must invoke mysql with sudo privileges to gain access to the root MySQL user:
sudo mysql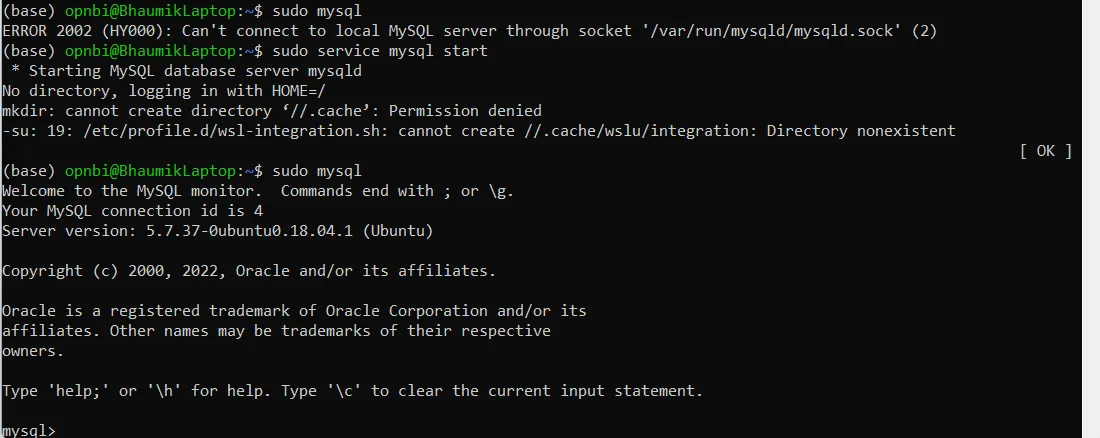
-
Once you have access to the MySQL prompt, you can create a new user with a CREATE USER statement. These follow this general syntax:
CREATE USER 'username'@'host' IDENTIFIED WITH authentication_plugin BY 'password';For example,
CREATE USER 'sammy'@'localhost' IDENTIFIED BY 'Password@123';
-
After creating your new user, you can grant them the appropriate privileges. The general syntax for granting user privileges is as follows:
GRANT CREATE, ALTER, DROP, INSERT, UPDATE, DELETE, SELECT, REFERENCES, RELOAD on *.* TO 'sammy'@'localhost' WITH GRANT OPTION;
-
Following this, it’s good practice to run the FLUSH PRIVILEGES command. This will free up any memory that the server cached as a result of the preceding CREATE USER and GRANT statements:
FLUSH PRIVILEGES;
-
Exit from mysql login:
exit
-
Start MySQL server by running this command:
sudo service mysql start
-
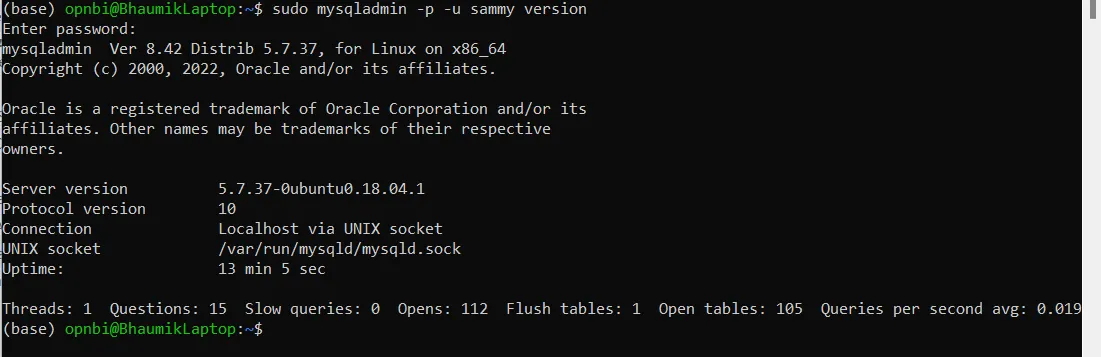
Check MySQL server version by executing below command,
sudo mysqladmin -p -u sammy versionEnter password you have applied for created user sammy in Step No 5.
-
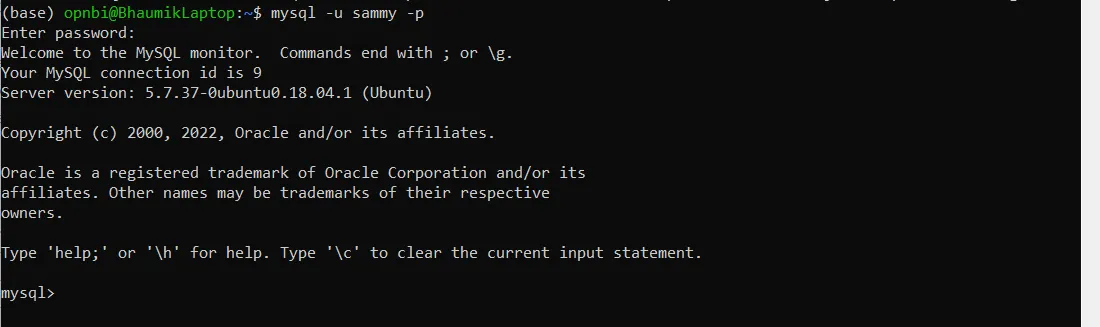
Connect with MySQL user, created in Step No 5 by running this command:
mysql -u sammy -pEnter password you have applied for created user sammy in Step No 5.
-
Once connected, execute this command to create database:
CREATE DATABASE sample_data;

- Switch to sample database created by executing this command:
USE sample_data;

-
Execute this query to create sample table,
CREATE TABLE Persons (
    PersonID int,
    LastName varchar(255),
    FirstName varchar(255),
    Address varchar(255),
    City varchar(255)
);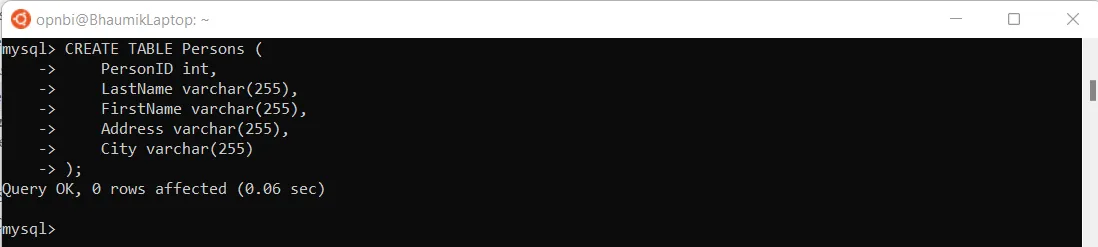
-
Insert sample data in to this created table by writing below query,
INSERT INTO Persons (PersonID, LastName, FirstName, Address, City)
VALUES ('2267', 'Erichsen', 'Jhon', 'Stavanger','Norway'),('2268', 'west', 'Allen', 'Central City','New York');
-
Disconnect from mysql user by writing :
exitcommand

-
Execute this command to take backup of sample_data database :
mysqldump -u root -p sample_data > backup.sql -
Check backup.sql file created in your system execute
lscommand
Restore
Follow this steps to restore backup file (.sql) file in MySQL database.
-
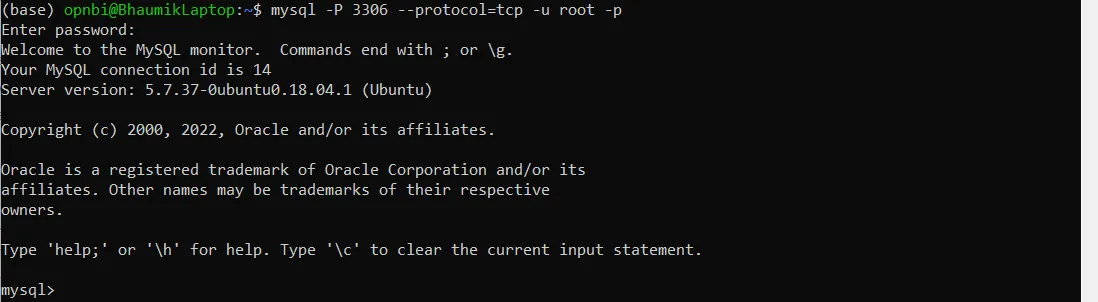
To restore data in new database, first let us create new database. login to mysql,
mysql -P 3306 --protocol=tcp -u root -pEnter password for root user and hit enter.
-
create new backup database
CREATE DATABASE restore_data;. here restore_data is name of database.
-
Exit from database by writing
exit -
Execute this command to restore backup.sql file in restore_data database.
mysql -u root -p restore_data < backup.sqlEnter password for root user and hit enter

-
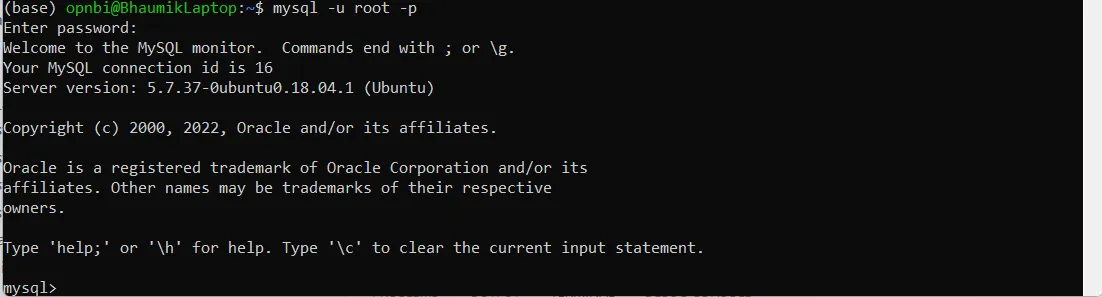
To check backup file restored or not, Connect with MySQL database:
mysql -u root -pEnter password for root user and hit enter
-
Change database to restore_data :
Use restore_data;
-
Run this query to fetch data from table,
select * from Persons;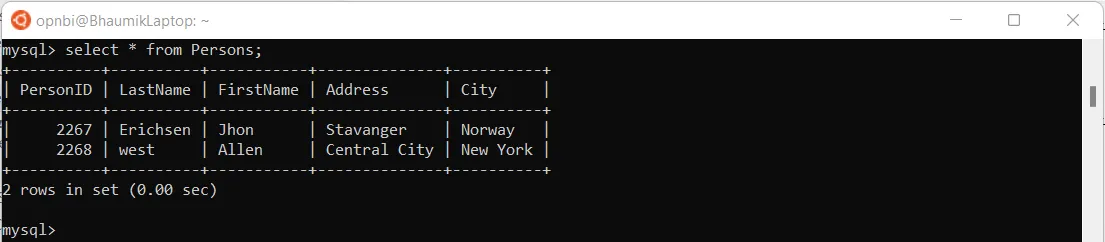
2. MySQL Workbench application
For Backup and restore database using self-contained file [.sql] please follow steps provided in below link,
For Docker User
-
Pull MySQL image in docker by executing this command in powershell:
docker pull mysql/mysql-server:latestor direclty fetch mysql image and run using command given in step 2. -
Run MySQL image by executing this command :
docker run --name backup-mysql -e MYSQL_ROOT_PASSWORD=1234 -d mysql:latest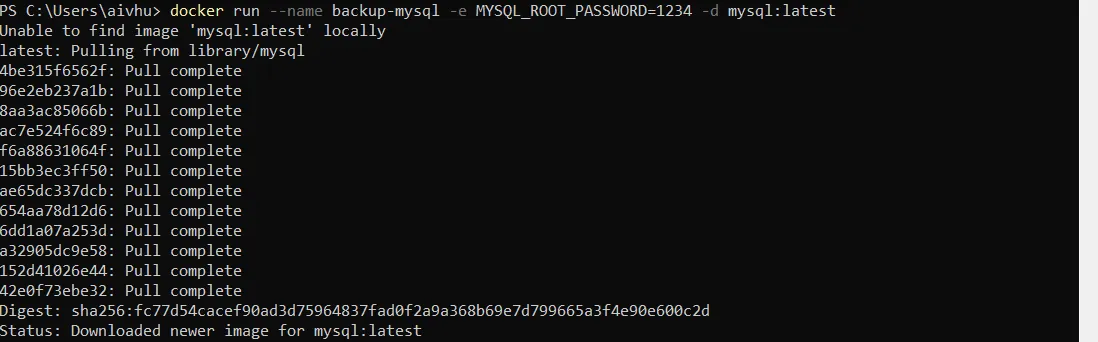
-
Get the list if docker images for MySQL
docker psyou will see container ID as gievn in below code,
-
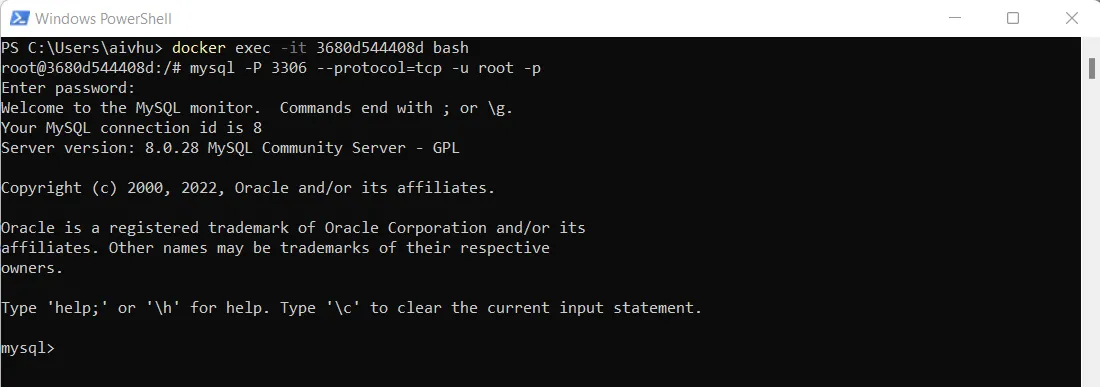
Connect with MySQL containerID
docker exec -it 3680d544408d bash
-
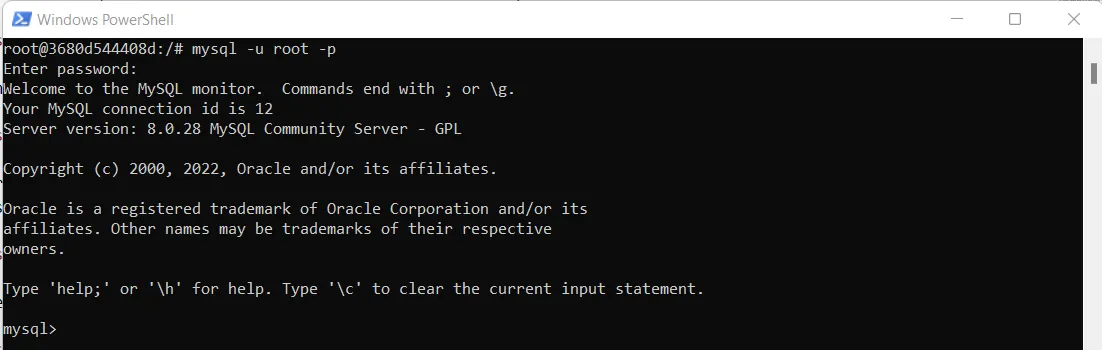
Connect with MySQL database by executing this command :
mysql -P 3306 --protocol=tcp -u root -pProvide password which you have applied in step 2 command and hit enter. Now you’re connected to MySQL running in your container
-
Check the list of database available by default in MySQL by executing this command:
SHOW DATABASES;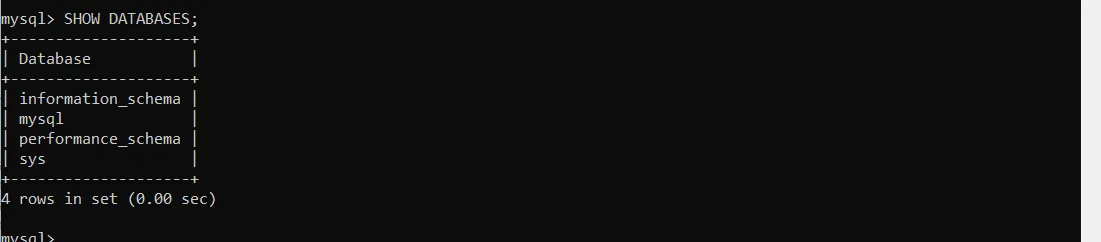
-
Create new database in order to perform backup and restore operation :
CREATE DATABASE sample_data;
-
Connect with created database to create sample tables inside it. execute this command:
USE sample_data;
-
Now you are connected with sample_data database. to create a sample table execute this query,
CREATE TABLE Persons (
    PersonID int,
    LastName varchar(255),
    FirstName varchar(255),
    Address varchar(255),
    City varchar(255)
);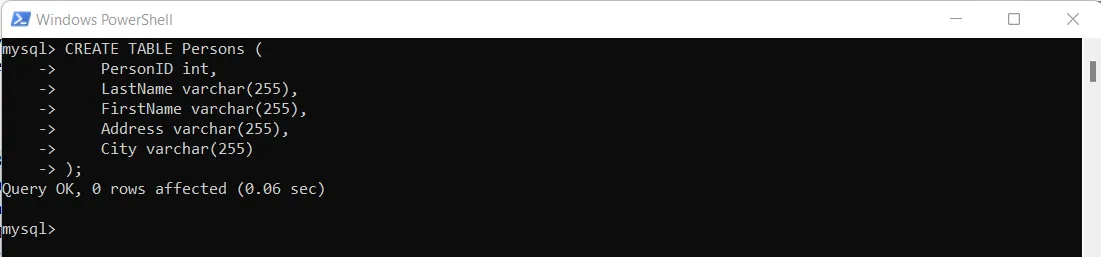
-
Once table is created, add a sample data in to this table bby executing below query,
INSERT INTO Persons (PersonID, LastName, FirstName, Address, City)
VALUES ('2267', 'Erichsen', 'Jhon', 'Stavanger','Norway'),('2268', 'west', 'Allen', 'Central City','New York');
-
Once table is created, let’s execute command to take backup of database. to do that you need to exit from mysql by executing exit command

- execute this command from root user:
mysqldump -u root -p sample_data > backup.sql

-
On successfull completion of above command check backup file is created or not execute this command:
ls
-
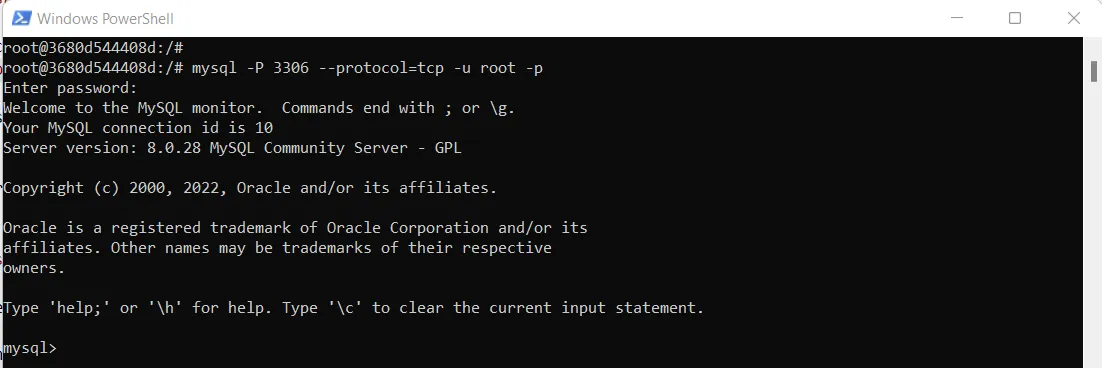
To backup data in new database, first let us create new database. login to mysql using
mysql -P 3306 --protocol=tcp -u root -pEnter password and hit enter
-
Create new backup database :
CREATE DATABASE restore_data;

- Disconnect from MySQL database execute:
exit

- Restore from backup file execute this command:
mysql -u root -p restore_data < backup.sql. Enter password and it will work

- To check database is restored or not login to MySQL:
mysql -u root -p
- Connect with restore_data database Use:
Use restore_data;

- Execute this query to get the table data:
select * from Persons;
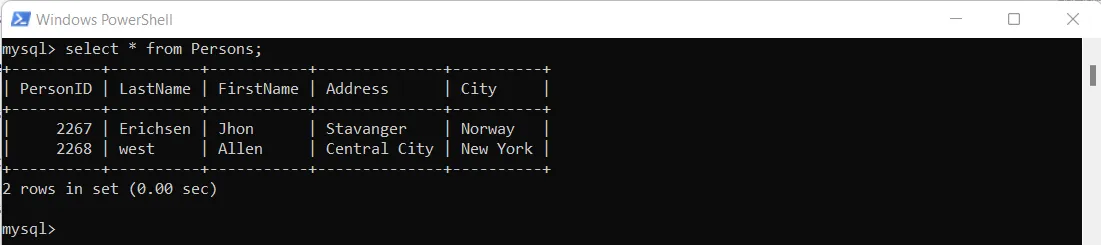
If your database is restored, you will get table data as output. you have successfully backup and restored MySQL database.