Adhoc Embed Link
This document is all about how to use adhoc embed link to achieve various functionalities. In this document you will learn about different ways of using Adhoc embed link.
Objective
To create Adhoc Embed Link
Run report with embed link: This is a basic way to use Adhoc Reports within your application. Using the embed link, you can display the output of an Adhoc Report directly inside your application in various supported formats.
-
To do so, login to AIV application with your credentials.
-
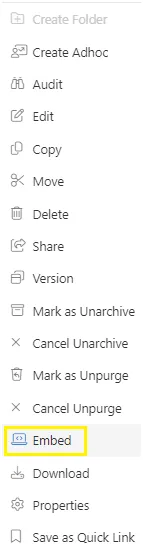
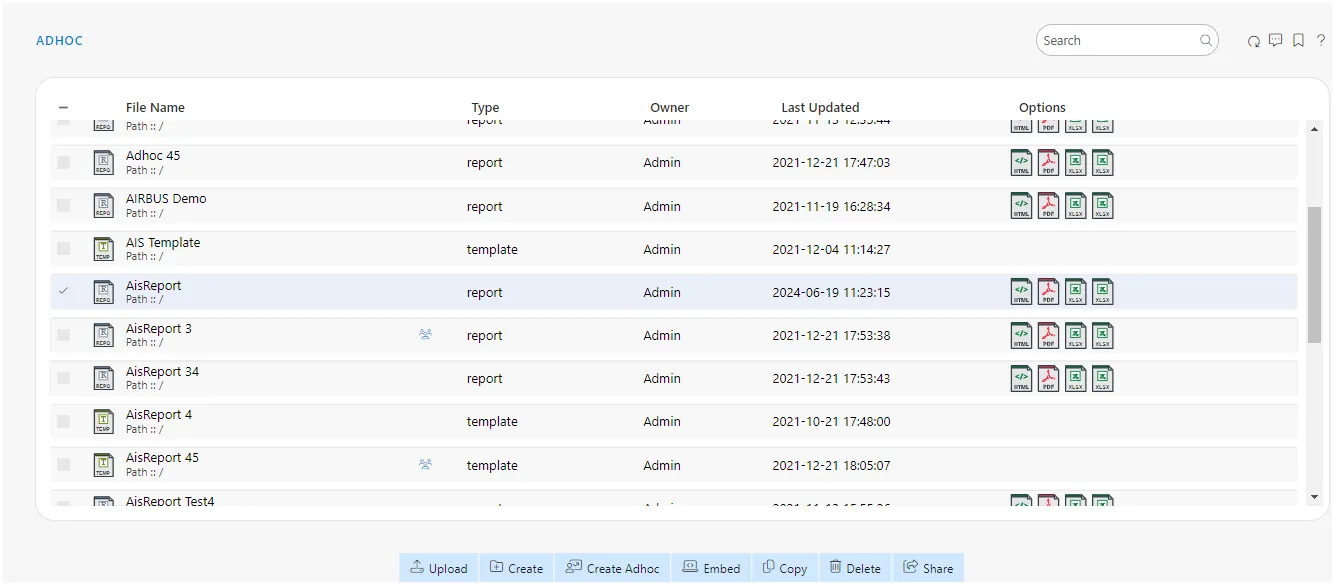
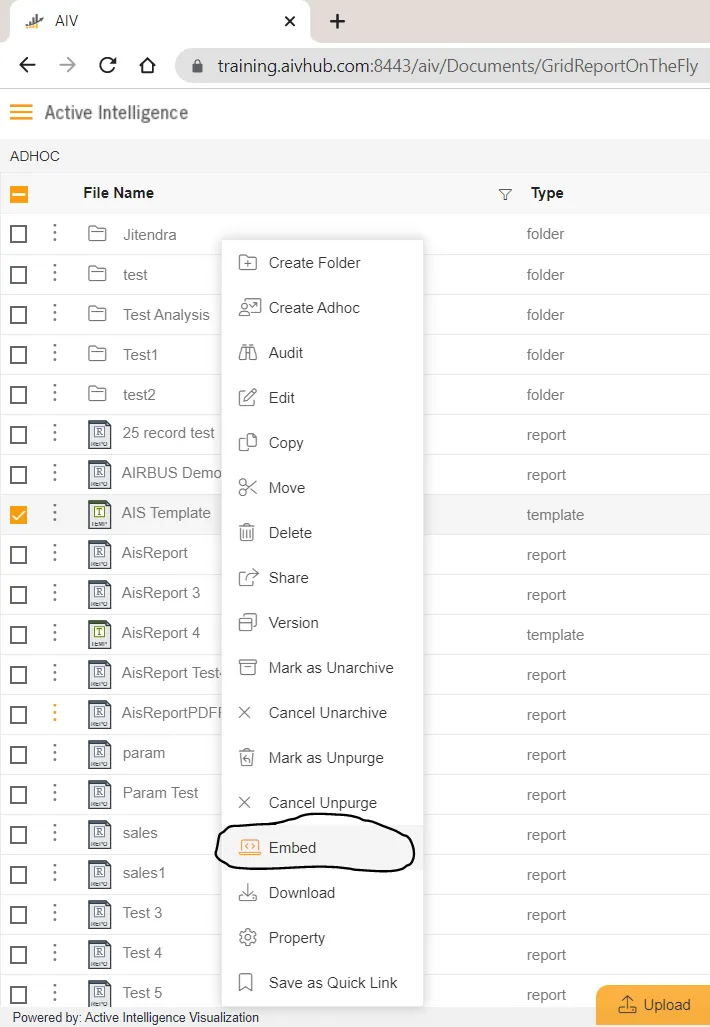
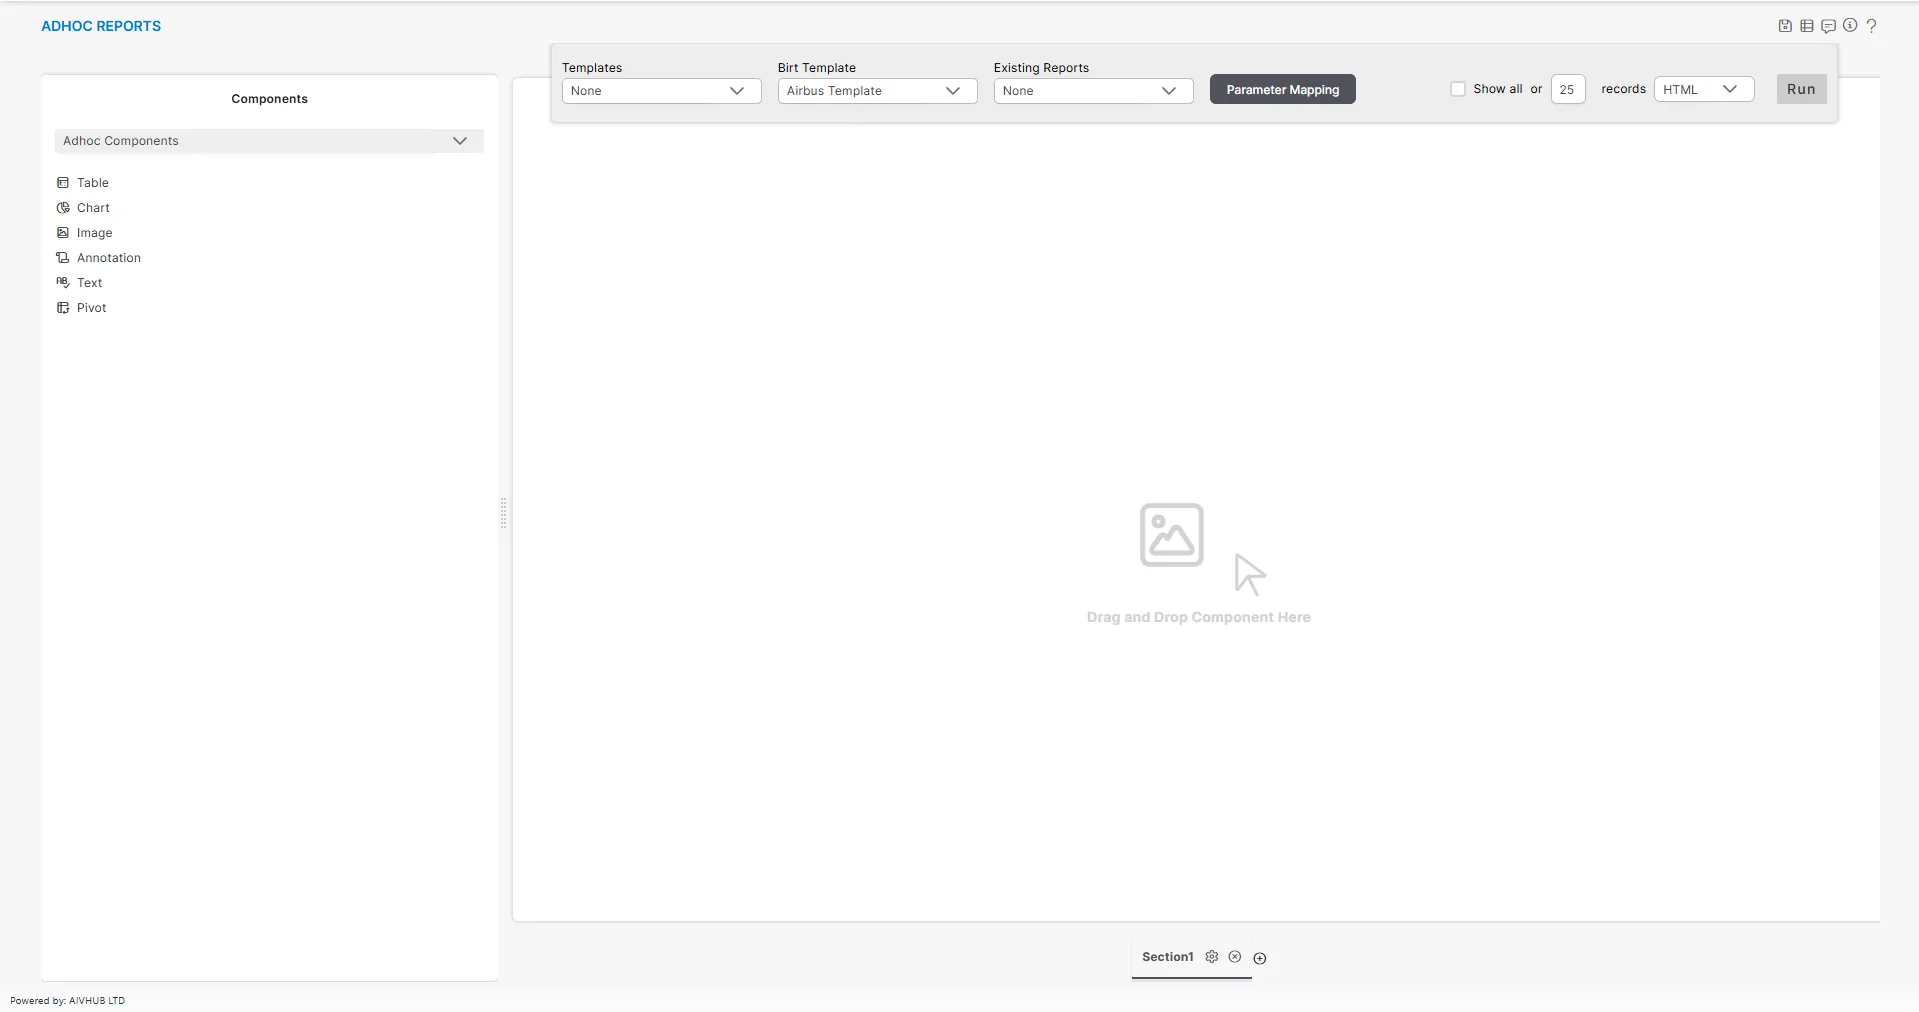
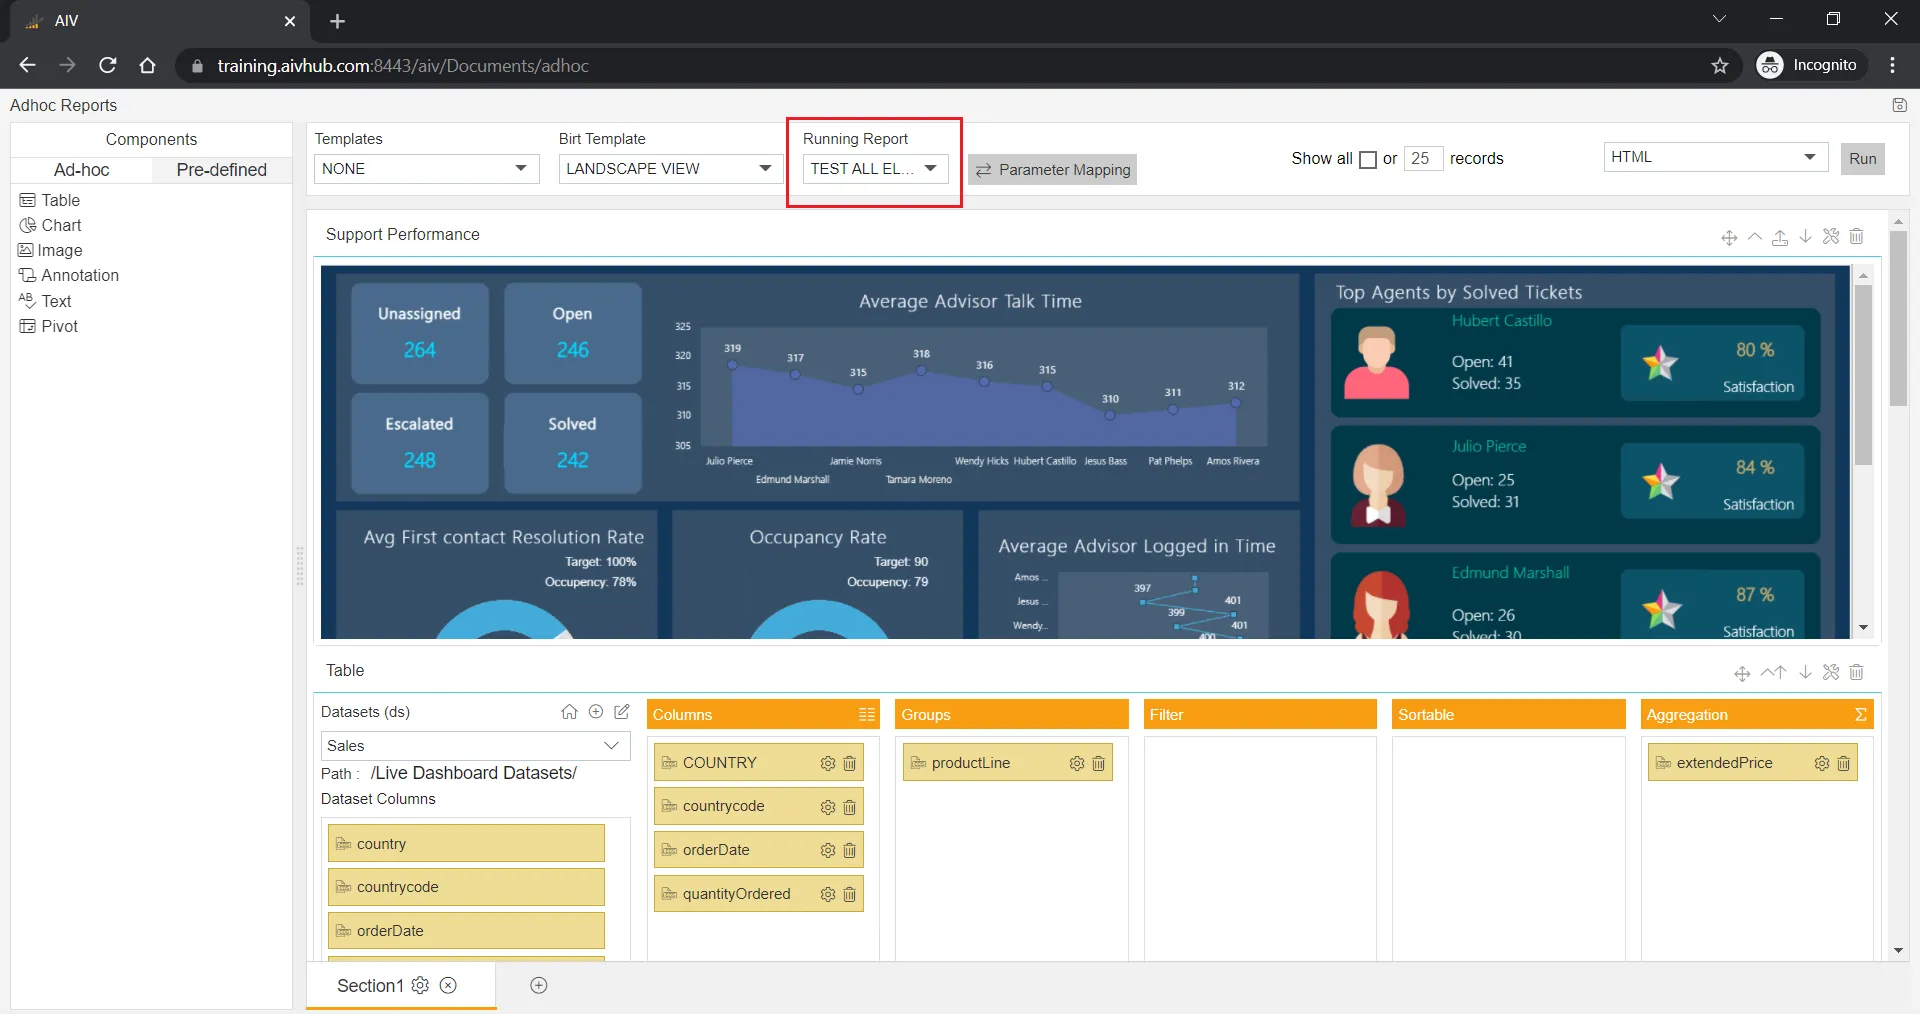
Go to Adhoc grid view. There are two ways a user can embed the report.
I. Select the report and click on Embed, located on the bottom toolbar.

II. Right-click any existing report and choose the Embed option from the context menu.
-
Select Report of which you wish to embed output.
-
Click the Embed button located on the bottom toolbar.
-
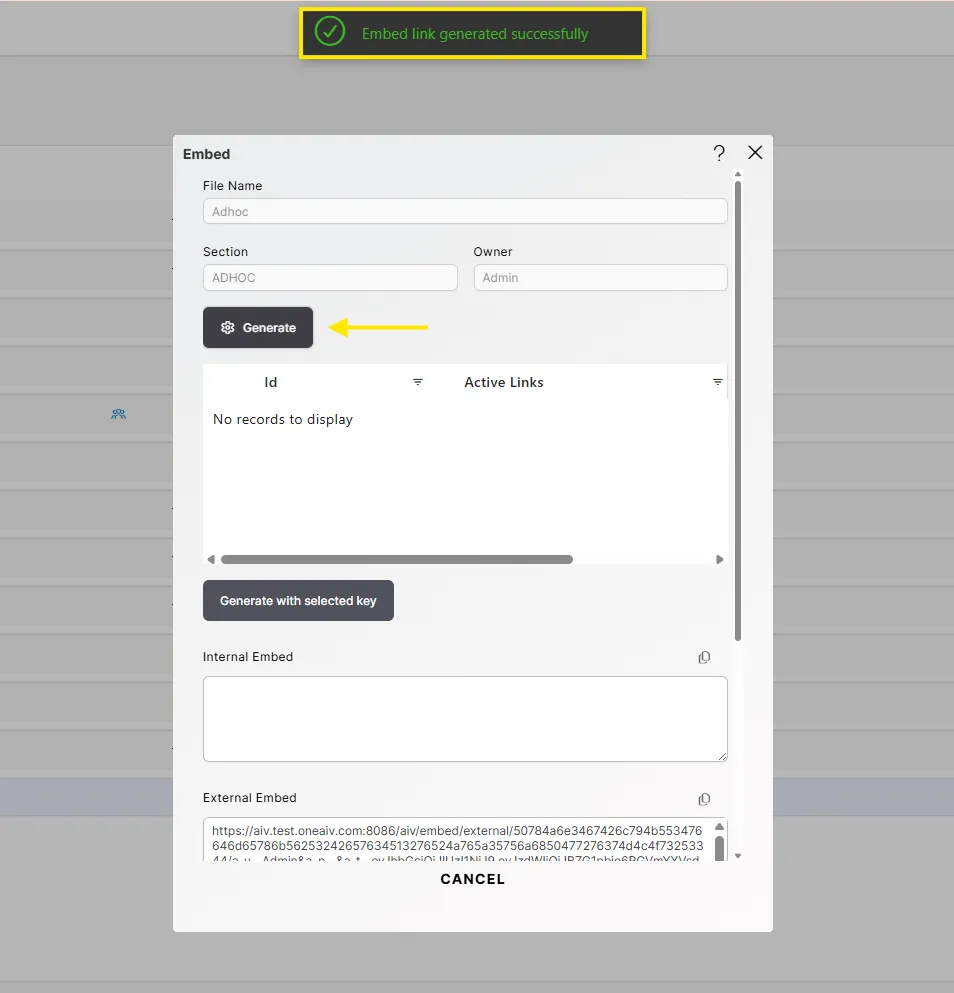
Click the Generate button to create an external embed link.
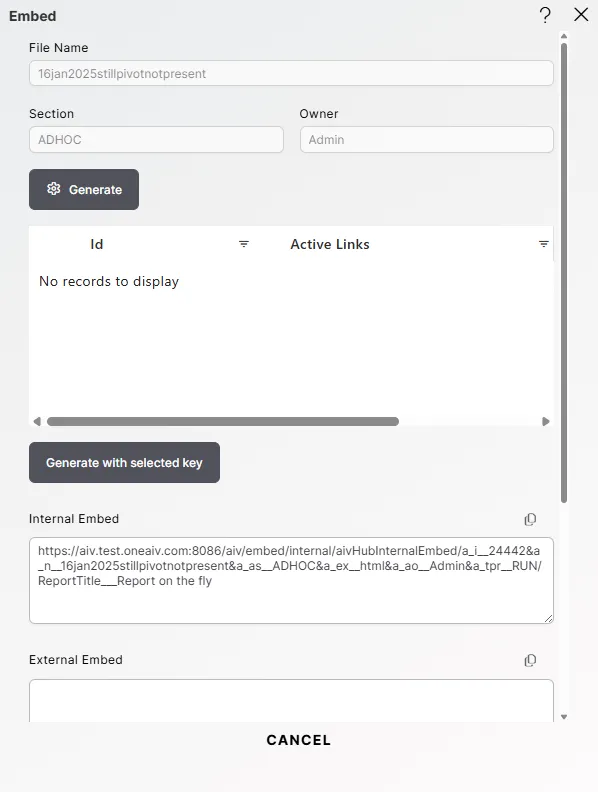
-
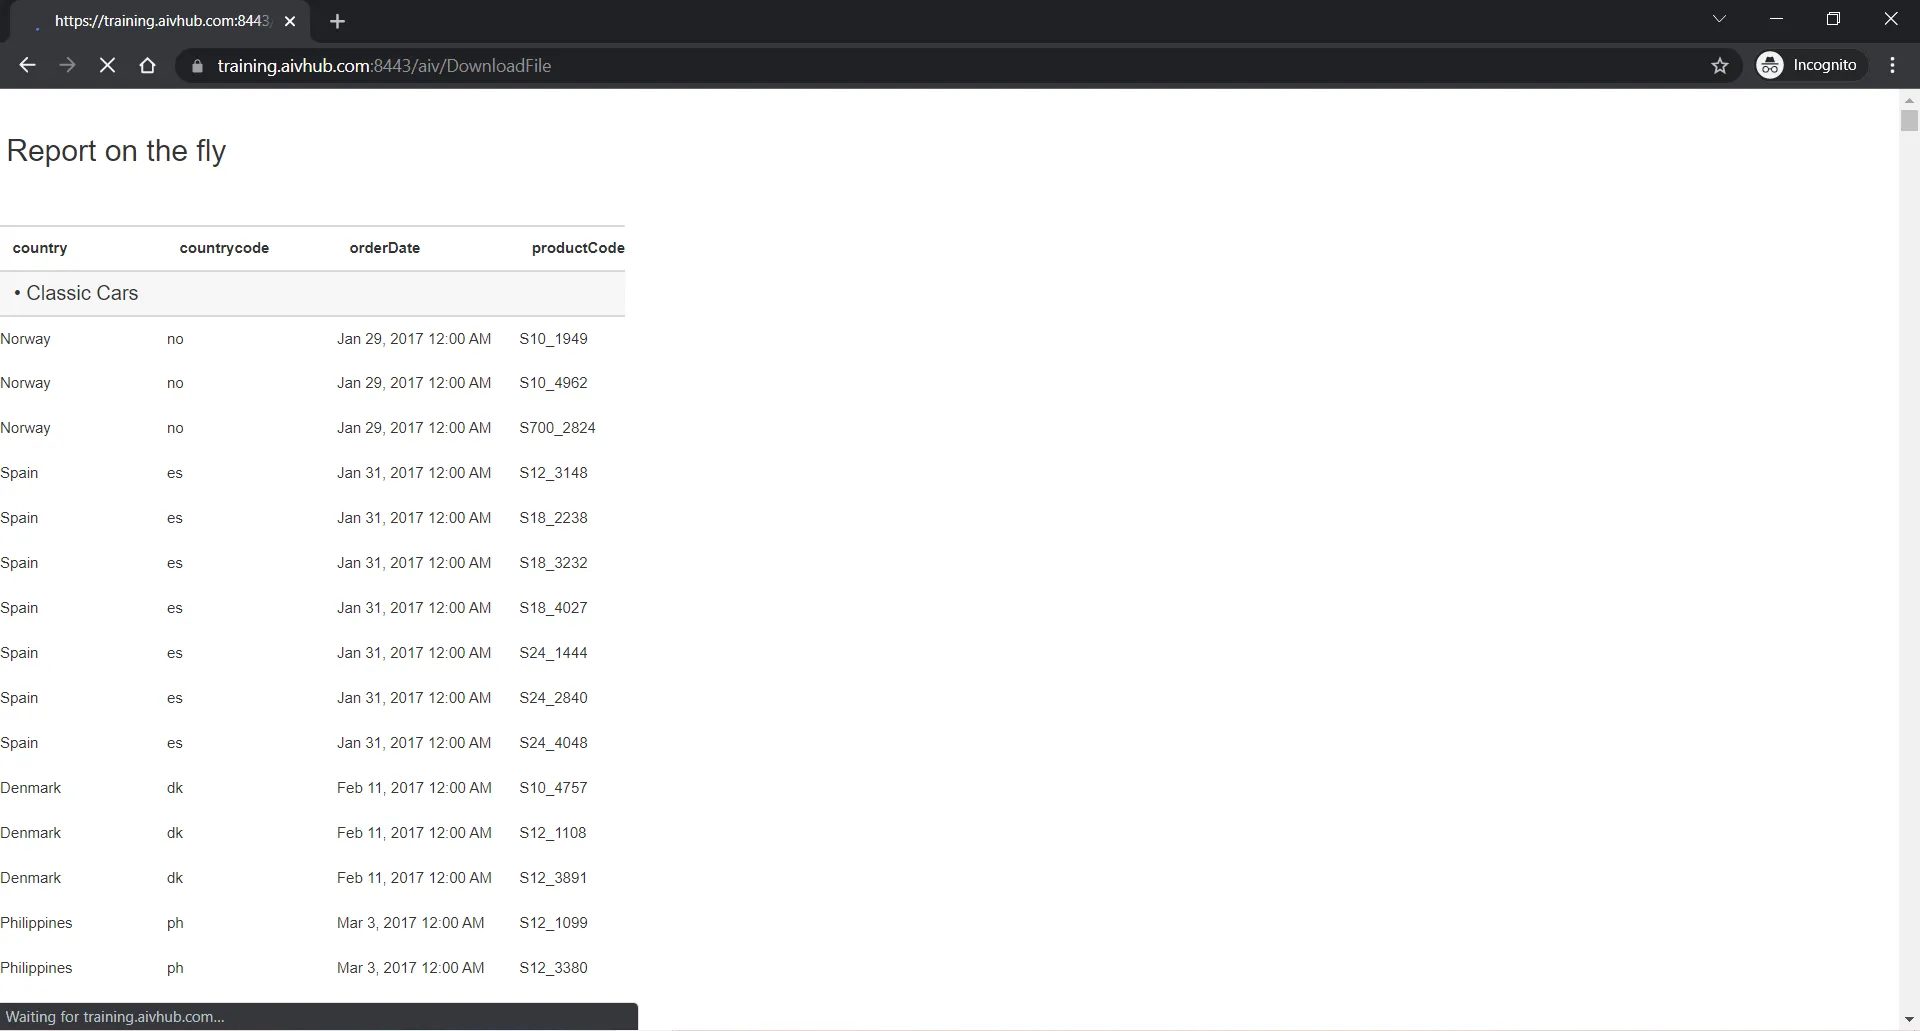
Copy external embed link, provide password at &a_p__ , for ex.
&a_p__passwordin embed link and paste it in a separate browser.
-
Apply report format you want, change
&a_ex__to&a_ex__HTMLor PDF or XLSX. Even if you do not apply anything, by default it will open in HTML. -
By doing so you will see report outcome in browser window.

-
Now change user from
a_u__Admintoa_u__Demo(any available user with which report is not shared) and password in&a_p__. -
Run URL in browser and report should not be displayed as is not shared to that user.

-
Now go to Admin user and share this report with demo user.

-
Change user from
a_u__Admintoa_u__Demoin embed link. -
Now run same URL in browser.
-
The report should run this time as we have shared report with demo user.
(II.) Open Adhoc report in edit mode using embed link: In this case we will see how to redirect to Adhoc edit mode with minor modification in embed URL.
-
Right click on any report and create external Embed URL.
-
For instructions on creating an external embed link, refer to steps 1–9 in this document.
-
Change
a_tpr__RUNtoa_tpr__PREVIEWin embed link [make sure you type this in capital Latters].
![]()
-
Run this URL in to browser.
-
You can see, Adhoc edit mode is opened. Owner of this report can make changes of dataset or edit dataset.

-
This report is shared to another user Demo, change
a_u__Admintoa_u__Demoand run URL. It will also open Adhoc edit mode but as Demo is not owner of this report, dataset edit options are not available.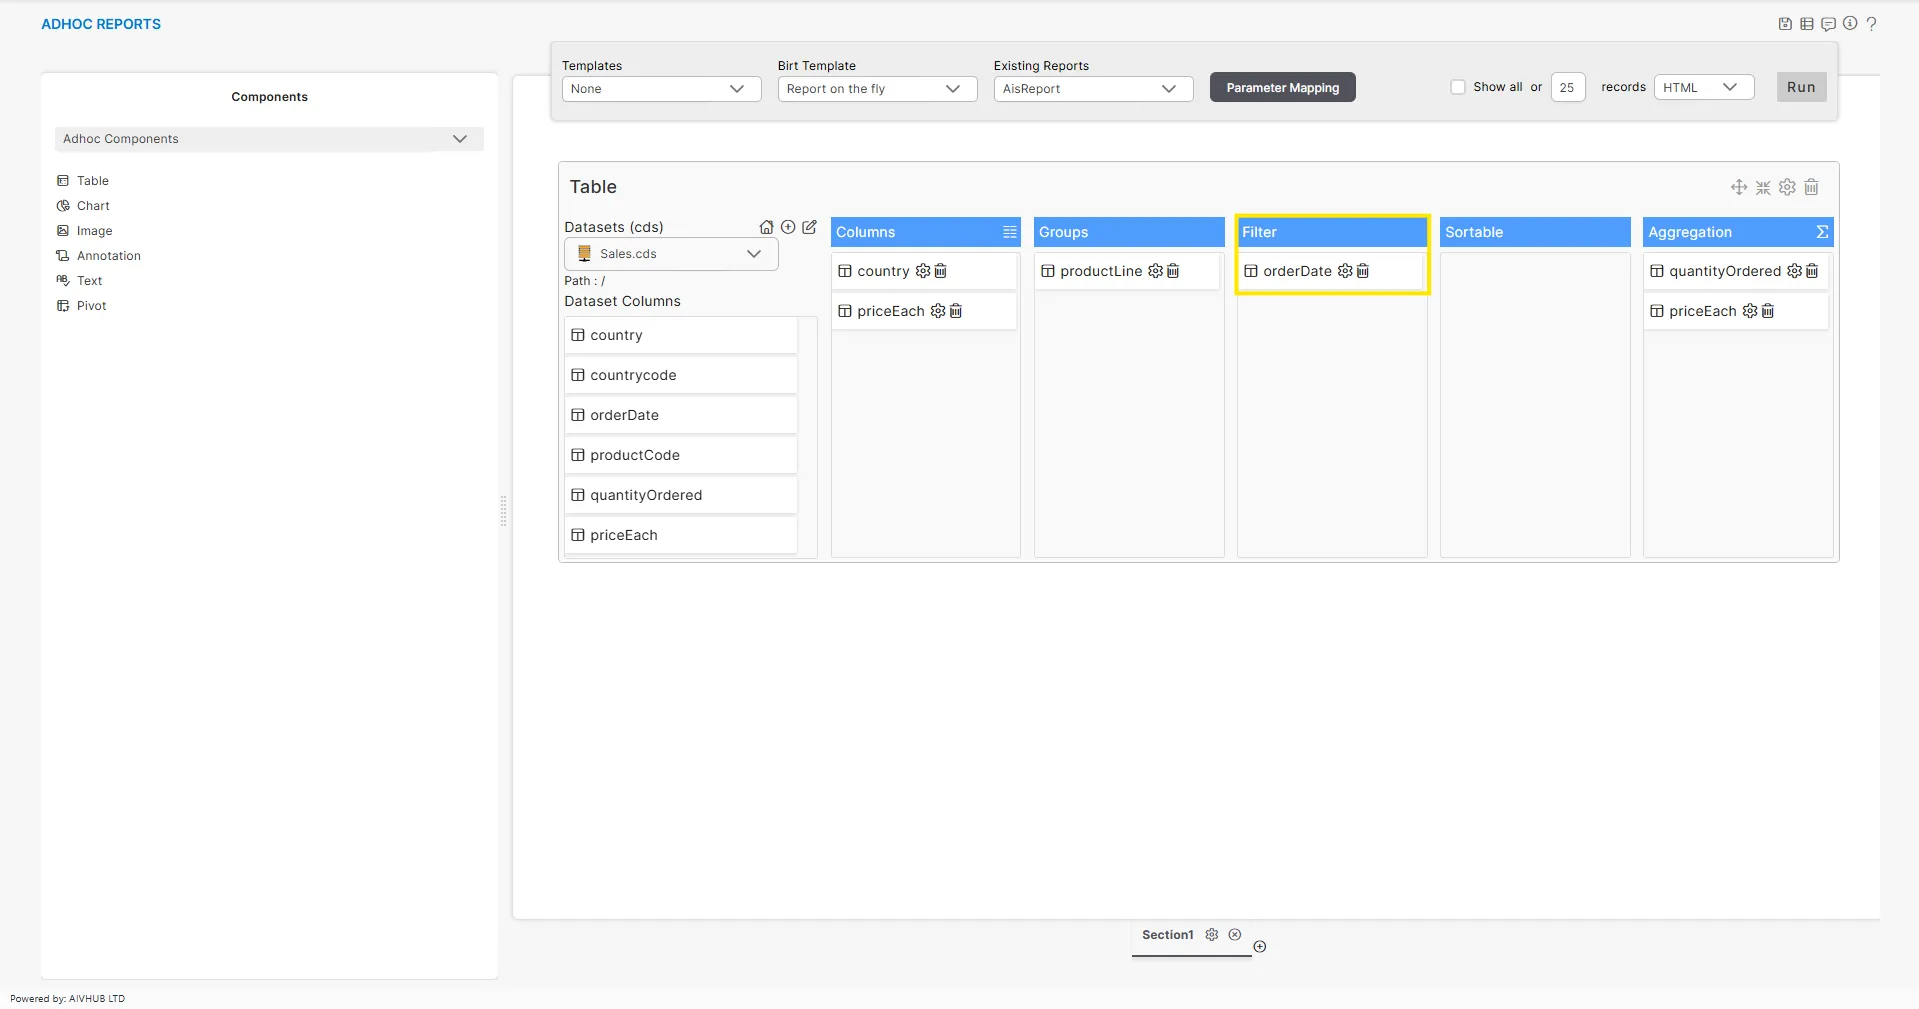
-
The Demo user is allowed to customize a report by modifying its available columns. Upon saving, these changes are not applied to the Admin user’s original report. Instead, the system creates a separate ad-hoc report copy, which is saved under the Demo user’s account.
-
If any changes are made by the Admin user, those updates will be saved directly to the Admin user’s report.
(III.) Adhoc Template Sharing with Embed Link:
-
In this use case, the user can share adhoc templates with the Embed link.
-
Log in to AIV and go to adhoc Grid Section.
-
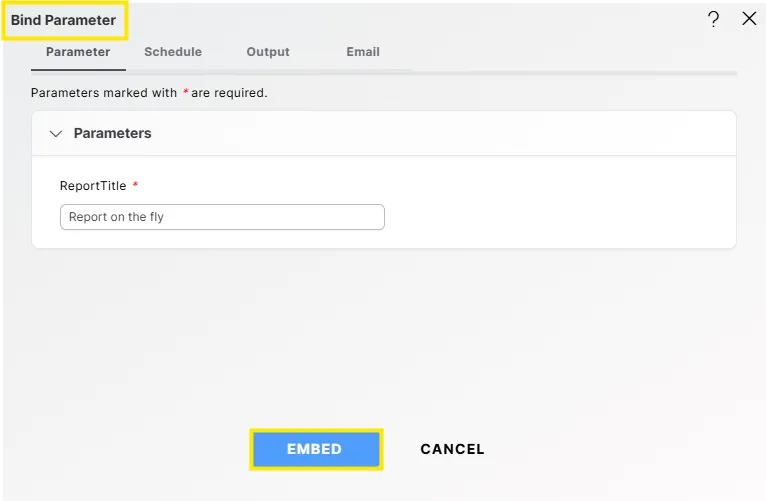
Search for a report with template extension. Right click on that template and click on embed option.
-
Bind parameter window will open. Click on Embed button.

-
By doing so embed Link window will open.
-
Click on generate button to create embed link.
-
Copy external embed link and paste it in separate browser.
-
Apply report format you want, change
&a_ex__to&a_ex__HTMLor PDF or XLSX. Even if you do not apply anything, by default it will open in HTML. -
provide password at
&a_p__, for ex.&a_p__passwordin embed link for relevant user. -
By doing so you will see report outcome in browser window.
-
Now change user from
a_u__Admintoa_u__Demo(any available user with which report is not shared) and password for that user at&a_p__. -
If the URL is opened in the browser, the report will not be displayed because it has not been shared with that user.
-
Now, switch to the Admin user account and share the report with the Demo user.
-
Generate the embed link again and change the user from
a_u__Admintoa_u__Demo. -
Open the same URL in the browser.
-
The report should now be accessible, as it has been shared with the Demo user.
-
Change
a_tpr__RUNtoa_tpr__PREVIEWin embed link [make sure you type this in capital latters]. -
Open this URL in your browser.
-
You can see that the ad-hoc edit mode is now open. The owner of the report can modify the dataset or edit its configuration.
-
Since this report is shared with the Demo user, change
a_u__Admintoa_u__Demoand run URL. The report will open in ad-hoc edit mode, but because the Demo user is not the owner, dataset editing options will not be available. -
The Demo user can modify the report by changing the available columns and saving those changes.
-
When the Demo user makes changes to the report and saves it, the changes will not be reflected in the Admin user’s report. Instead, a new copy of the ad-hoc report will be saved under the Demo user’s account.
-
Any changes made by the Admin user are saved directly to the Admin user’s version of the report.
(IV.) Open blank adhoc report/ Specific adhoc template from General Embed link: This includes how to open specific report or template with generalized embed link.
-
To create general, embed link, go to adhoc report grid view and you can see create embed link option in footer menu.
-
Without selecting any report or template just click on that button.
-
Deselect bypass checkbox and Click on generate button to generate external embed link. You will see success message.
-
Scroll down and copy the external embed link. Enter the password for that user at
&a_p__then run the link in the browser. -
A blank ad-hoc report window is displayed, enabling you to create a new report by choosing a dataset.
-
Users can access reports stored in their repository by selecting a report from the dropdown list.
-
In the selected report, dataset and analysis changes can be made and saved by the Admin user, as they are the report owner.
-
After saving, the changes are reflected in the Admin user’s ad-hoc report grid.
-
Now change user in embed link at
a_u__Adminfrom admin to Demo and password at&a_p__. -
Run this updated embed link in the browser, and you will see the Create Ad-hoc Report view for the Demo user. When you click on the report list, only the Demo user’s ad-hoc reports will be displayed.

-
Changes made to the selected report will be reflected in the Demo user’s ad-hoc report once saved.
Open specific Adhoc template using embed link:
-
To open a specific ad-hoc template through an embed link, first generate the standard embed link (as done in steps 1–9), then append the ad-hoc template name using a global parameter.
-
To open Adhoc template put
aivg_xtemplatexnamex___template namein place of noparam and run URL. For example.
https://localhost:8080/aiv/embed/external/694f55746949624b304b50617930684251674d756c45552532425735424342556a324a59477752704c35725159253344/a_u__Admin&a_p__password&a_t__&a_d__Default&a_ex__&a_af__false&a_tpr__PREVIEW/aivg_xtemplatexnamex___AIS Template -
Here AIS Template is the name of existing Adhoc template.
-
Copy the updated URL, open it in the browser, and the template will launch directly in edit mode.

-
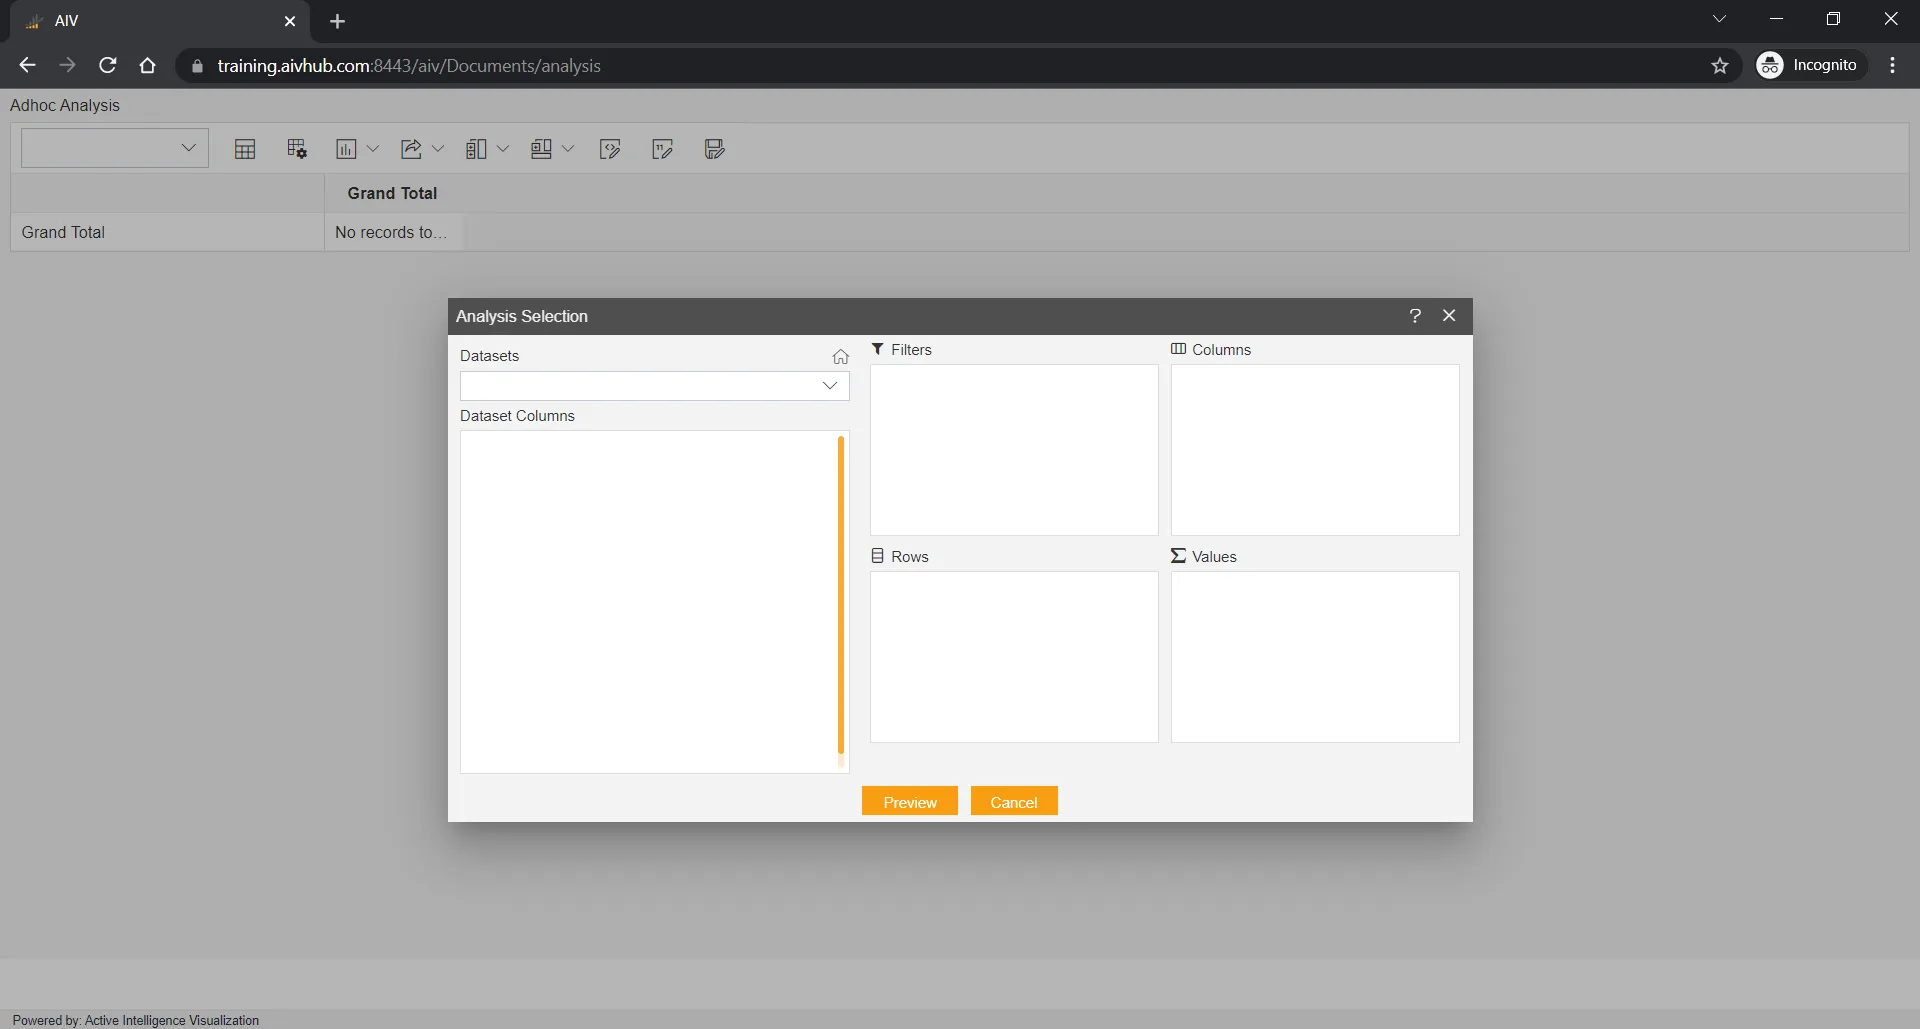
Open a blank Adhoc analysis or a specific Adhoc Analysis using the general embed link. The same process used for Adhoc Reports also applies to Adhoc Analysis.
-
Go to the Adhoc Analysis section and generate a general embed link from the footer menu without selecting any analysis.

-
Create an external embed link as described in Step 4.
-
Provide user name at
a_u__Adminand password for the user at&a_p__. -
Run this URL in the browser, and you will see a blank analysis window prompting you to select a dataset.
-
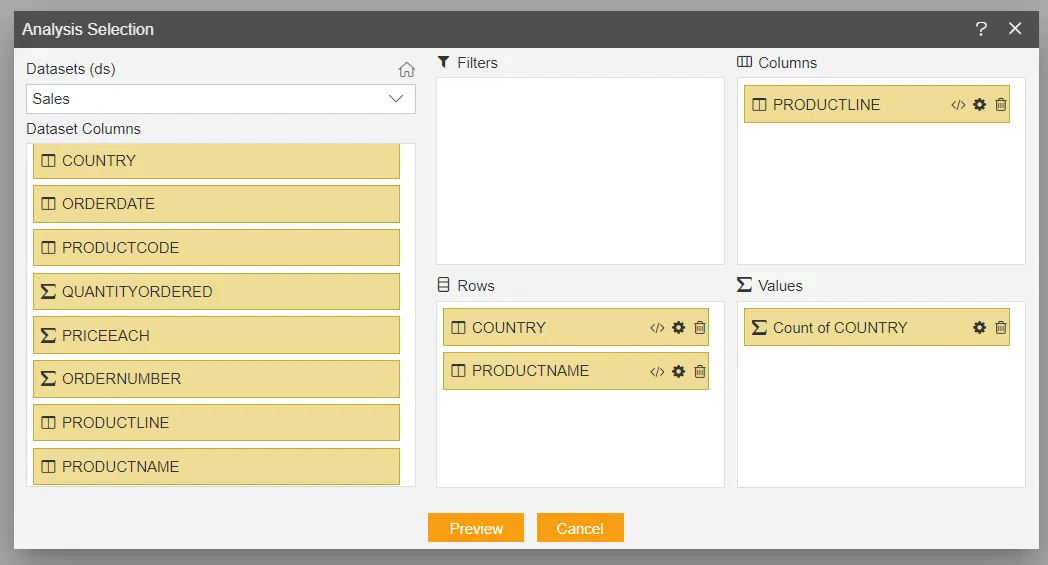
Select a dataset form the dropdown.
-
Drag and drop columns to create required analysis.
-
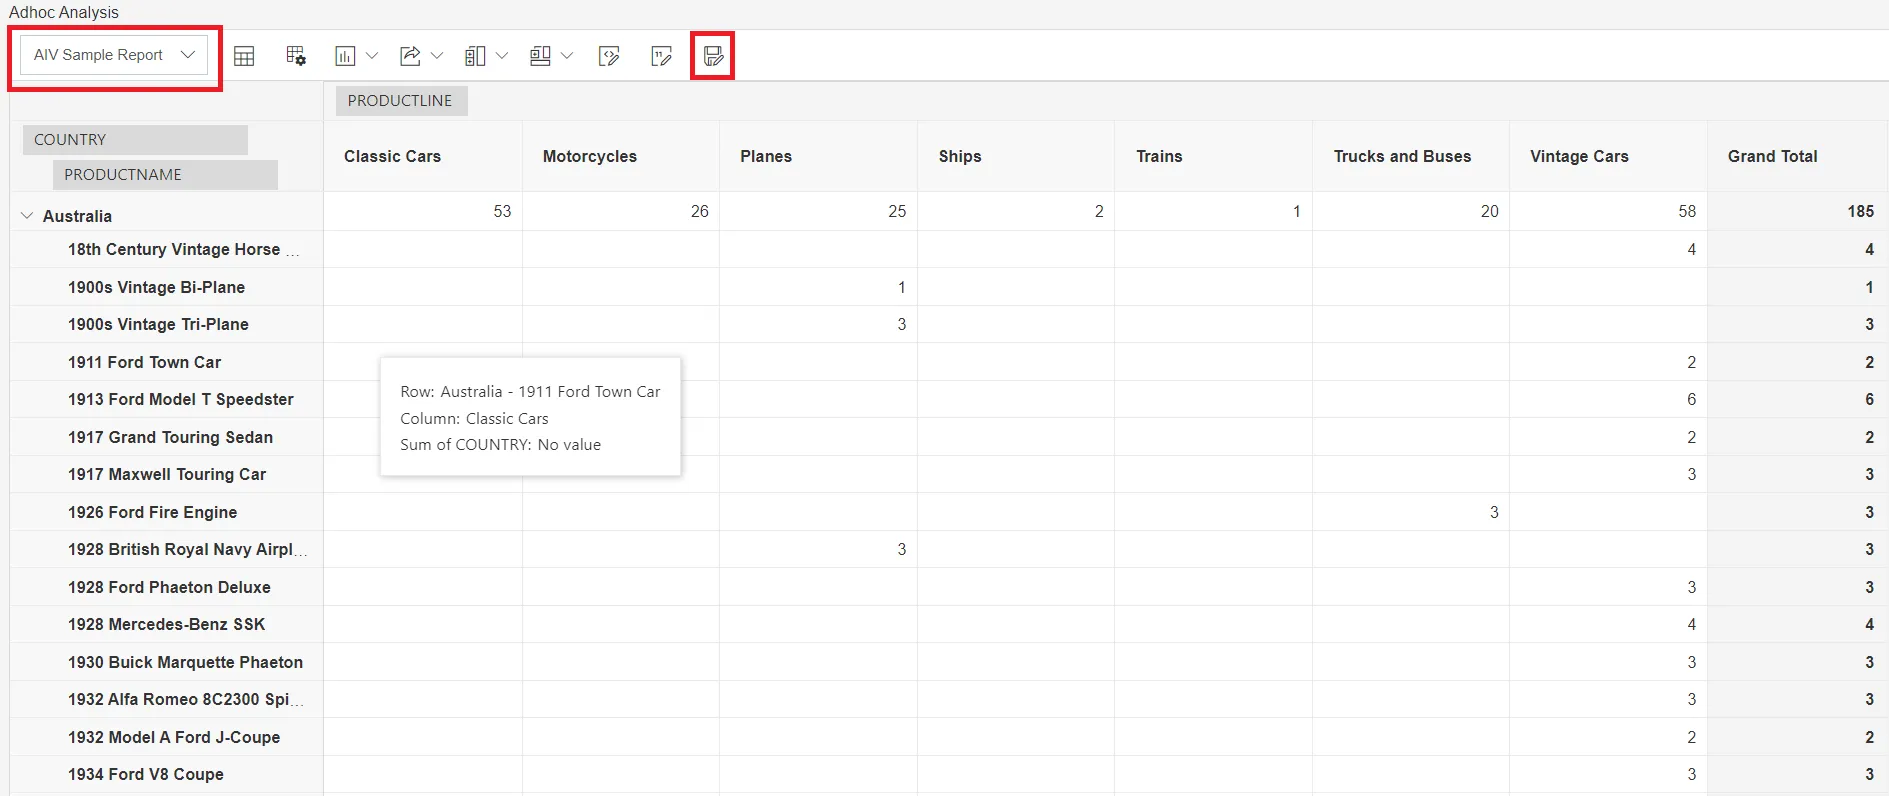
Click on preview button to see changes in analysis table.
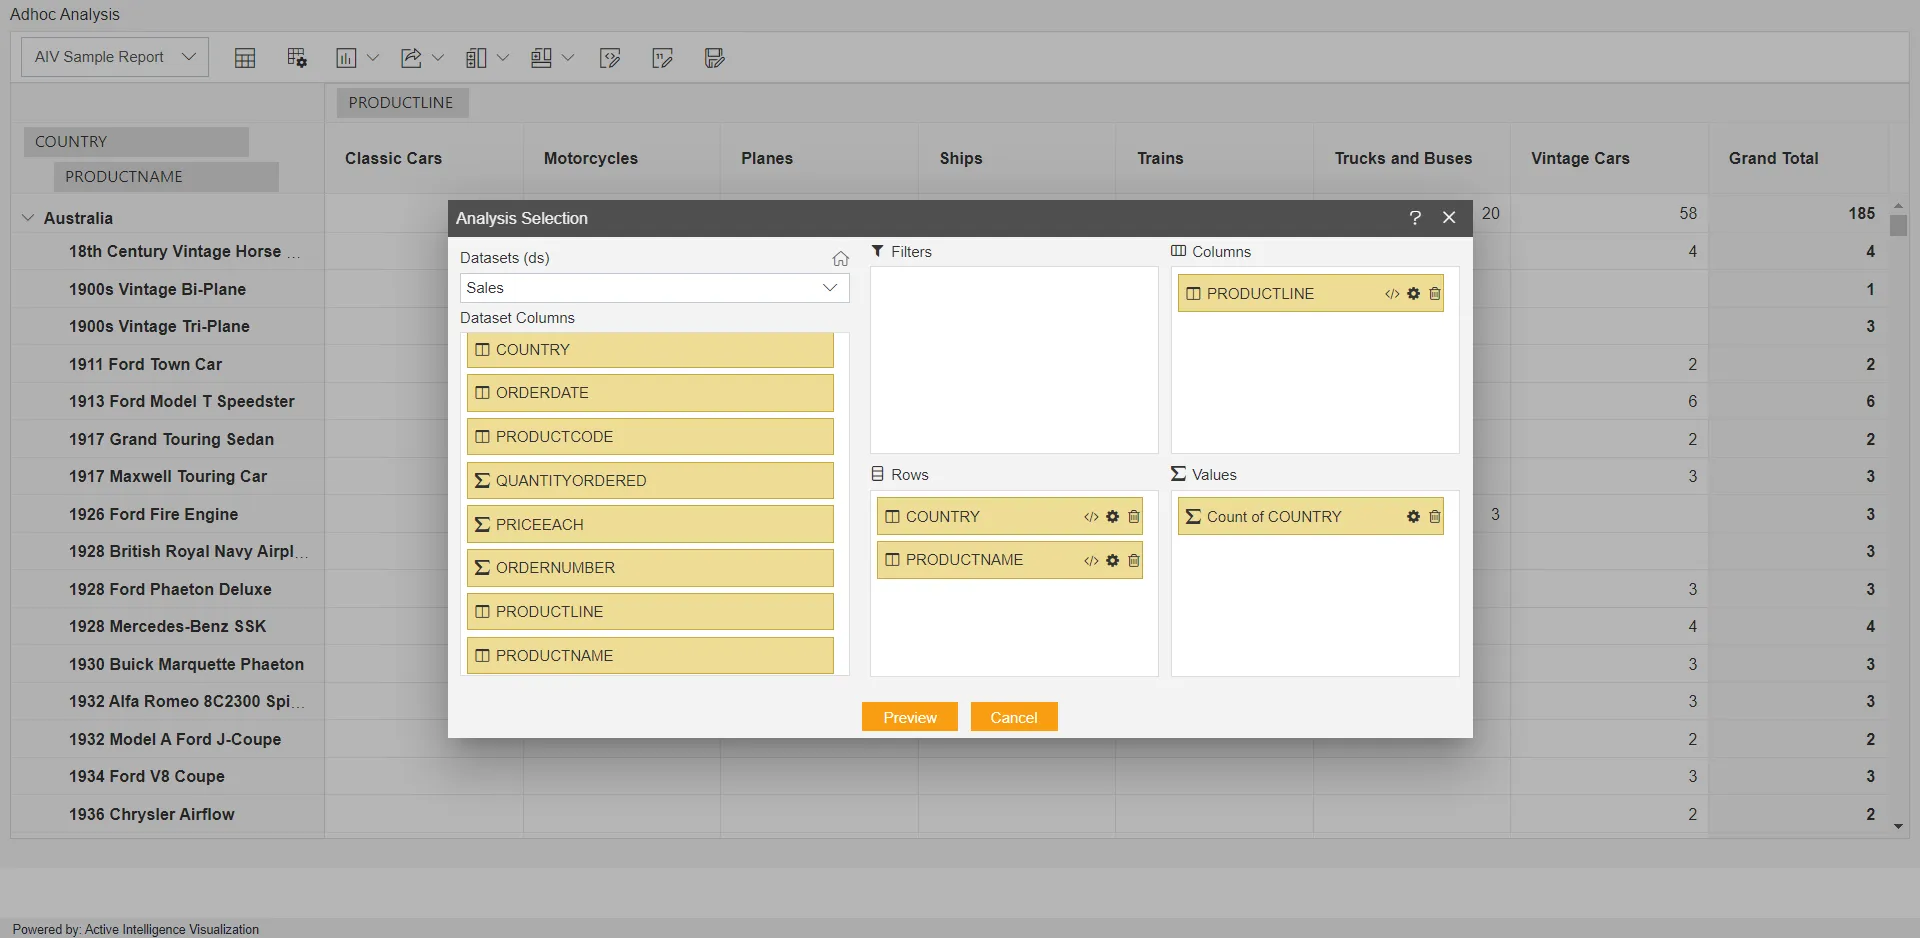
-
Click the Cancel button to close the field list window, and you will see that the analysis has been created.

-
By default, the analysis is titled “AIV Sample Report” and is displayed in the top-left dropdown menu. To save the analysis, select the Save As icon positioned beside the Number Formatting control.
-
When you click the Save As icon, you will be prompted to enter a name for the analysis.
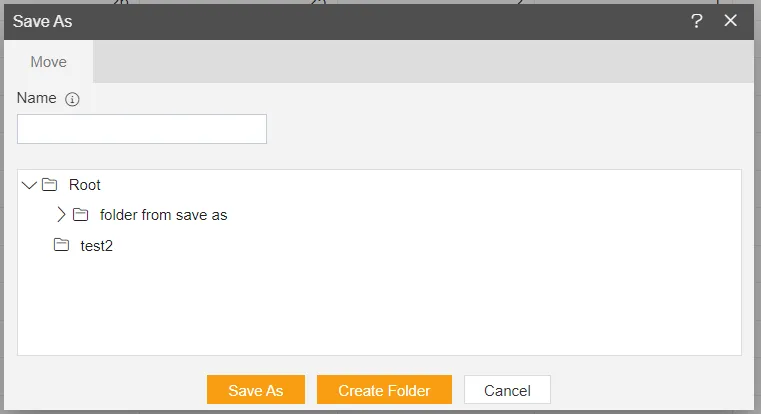
- Select the folder and click on save as button to save analysis.
-
Once saved, you can view the list of analyses created in that user’s repository from the dropdown at the top-left corner. Additionally, a Save icon will now appear to the left of the Save As icon.
-
You can now modify the analysis and save it using the same name.
-
Also, user can shuffle between list of analysis available for that user and play around.
-
To open specific analysis change write
aivg_xrptxnamex___analysis name herein embed link instead of noparam. For example.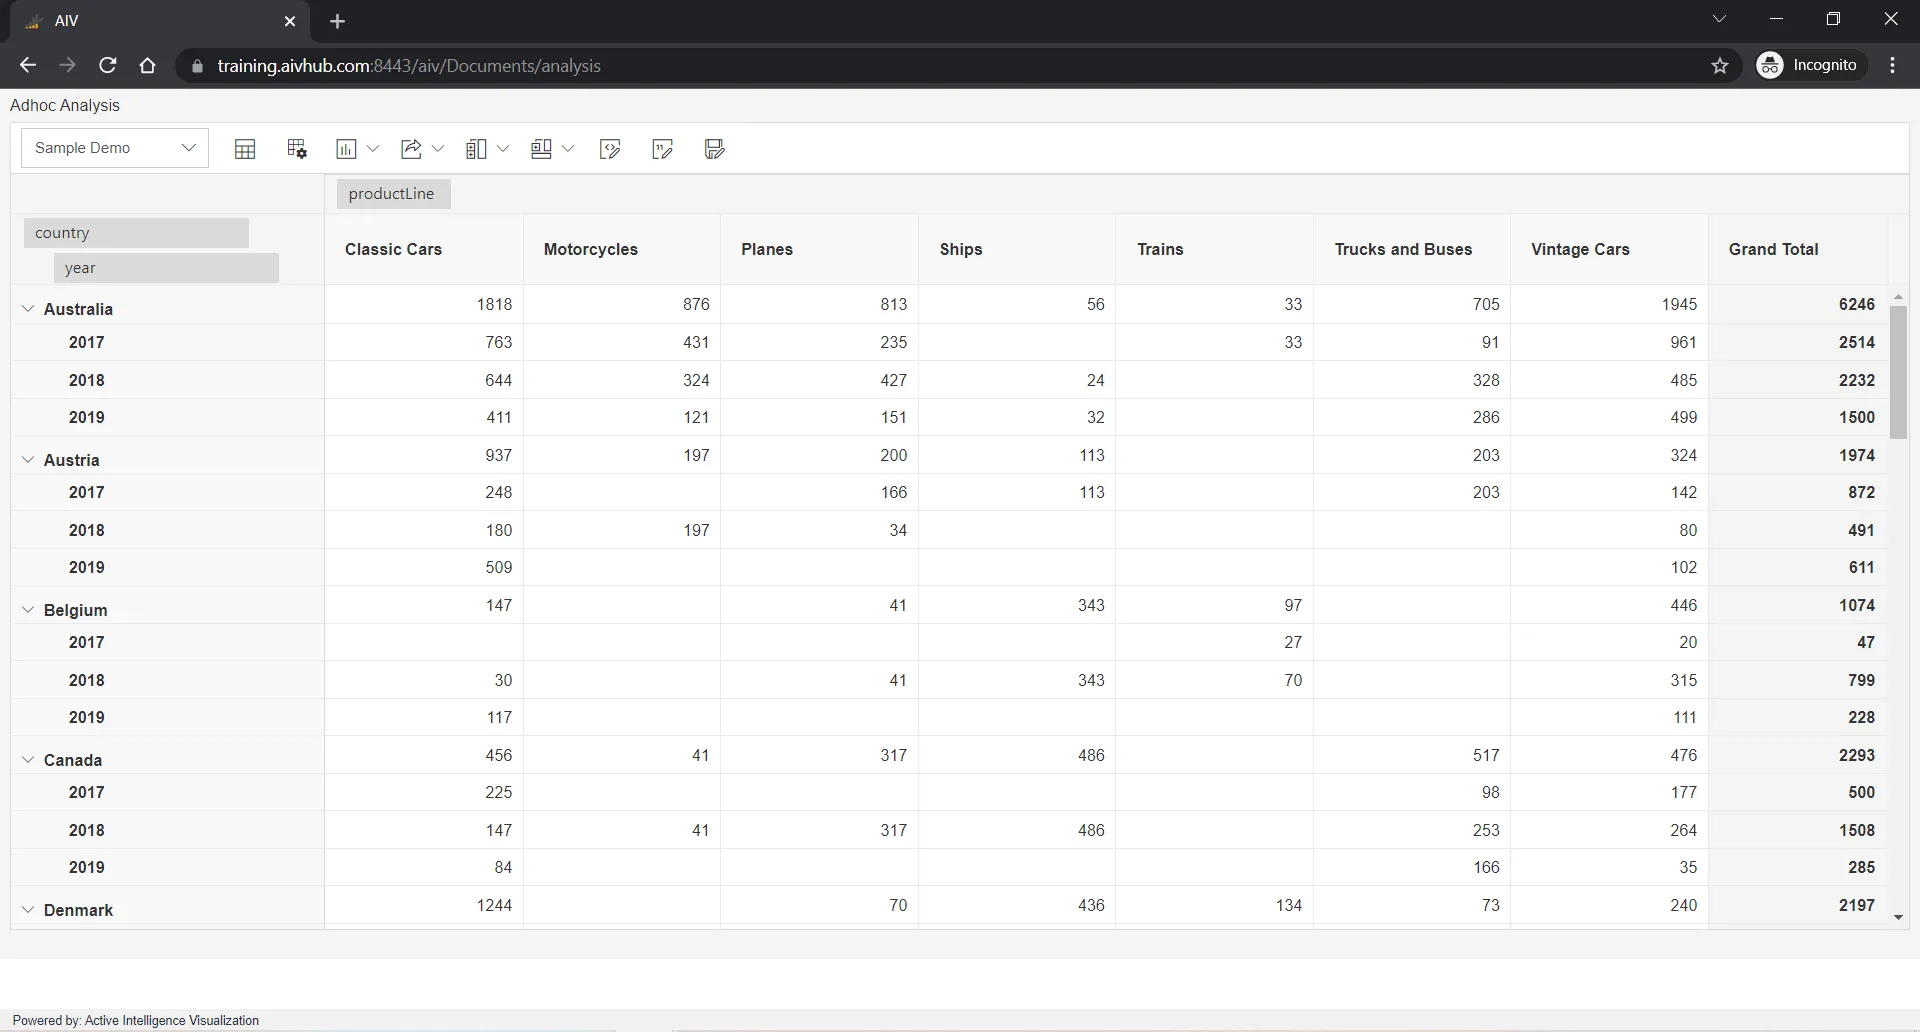
-
You can see created analysis will open whose name is provided in URL.
- When Demo user makes changes & click on Save burron, Copy of Template will be saved in Demo user Repository.
- But Demo user do not have dataset inside it. ADmin user needs to share dataset to demo user for that. Otherwise, When we open this saved report, there will be no dataset selected.