AIV 6 Docker Setup Requirements and Installation Guide
This guide walks you through downloading, installing, and configuring AIV 6 using Docker—from initial setup to optimizing memory for better performance.
What You’ll Learn
- How to download and extract the AIV 6 Docker package
- How to run AIV using Docker Compose
- How to increase Docker memory allocation for large datasets
- Where to access AIV after installation
Overview
The Docker deployment offers:
- Quick setup — Run AIV with minimal configuration
- Consistent environment — Same behavior across different machines
- Easy management — Start and stop services with a single command
Prerequisites
Before you begin, ensure you have:
| Requirement | Details |
|---|---|
| Operating System | Windows with WSL2 enabled |
| Docker | Docker Desktop installed |
| Memory | Minimum 16 GB RAM recommended |
| CPU | Minimum 8 CPU cores recommended |
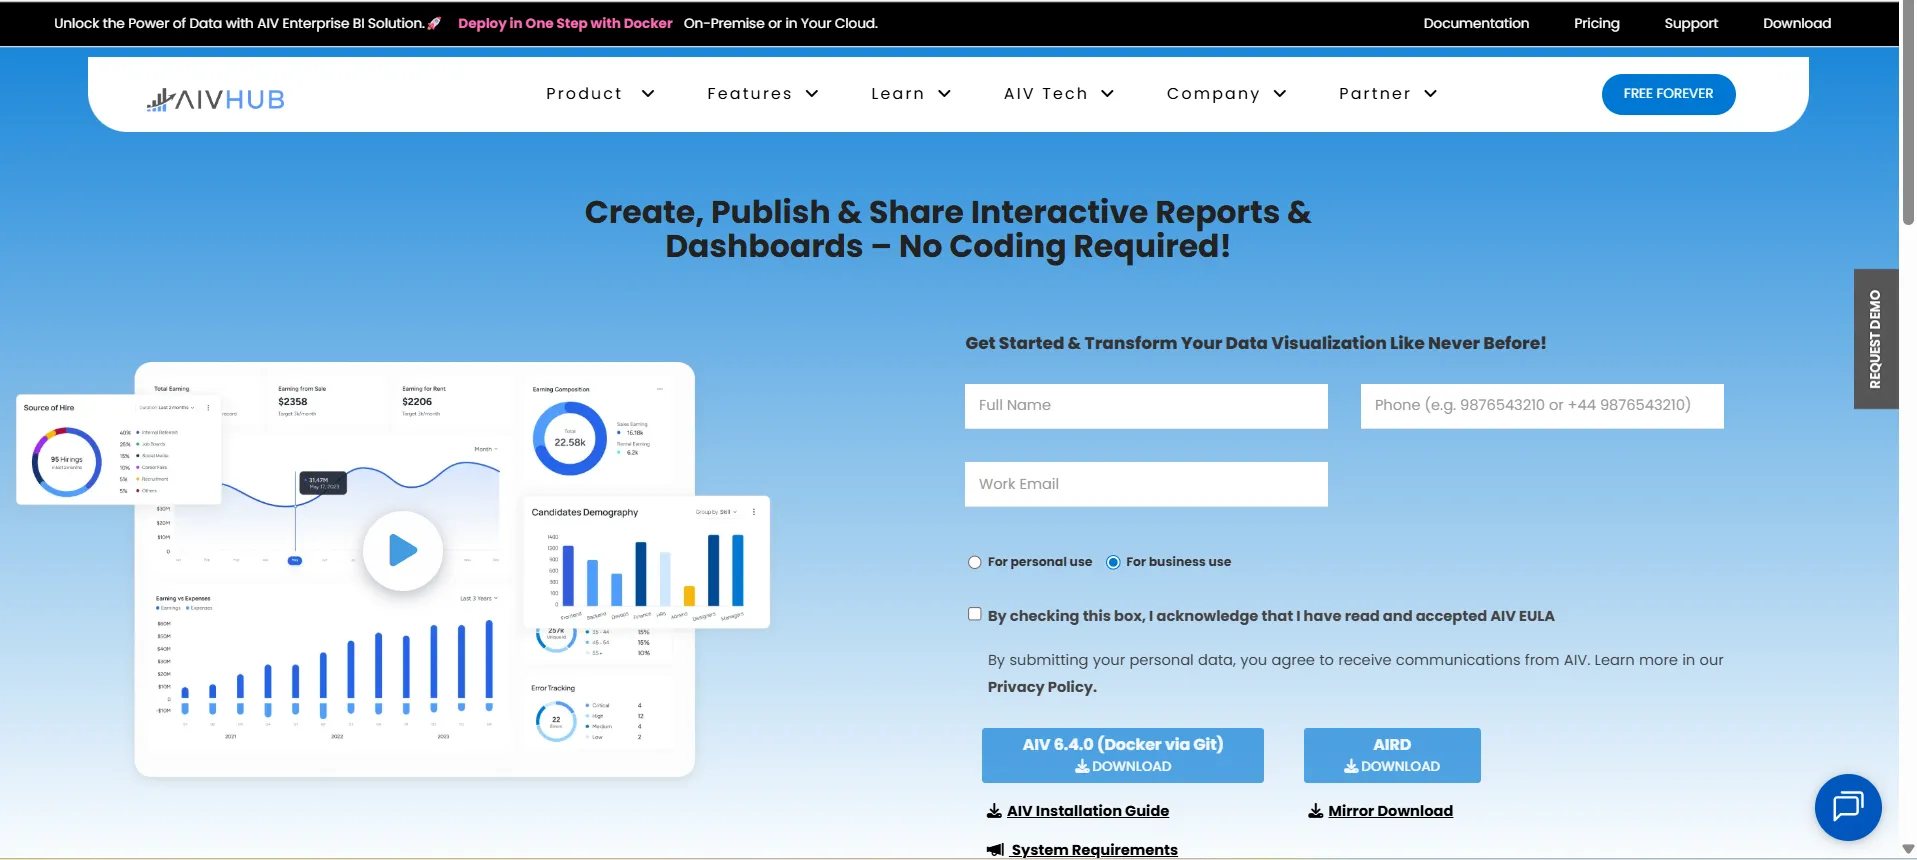
Step 1: Download the AIV 6 Docker Package
-
Go to AIVHUB.
-
Click Download.
-
Complete the form with:
- Full Name
- Phone (e.g.,
9876543210or+44 9876543210) - Work Email
- Usage type — Select For personal use or For business use
-
Check the required boxes to acknowledge that you have read and accepted the AIV EULA.
Step 2: Download AIV 6.4.0 (Docker via Git)
-
From the download options, click AIV 6.4.0 (Docker via Git).
-
You will be redirected to GitHub.
-
Click Code → Download ZIP.
-
Extract the ZIP file to a folder of your choice (e.g.,
E:\docker-aiv-main).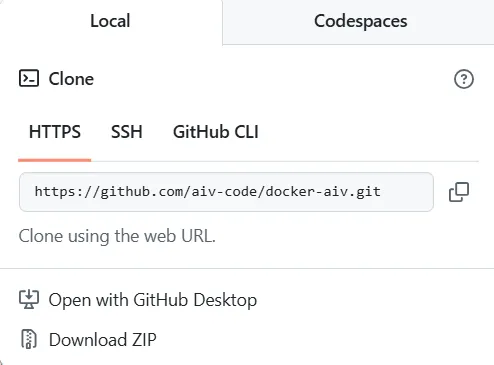
Step 3: Run Docker Compose
-
Open Docker Desktop and ensure it is running.
-
Open Command Prompt or PowerShell and navigate to the extracted folder. For example:
E:\docker-aiv-main\docker-aiv-main -
Run the following command:
docker compose up
-
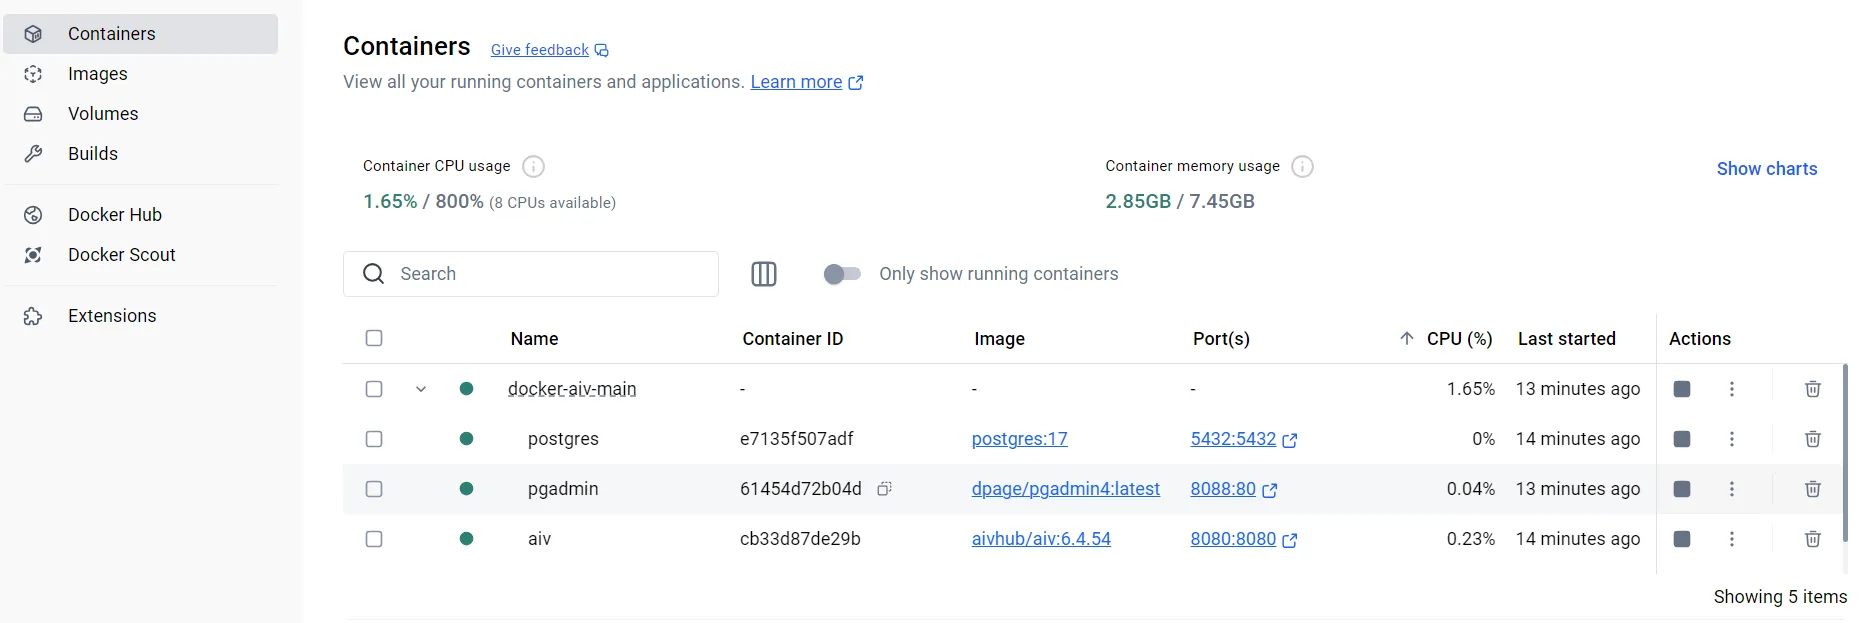
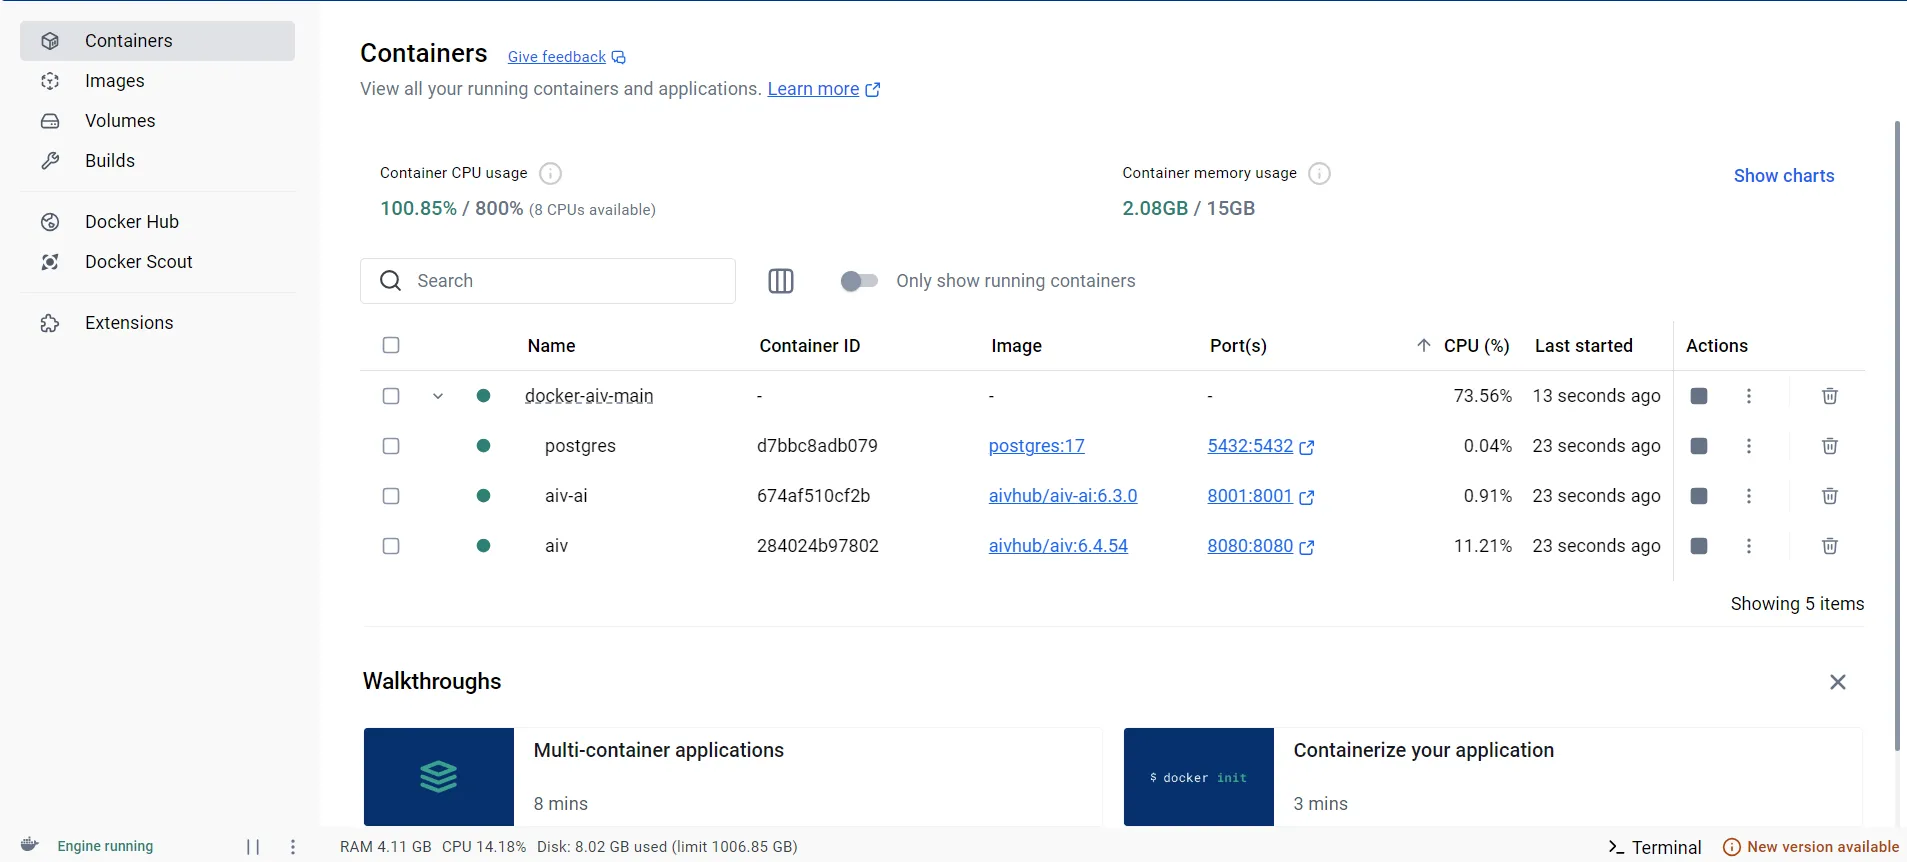
Wait for all containers to start. When you see a message indicating the application is ready, the setup is complete.
-
Verify the containers in Docker Desktop → Containers and check the memory usage.
Access AIV
Once the containers are running, open your browser and go to:
http://localhost:8080/aivYou can now start using AIV.
Step 4: Increase Docker Memory Allocation
If Docker is using limited memory (e.g., 7.45 GB), increasing it to 16 GB improves performance for large datasets and complex visualizations. Follow the steps below only if you need more memory.
4.1 Stop Running Containers
Option A: Press Ctrl + C in the terminal where docker compose up is running.
Option B: Run this command in a new terminal from your project folder:
docker compose down4.2 Locate the WSL Configuration File
-
Open Docker Desktop.
-
Click the Settings icon.

-
Go to Resources.yyy
-
Note the WSL configuration file path displayed (e.g.,
C:\Users\YourName\.wslconfig).
-
Navigate to that folder in File Explorer and check if
.wslconfigexists. -
If it does not exist, you will create it in the next step.
4.3 Create or Update .wslconfig
-
Open your user profile folder:
C:\Users\<YourUsername>\(Replace<YourUsername>with your Windows username). -
Create a new file named
.wslconfigwith no file extension.- Open Notepad++ or any text editor, create the content below, and save as
.wslconfiginC:\Users\<YourUsername>\.
- Open Notepad++ or any text editor, create the content below, and save as
-
Add or update the following content:
[wsl2]
memory=16GB
processors=8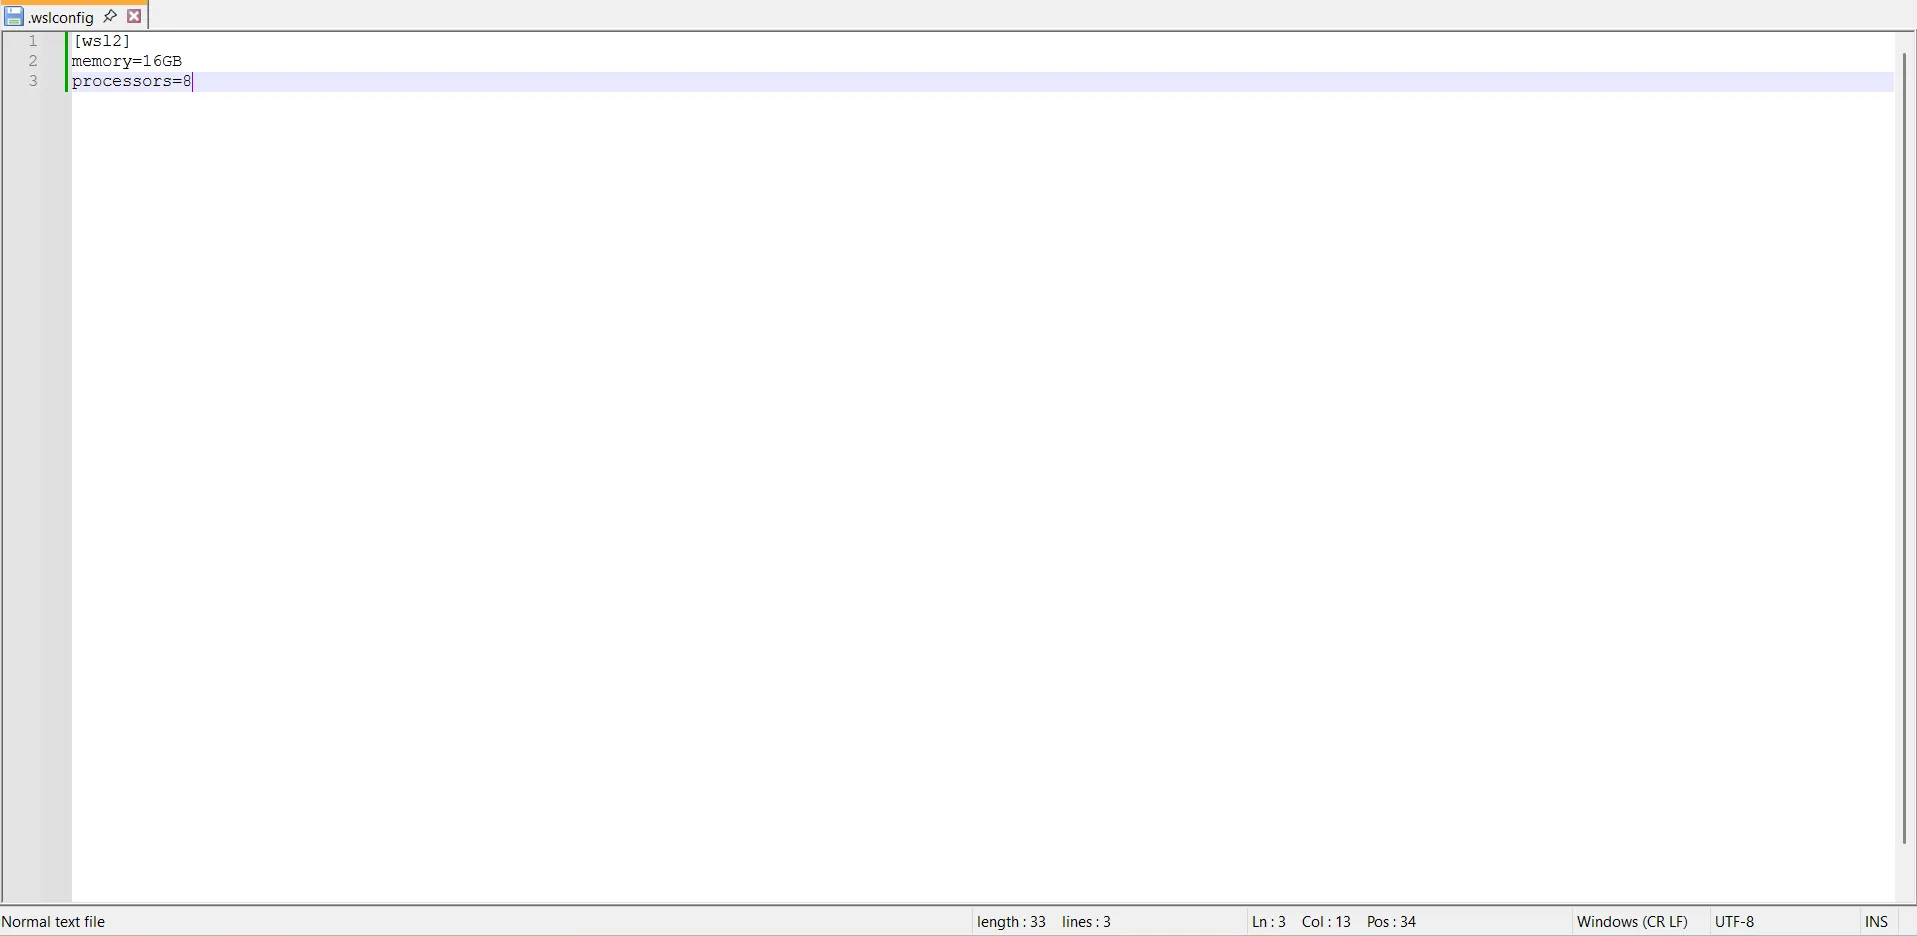
-
Save the file and close the editor.
4.4 Restart WSL and Start Docker
-
Close Docker Desktop completely.
-
Open Command Prompt or PowerShell and run:
wsl --shutdown -
Start Docker Desktop again.
-
Navigate to your project folder and run:
docker compose up -
Verify the updated memory allocation in Docker Desktop → Container → Container memory usage.
System Requirements Summary
| Component | Minimum |
|---|---|
| OS | Windows with WSL2 |
| Docker | Docker Desktop |
| RAM | 16 GB |
| CPU | 8 cores |
Important Notes
- Always run
docker compose down(or pressCtrl + C) before modifying the WSL configuration. - Increasing memory improves performance for large datasets and complex visualizations.
- After changing
.wslconfig, runwsl --shutdownand restart Docker Desktop for the changes to take effect.