Datasource SQL Server
Datasource with SQL Server in the Application
SQL Server can be added as a datasource in the application using the appropriate JDBC connector and valid database credentials.
Steps to Connect SQL Server with the Application
-
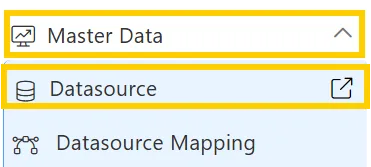
Click on the hamburger menu, go to the Masterdata section, and select Datasource.
-
On the Datasource page, click the Create Datasource button located at the footer toolbar.
-
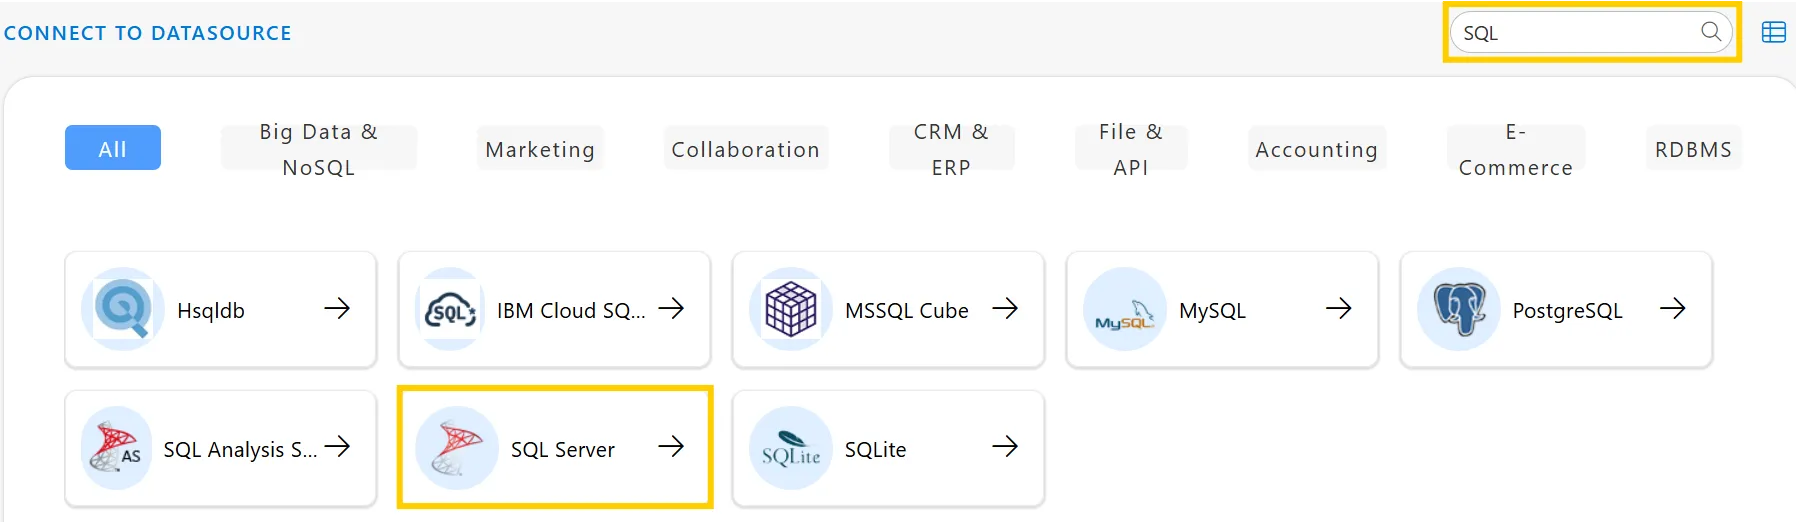
Use the search bar to search for SQL, then click on SQL Server. A dialog box will appear.
-
Fill in the SQL Server Connection Details
In the SQL Server Database Connection dialog box, fill in the following fields:
-
Display Name: A user-defined name to identify the connection in the application. Example: Test SQL Server. (Required)
-
Connection URL: The JDBC URL used to connect to the SQL Server instance.
Format:
jdbc:sqlserver://<hostname>:<port>;databaseName=<db>Example:
e.g., jdbc:sqlserver://192.168.1.10:1433;databaseName=SalesDB -
Wait Time: Specifies the wait time (in milliseconds) before retrying or timing out the connection. Example: 0 (means no wait time)
-
Is JNDI: Indicates whether to use JNDI for connection.
- False = use JDBC;
- True = Use JNDI naming convention.
-
Class: The JDBC driver class for SQL Server:
com.microsoft.sqlserver.jdbc.SQLServerDriver -
Username: The login username for the SQL Server database.e.g., sqladmin
-
Password: The password corresponding to the SQL Server user.Securely enter the user’s password
-
Extra Configuration: Advanced configuration options in JSON format for connection pooling and timeout settings.
{
"maxTotal": 200,
"maxWaitMillis": 5000,
"maxIdle": 100
}
maxTotal: Maximum number of active connections allowed
maxWaitMillis: Time in milliseconds to wait for a connection from the pool
maxIdle: Maximum number of idle connections retained
-