Report Viewer Widget
Introduction
The Report Viewer Widget allows you to embed and view reports generated from platforms like BIRT, Jasper, or others.
It supports exporting reports into multiple formats (PDF, Excel, Word, PowerPoint), making it ideal for compliance, operational, and financial reporting.
Step-by-Step Guide
Step 1: Add Report Viewer Widget
-
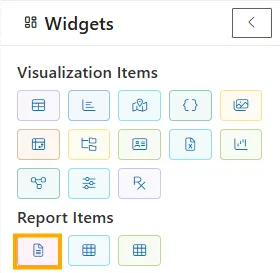
From the left vertical menu, under Report Items, select the Report Viewer Widget (either by its icon or label).
-
The widget will be added to the dashboard canvas.
Step 2: Select a Report
In the Select Report panel (left-side):
-
Expand folders such as:
RootHealth CareNew OutputTemplates
-
Click a report file (e.g.,
creditcard.rptdesign,Customers details.rptdesign).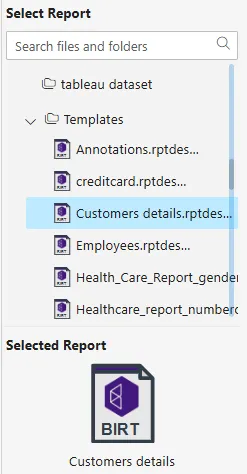
-
Once selected, the report name and BIRT icon appear in the Selected Report section (bottom-left).
Step 3: Enter Parameters
If the selected report contains required parameters (marked with a red asterisk *):
-
Example:
rp_Customer Name -
Enter a valid value (e.g.,
103) in the Parameters panel.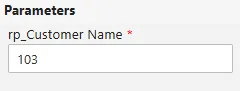
-
If no parameters are required, skip this step.
Step 4: Choose Output Type
Use the Output Type dropdown to select the format for exporting the report.
Supported Formats:
| Output Type | Description |
|---|---|
docx | Microsoft Word (.docx) |
html | Web Page (.html) |
pdf | Adobe PDF (.pdf) |
qrun | Quick Run (internal) |
rptdocument | Native BIRT document |
xls | Excel (legacy .xls) |
xlsx | Excel (modern .xlsx) |
Steps:
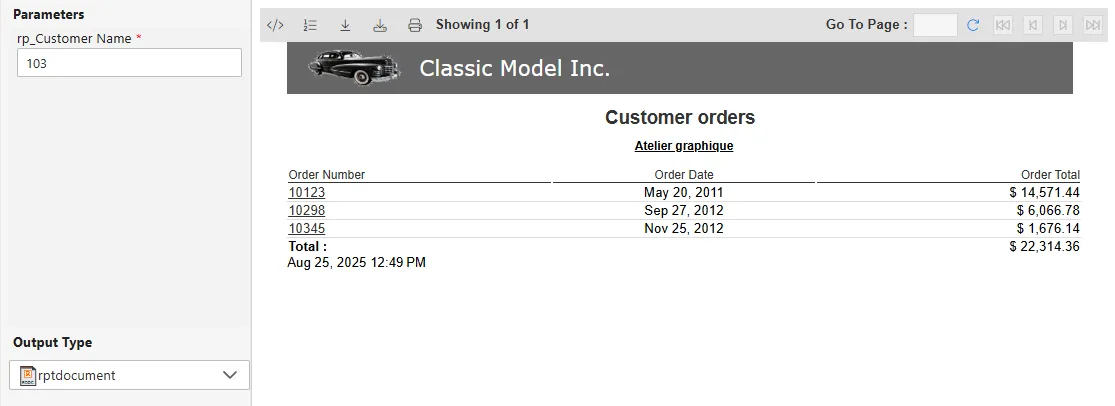
- Open the Output Type dropdown (default:
None). - Select a format (e.g.,
rptdocument). - The system will:
- Open a preview window
- From the preview, you can:
-
Export Report (download in chosen format)
-
Export Data (if enabled for raw data)
-
Print the report directly
-
- You can repeat this step to export the same report into multiple formats.
Step 5: Save & Publish Report
- Click Save to store the configured report.
- Click Publish to make the report available for other users or dashboards on the canvas.