Widget Basket
Introduction
The Widget Basket is your personal library for saving, organizing, and reusing widgets across Vizs or visualizations. It streamlines your workflow, allowing you to maintain consistency and efficiency when building multiple tabs or dashboards.
—
Purpose
- Save widgets you’ve created for reuse.
- Organize widgets into categories for quick access.
- Add widgets to any canvas easily, ensuring consistent styling and configuration across dashboards.
Only users with dashboard editing privileges have access to this section!
Steps to Use the Widget Basket
-
Add Widgets to the Basket
-
Hover over a widget in your visualization.
-
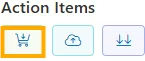
Click the
 icon.
icon.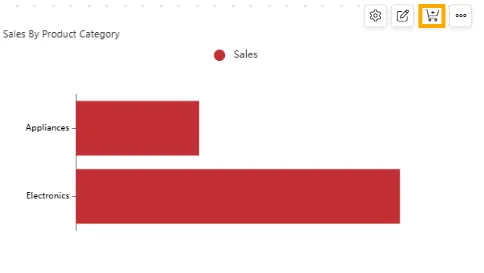
-
A notification will confirm: Widget added to basket.

-
-
Open the Widget Basket
-
From the left vertical menu, click the Widget Basket icon.
-
-
Add Widgets to the Canvas
-
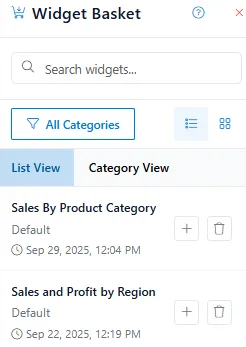
Newly added widgets appear at the top of the list for easy access.
-
Click on the
 icon to add a widget onto your canvas.
 -
Use the search bar at the top to quickly locate widgets by typing part of their name.
-
A notification will confirm: Widget added to Canvas.

-
- To delete a widget, click the
 icon.
icon.
- To delete a widget, click the
-
-
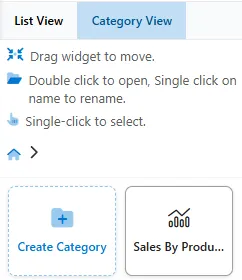
View Widgets in List or Category View
-
Widgets can be viewed in two ways:
-
List View – shows all widgets in a simple list format.

-
Category View – organizes widgets into folders you define.
-
-
-
Organize Widgets into Categories
-
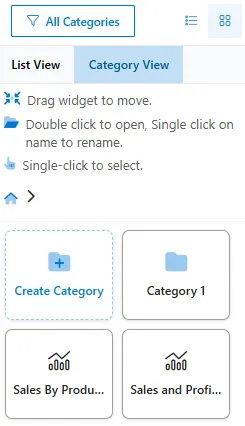
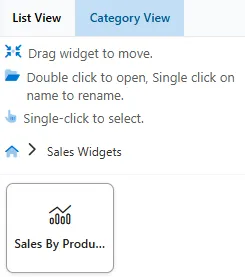
Switch to Category View.
-
Click Create Category to create new folder.
-
Single-click the folder to rename it (e.g.,
Sales Widgets).
-
Drag the Sales By Product Category widget and drop it into the Sales Widgets folder.
-
Double-click the folder to open it.
-
First, select a widget. If you want to delete it, click the
button. If you want to add it to the canvas, click the  button.
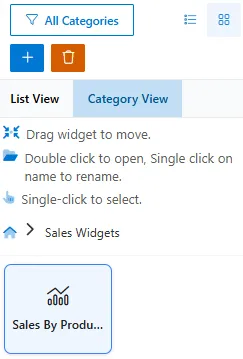
-
To return to the main category view, click the
 icon.
icon. -
To delete a folder, select it and click the
button.
-
-
Save Your Changes
- After adding or organizing widgets, click the Save icon in the top toolbar to preserve changes to your Viz.
Widget Basket Action Summary
| Action | Description |
|---|---|
| Add to Basket | Save widgets for future use |
| Open Widget Basket | Access saved widgets via List or Category views |
| Add to Canvas | Insert widget into the current workspace |
| Create Category | Group similar widgets into folders |
| Rename Widget/Folder | Update names for clarity |
| Search | Quickly locate widgets in the basket |
| Delete | Remove unused widgets from the basket |
| Save | Save changes to Viz layout |
Use Cases
| Use Case | Who It’s For | How it Works | Benefit |
|---|---|---|---|
| Building Multi-Tab Dashboards | Dashboard Designers | Save widgets from one tab and reuse them in others | Ensures consistency across tabs without recreating widgets |
| Creating a Template Library | All Users | Save high-quality widgets for future dashboards | Accelerates future dashboard creation and maintains style standards |
| Standardizing Team Dashboards | BI Teams | Share master widgets via Viz files | Promotes consistent look and feel across team dashboards |
| Migrating Widgets Between Projects | All Users | Add widgets from one Viz to the basket, then use them in a new Viz | Simplifies migration without rebuilding widgets |
| Experimenting with Layouts | Dashboard Designers | Backup widgets in the basket while rearranging the canvas | Provides flexibility and a safety net for layout experimentation |
Summary
The Widget Basket acts as a central library for managing widgets. It allows you to save, organize, reuse, and share widgets across multiple dashboards, ensuring design consistency and saving time. By grouping widgets into categories, quickly searching, and reusing saved widgets, you can streamline dashboard building while maintaining a standardized look and feel.